Well hello! Happy Father's Day to all you Dads out there!
I know, I know, I've been somewhat of a ghost on here. School kept me from updating over the fall, winter, and spring. I have had so many new changes lately - a new school, new people, a new commute (that was 45 minutes on a good day - 3 hours on a bad!), I lost my part-time job (it was for the best; I need that time for school), I got engaged (!!!), and in two weeks I'll be moving to a whole new city. This is a big change for me, since I have spent all my life in small towns, and now suddenly I'll be thrown within 2 miles of skyscrapers. I'm nervous, but excited. I love the area we found (though apparently several years ago it was one of the absolute worst parts of town), and the apartment is good for us, and our new landlady is wonderful. Really, I couldn't be happier.
So even though I should be packing (though honestly, we don't have that much stuff), I've been crafting instead. What can I say. I do have a crochet pattern that I have to share with everyone - over Christmas I made everyone I worked with coffee cozies. They were a huge hit! I also (accidentally) made ice cream cozies for pint-sized containers. I'll share that soon (hopefully). Today, however, is something different. It also includes a backstory. Lucky you!
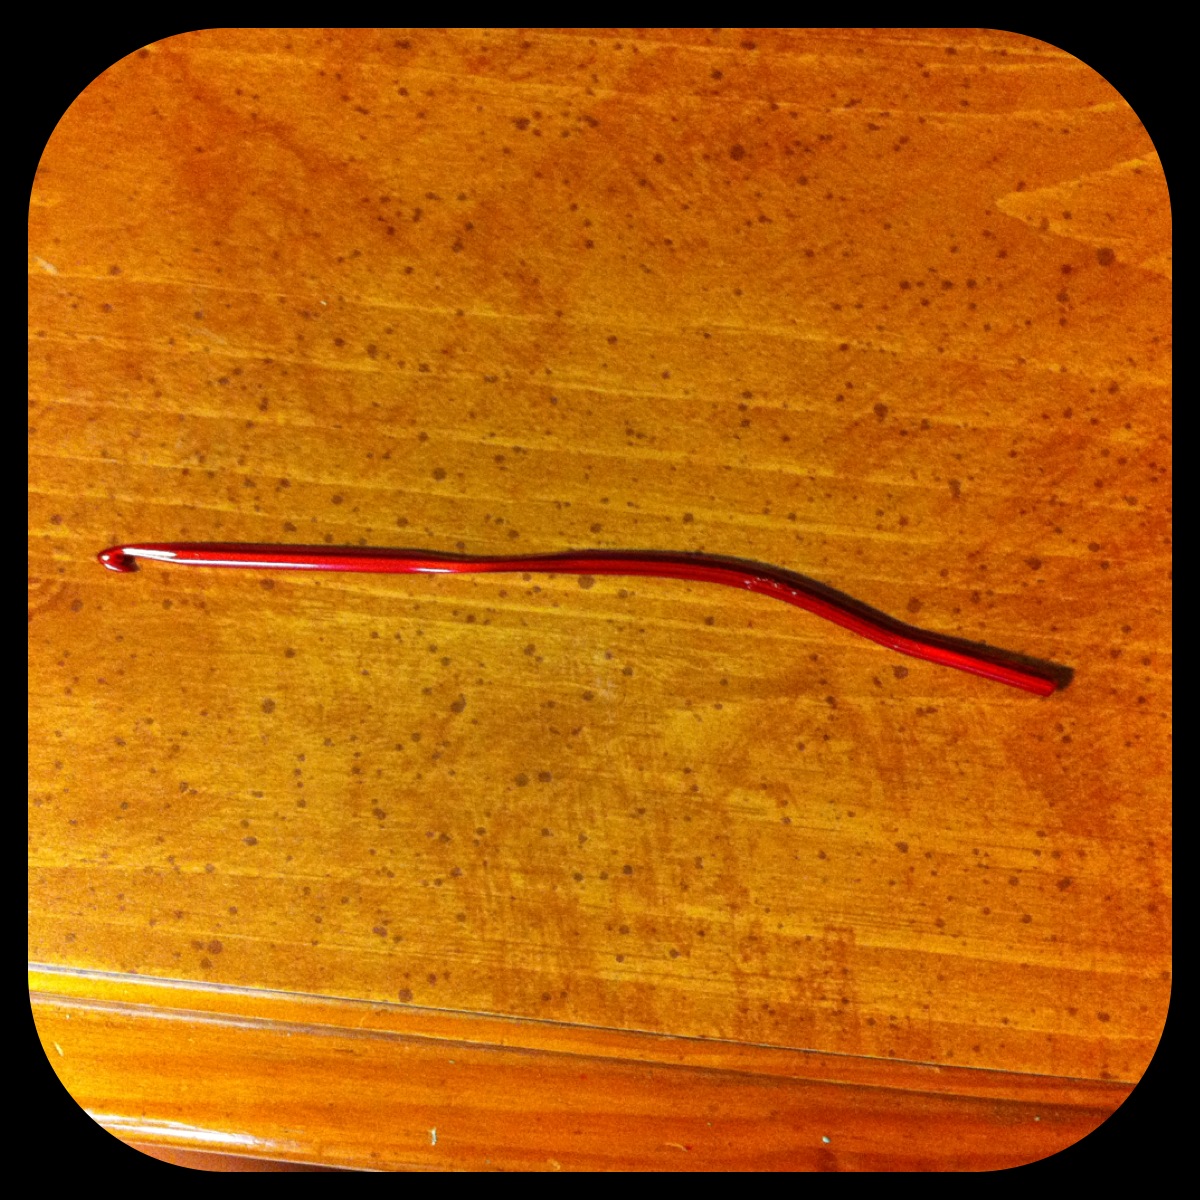
So remember those crochet hook handles I made last year? After I made them, I learned that the Mod Podge I used (glossy) dries tacky. LAME. So I spent all year with gross, sticky crochet hooks. It made me not want to crochet nearly as much. So Dave suggested that we take the hooks outside and try to hit them with a hammer until the clay breaks off. (I should note, that this was after I asked if I could ruin a steak knife trying to cut the clay off. He always tries to keep me from slicing my hand open. <3) So we wrapped the hooks in an old dishtowel and he began hitting them with a hammer.
Our first try was a little unsuccessful. The clay came off, but we failed to check the hook until well after he had smashed a number of times, so I ended up with a dead hook.
So sad.
I don't know what I'm going to do with that hook. I feel bad just throwing it away.
Eventually we got the hang of it. I even figured out the perfect pressure to hit the clay at so that the hook would just slide out. Dave preferred to just smash, though. Boys.
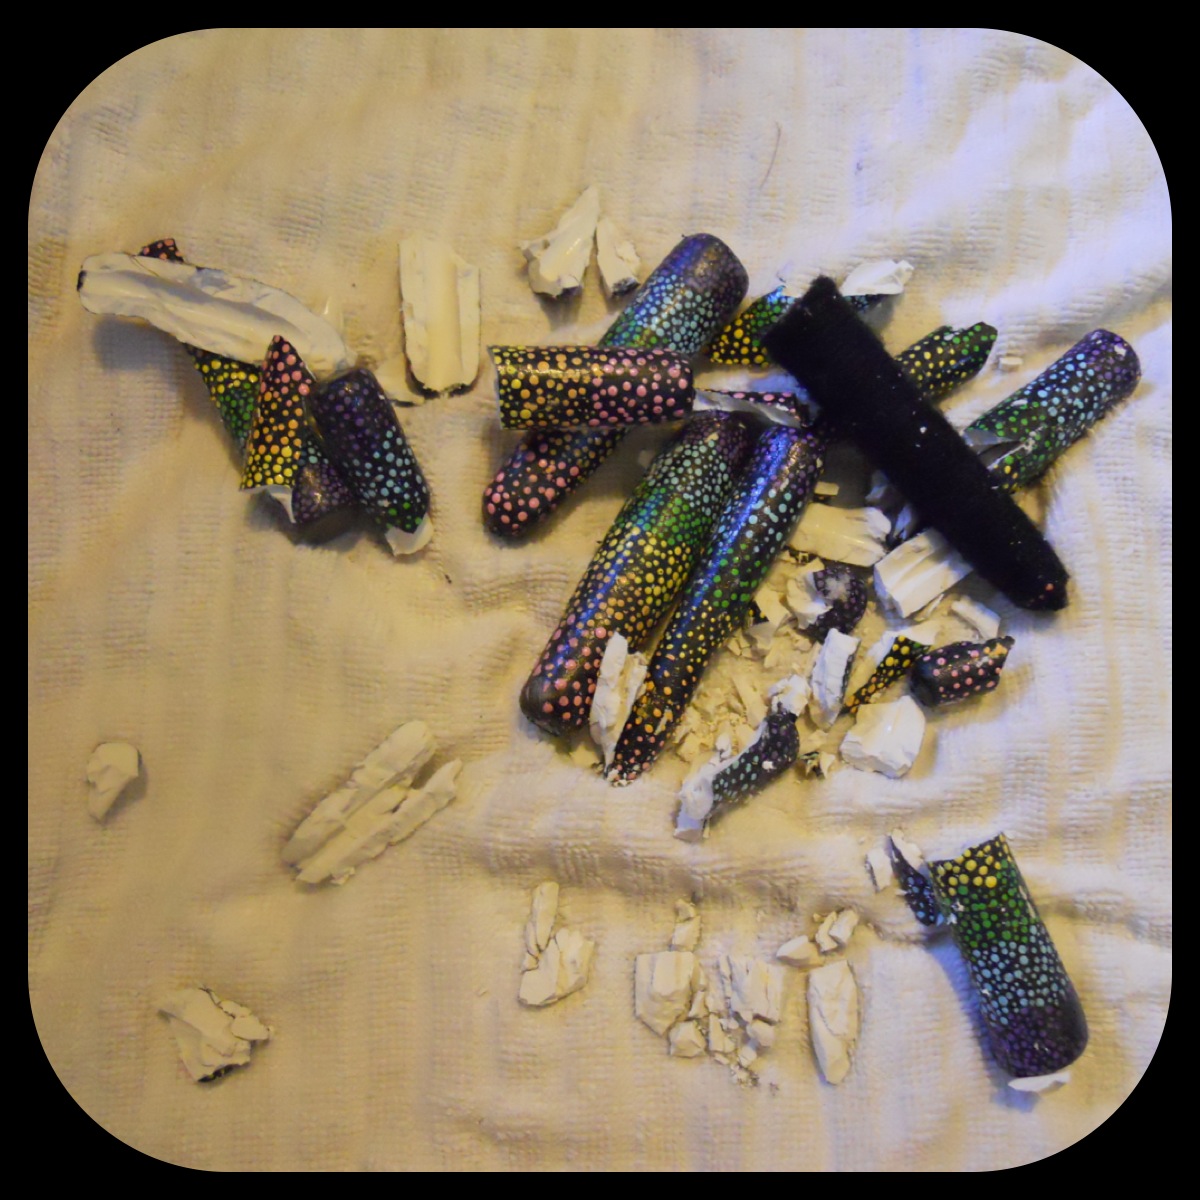
Smash!
Finally I had nice clean hooks again! The possibilities! I wanted to do handles the same way I had before, but without the painting. Even the acrylic paint I used had dried a little tacky. I think some chemicals just aren't mixing right - either that or I'm doing things wrong (a very legitimate possibility). So I started researching ways to dye my white Sculpey clay.
Turns out, according to this post I found, I could dye it, but the best thing was oil paints, of which I have none. I know any normal person would just go buy some cheap tubes of oil paints, but not this lady! If I need something I will find a replacement that works before I go buying anything! So I racked my brain trying to think of a non-water based colourant that I could use in the clay. Then it hit me.
Eyeshadow.
I have so much eyeshadow that I don't wear anymore, but I hate throwing it away, because it is disgustingly expensive! Since I've made the shift from bold, bright colours to neutrals, I have had blues and greens and purples just laying around forever, taking up much-needed space in my makeup drawer! So here you go. How to dye Sculpey clay using eyeshadow.*
*Please note that I only used Original Sculpey white clay, and I have no idea if this works with anything else.

Please forgive the horrible picture quality in this post. I used my Nikon Coolpix instead of my iPhone. The colour quality is better, but for some reason I can't figure out my focus. Grr, technology! You win again!
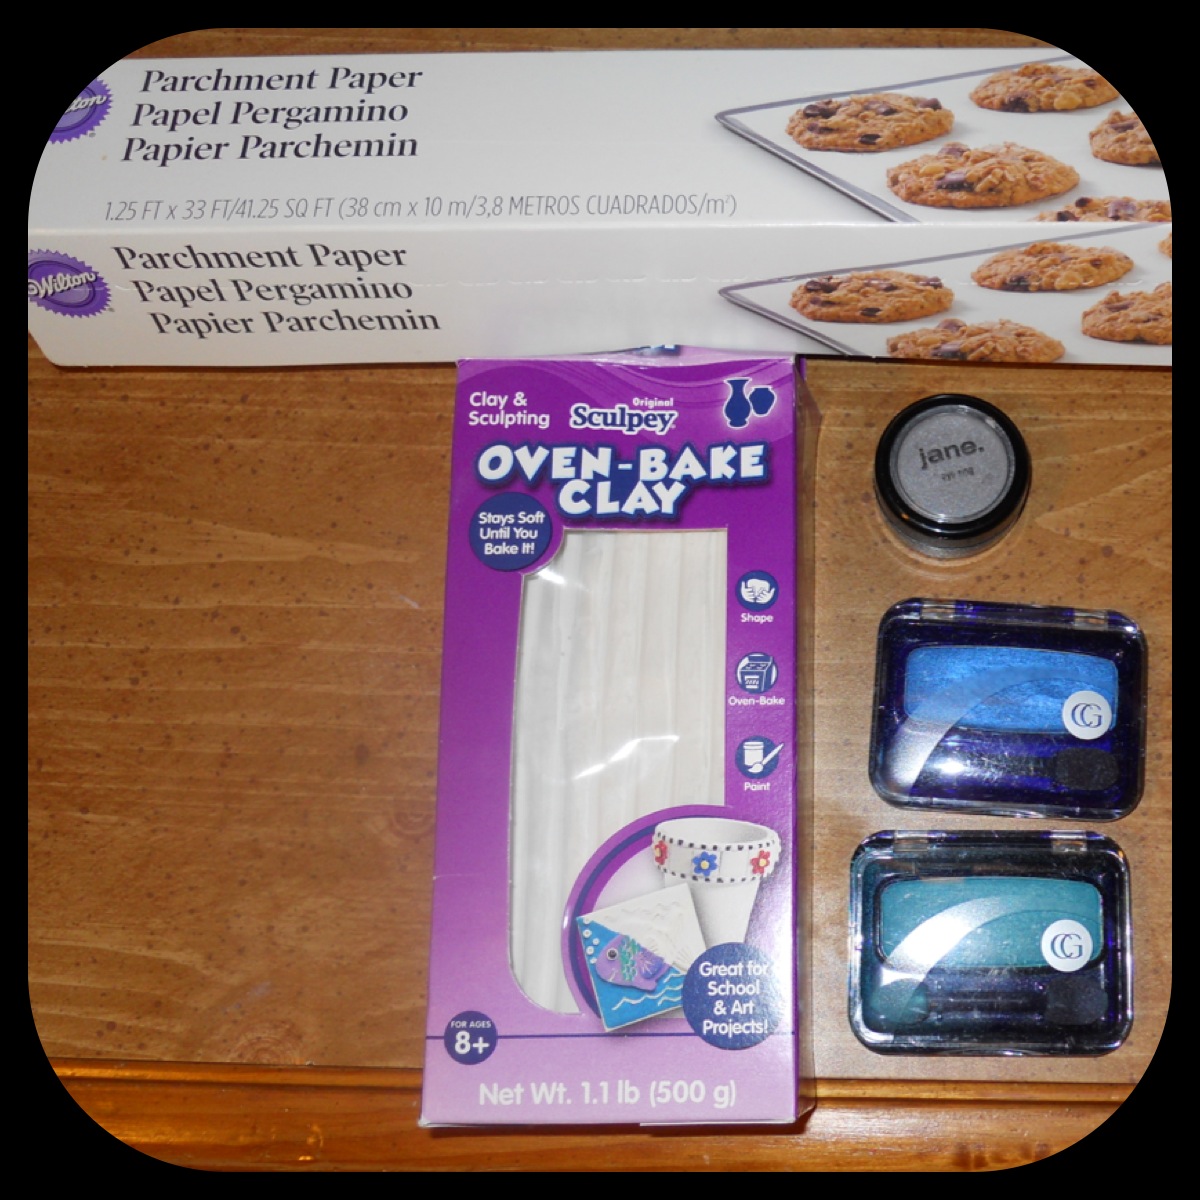
For this project, you will need waxed or parchment paper, Sculpey oven-bake clay, various eyeshadows, and a bobby pin (not pictured because I wasn't thinking ahead). If you have some spare eye pigment powder (which I assume is just unpressed eyeshadow), you can skip steps 3-5. I also recommend having a movie or music playing, as this project takes an awful long time. I sat in silence my first round, and regret it completely.
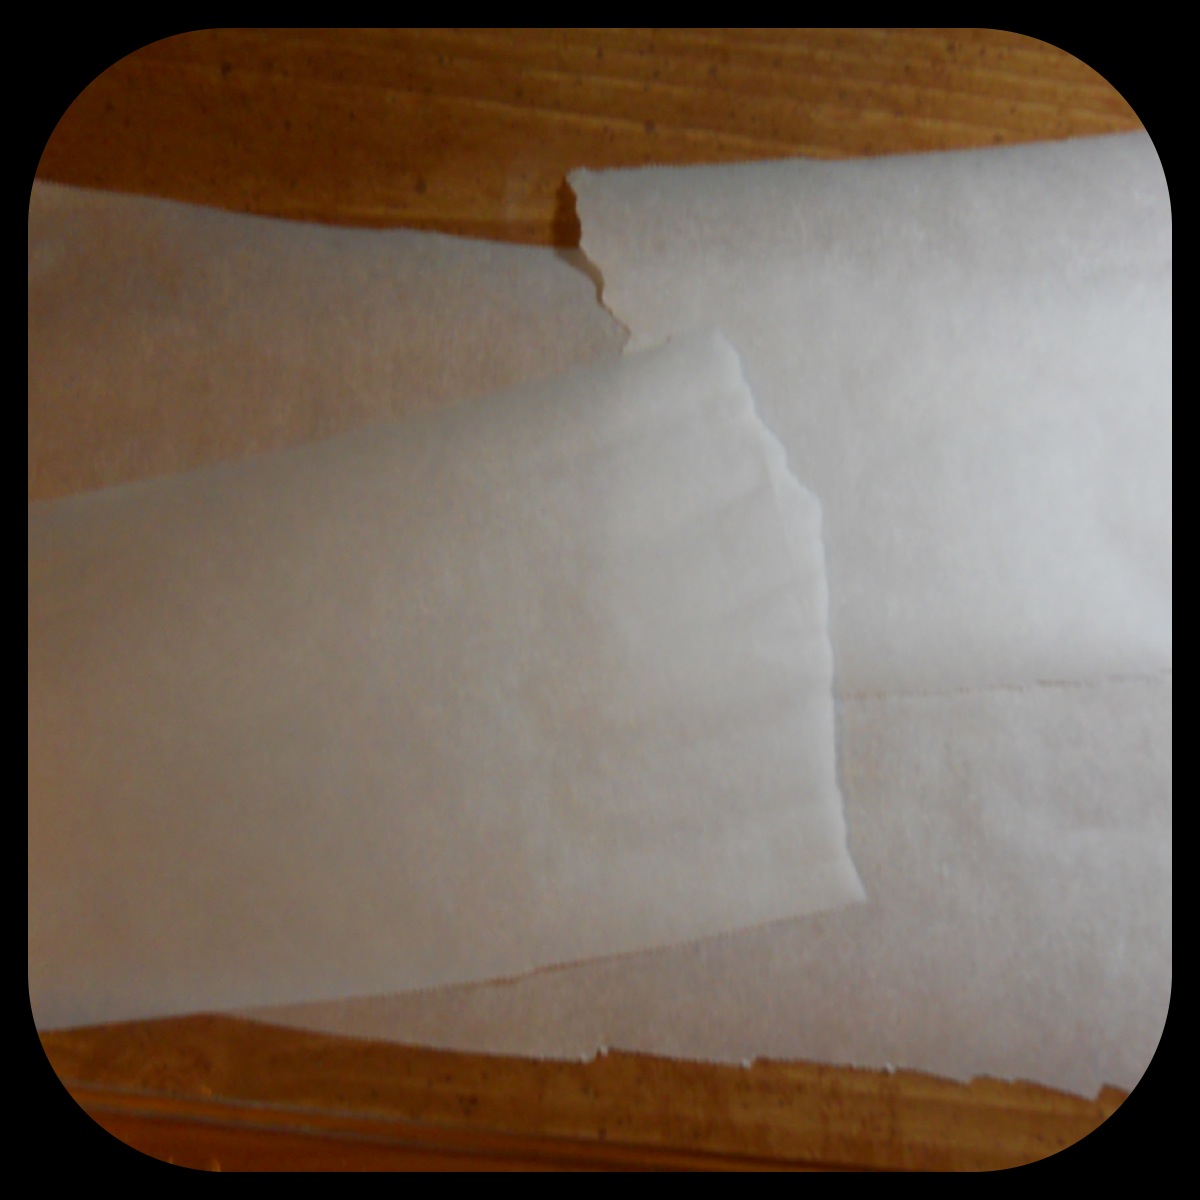
First lay down one large sheet of parchment paper to protect your workspace. I'm all about easy cleanup. Then tear off another sheet of parchment paper and rip it in half to make two square-ish pieces.
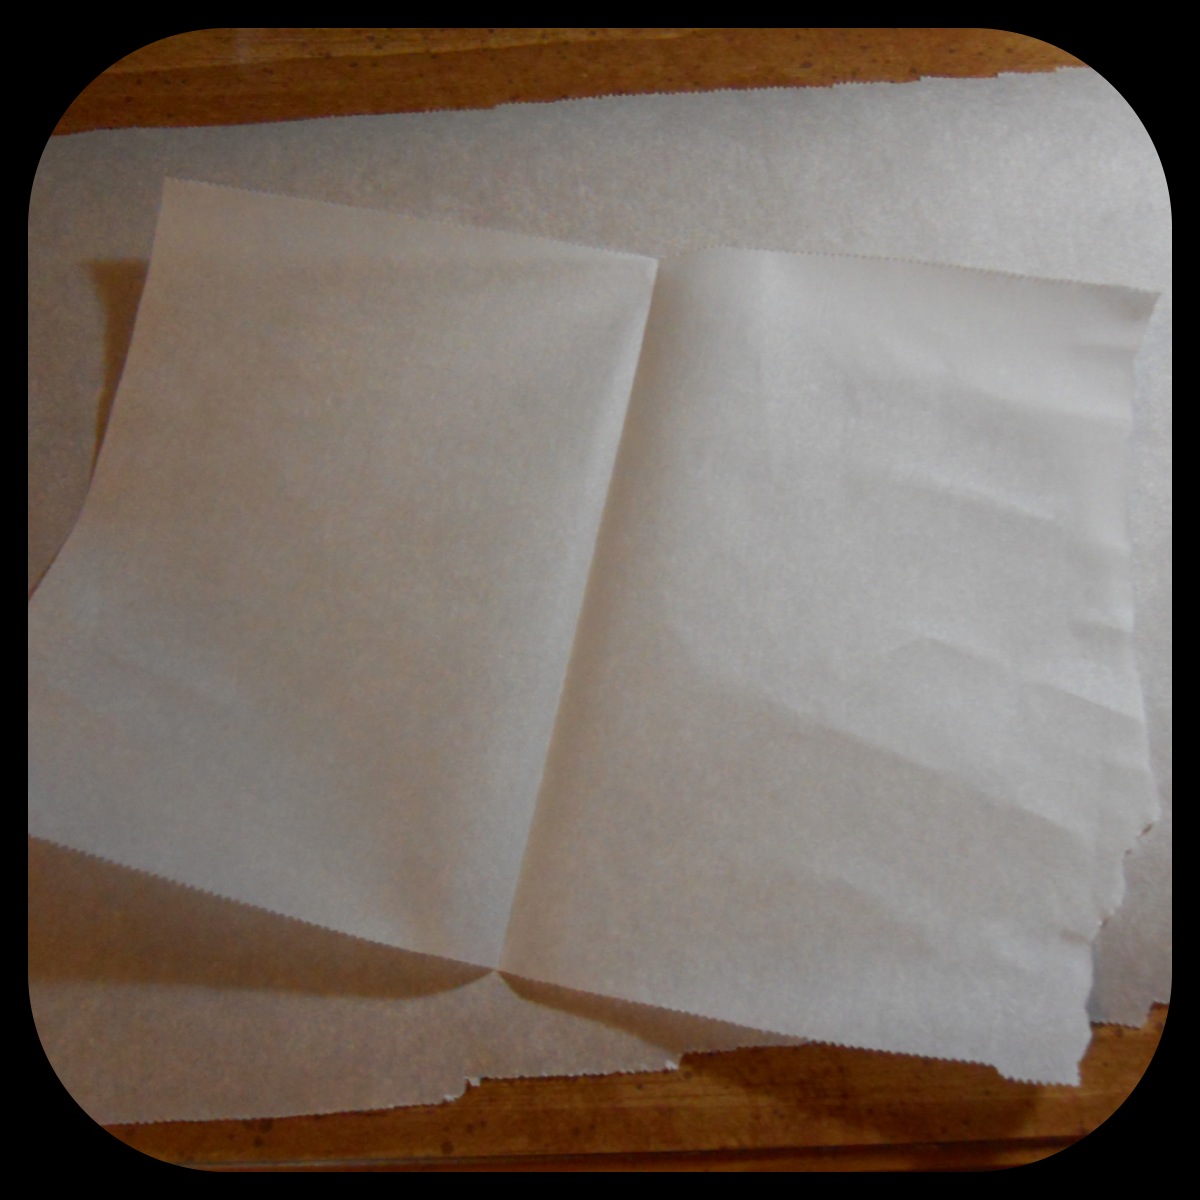
Next, fold one of your squares in half. In hindsight, it wouldn't be a bad idea to fold it in half again the opposite way (so the creases form a +). This is just for keeping the eyeshadow contained.

Then you'll want to choose your eyeshadow colour and break it up with your bobby pin. (Again, I apologize for the fuzzy pictures)

Using the bobby pin, scrape the eyeshadow out of the container and onto the folded parchment paper.

Use the bobby pin to crush the eyeshadow into a very fine powder. Try to get rid of all the clumps - you'll be happy you did. I would do it even finer than this picture. If you're going to add anything else, do it at this point and mix it in with your eyeshadow while it's a powder, instead of trying to mix it into the clay later. You could add glitter, spices, or just mix eyeshadow colours, like I did later.

Mix your colours! Get creative!
I mixed some silver and black and ended up with a really pretty gunmetal gray. Enjoy this part!!
Flatten a piece of Sculpey clay onto your large sheet of parchment paper. I used a lump about the size of a golf ball for each average-sized container of eyeshadow. Keep in mind that the more or less white you use determines your final colour - make the whole amount of whatever colour you need in one batch, as it is unlikely that you'll be able to make that same shade again.

Gloves! Wear them!
Before we continue.... I HIGHLY advise that you wear latex/whatever gloves starting now. I did not, and my hands looked like Smurf hands. It got under my fingernails (which is a HUGE pet peeve of mine) and took FOREVER to wash off.

Add small amounts of powder to your clay. DO NOT ADD ANYWHERE NEAR THE AMOUNT YOU SEE IN THE PHOTO!! At first, the powder will cause the clay to not stick to itself, and the clay will become VERY flaky. Just keep working through it, and it will mix in and restick. The less powder you add at a time, the easier it is to knead. That is why this step takes FOREVER. Again, I recommend having some sort of media nearby. If your hands get tired and sore (which they very well may), take a break just to sit and not use them or stretch them out.

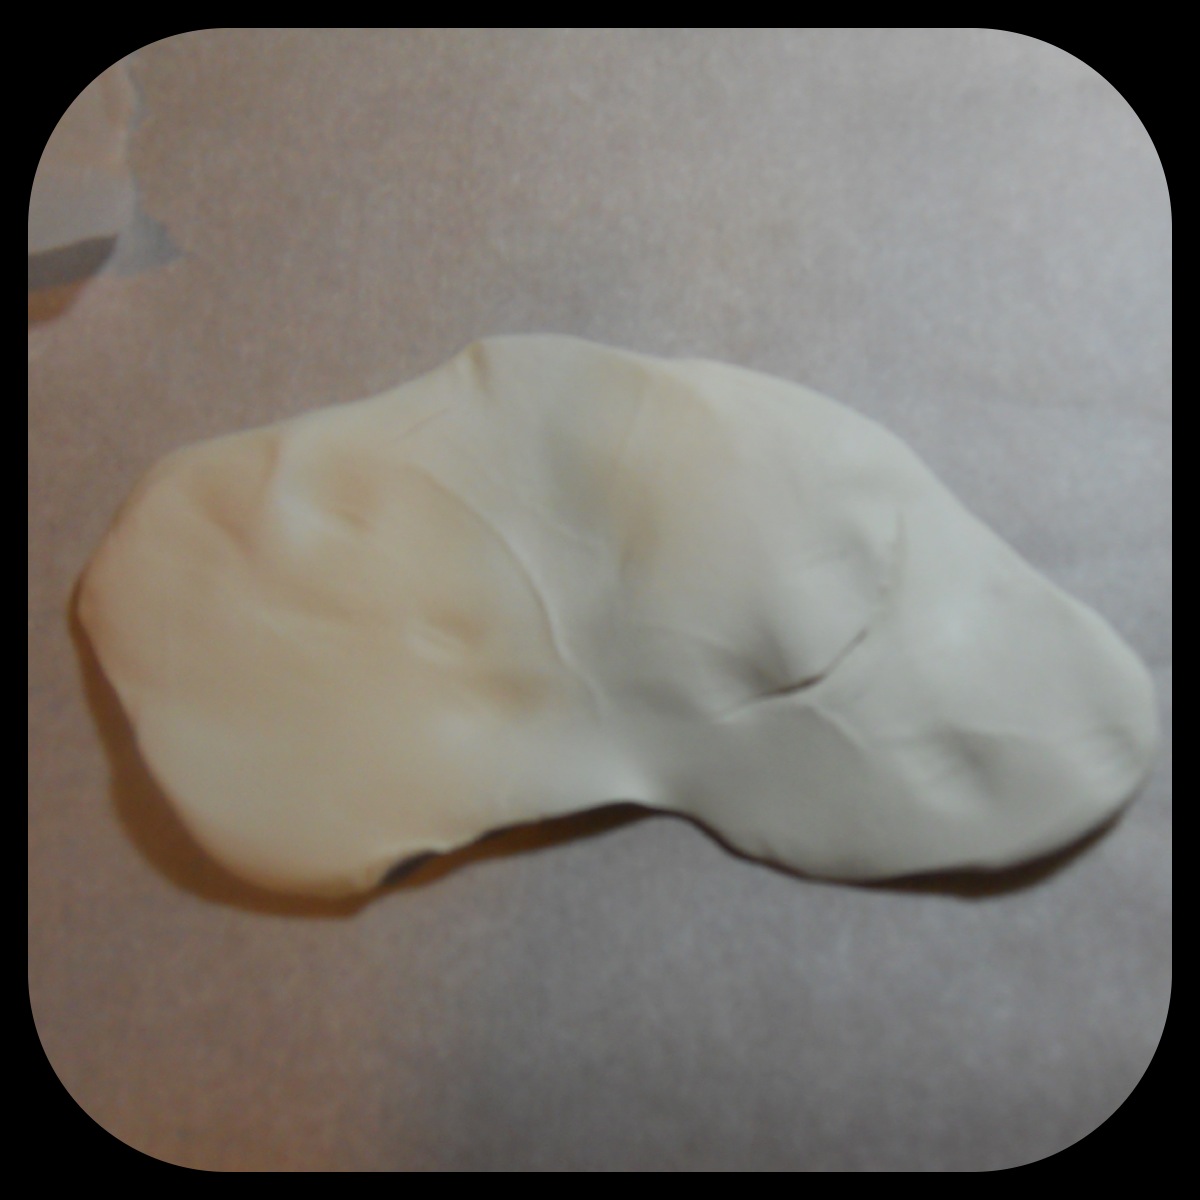
Finished!
Once you get all the powder mixed into the clay you're all done! Look at that pretty blue! It had a really nice shimmer to it as well once I molded it! You can even mix it to a lesser extent so that it has a marbled effect instead of being uniformly coloured. Whatever makes you happy! That's what it's all about!
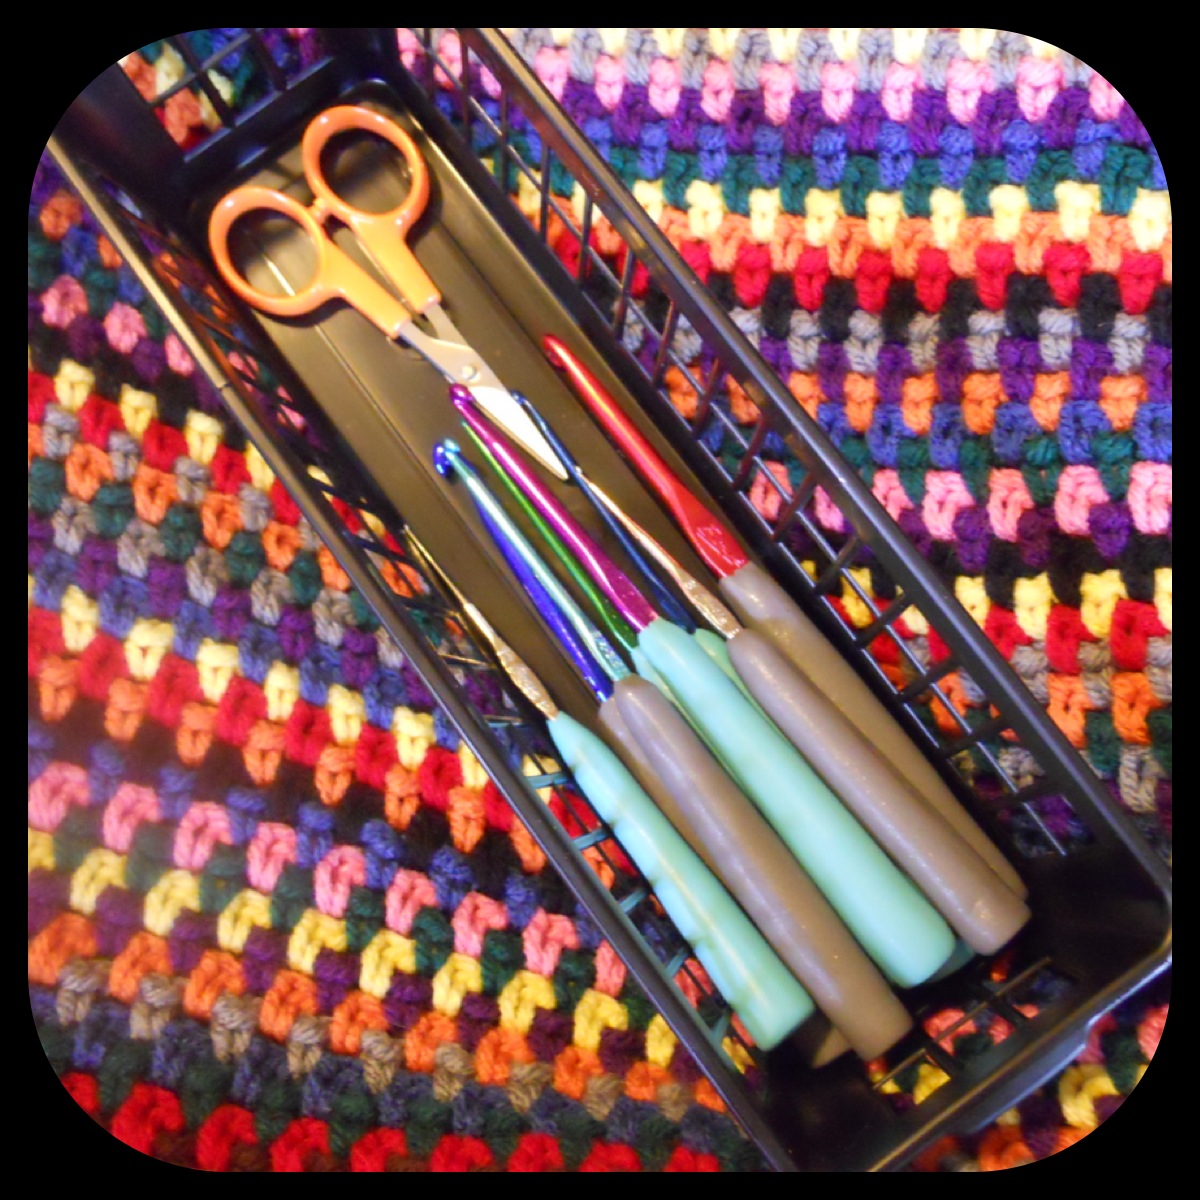
My hooks with their new handles (along with my current crochet project - a picnic blanket!).
After I mixed my clay, I made my hook handles just like last time, except without the painting process. The clay bakes exactly the same as it says on the box; in the oven at 275*F for 15 minutes per 1/4" thickness. I tried sanding some of the imperfections out after they had cooled with 320 sandpaper, and that seemed to take away the shimmer. So sad. I also tried sealing the sanded ones with clear nail polish, and after 2-3 thick coats it seemed to work all right. I find myself really liking just the plain coloured clay ones, though. The texture is velvety soft, and the colours are turning out lovely! I've been using them while sitting outside with my little buddy.

Oliver is my homeboy. He likes to watch me crochet.
I'd love to see the colour combinations and projects you come up with for this clay!