Showing posts with label Crochet. Show all posts

Sunday, August 2, 2015

Free Knit and Crochet Drink Cozy Patterns

I love making cozies. 

Like, to a weird extent. 
I've made cozies for all my water bottles (and my nephew's water bottle). I've made them for my regular drinking glasses.
My favourite cozies to make, though, are the ones that you carry in your bag and use when you stop at a coffee shop or something. The ones that replace those cardboard sleeves. I always carry two in my purse - one for me, and one for my husband (though he's not the biggest fan of using them. I pretty much have to force him into it).

These drink cozies have become my favourite thing to knit, by far. They're super easy and super fast. They make really cute gifts (hence why you should always carry a few around with you - if you meet up with some friends and they go all ga-ga for yours, you can quickly gift them with one of their very own!). They're how I learned to use double pointed needles (and found out that I strangely really love using dpns). They're how I learned to do a stretchy bind off (after trying a regular bind off and being disappointed that it didn't stretch even a little bit). They're how I fell in love with Marblz Knitting Needles (which are so hard to find - only one store I know of in my area carries them). 
The crochet version of these cozies also hold a special place in my heart. They're the first pattern I ever wrote myself. I made them for all my coworkers one year for Christmas - I gave them empty coffee cups filled with candies and a gift card, then just slipped the cozy over the cup. They loved them, and I ended up selling a few to other people who saw them. Score! The only reason I don't really make them anymore is that they don't stretch like knit does, and thus they're not as user-friendly.

So I figured I'd share my patterns with you. They're incredibly easy and perfect for beginners. They're also super nice for when you want a super fast and useful project. They also make GREAT stash buster projects!!


As you can see, you can add all sorts of embellishments onto these cozies - buttons, patches, felt shapes, knit or crocheted appliqués, flowers, whatever! Be creative!! 
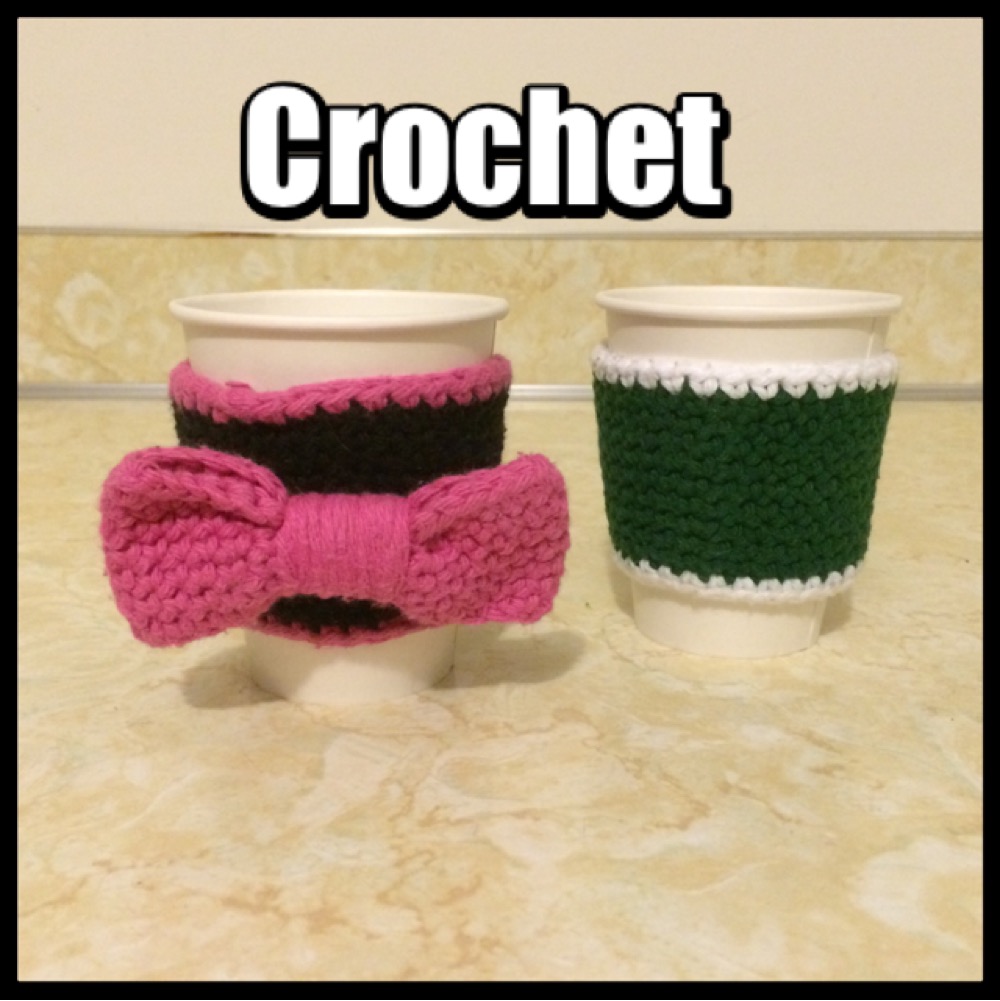

For these, I used Sugar n' Cream cotton yarn and a size G hook.

1. Ch 32 and connect to form a circle. Make sure there are no twists!
2. Ch 1. Sc in every ch stitch. Slip stitch into your ch (32 sts).
3. Ch1. Sc in every sc stitch Slip stitch into your ch (32 sts).
4. Ch 1. Sc into 10 sc stitches. 2 sc into the next stitch. Sc into each stitch after in the round. Slip stitch into your ch (33 sts).
5-6. Ch 1. Sc into every sc stitch. Slip stitch into your ch (33 sts).
7. Ch 1. Sc into 20 stitches. 2 sc into the next stitch. Sc into each stitch after in that round. Slip stitch into your ch (34 sts).
8-9. Ch 1. Sc into every sc stitch. Slip stitch into your ch (34 sts).
10. Ch 1. Sc into 30 stitches. 2 sc into the next stitch. Sc into each stitch after in that round. Slip stitch into your ch (35 sts). Knot your yarn and weave in ends. 
If you want a contrasting border
With your second colour, sc into each ch stitch in row 1. Knot your yarn and weave in ends. 
Then sc into each sc in row 10. Knot your yarn and weave in ends.

EASY PEASY, RIGHT?!
(If you have questions, feel free to ask! I'm still not used to writing patterns!)


The knit pattern is even easier. Since it stretches, there's no need for increases. 
I usually use Caron Simply Soft yarn (or really whatever DK yarn I have on hand) and size 9 dpns. 

Cast 32 stitches onto a size 10 straight needle. Divide those stitches evenly onto four dpns (8 stitches per needle).
Knit 30 rounds, or until it's big enough for your hand.
Bind off with a size 10 straight needle (again, I recommend [url=http://slipslipknit.com/?page_id=92]this[/url] bind off method). Knot your yarn and weave in ends. 
This pattern creates rolling edges (like you see in the blue cozy). If you'd prefer them straight, purl rows 2 and 29.


Now go out and show off your new cozies! Show them to the world, and enjoy hands that are neither too hot nor too cold while you enjoy your beverage! 
Until next time!

Sunday, July 19, 2015

Pattern Review: Crochet Mesh Grocery Tote

I spent this past weekend babysitting my 6 year old nephew and 3 year old niece. 
My brother wanted to take his wife on a weekend trip for their 10 year anniversary, so I stayed at his house and took care of two little kids (mostly) by myself for about 48 hours. 
It was exhausting, but I'd do it again in a heartbeat.
Those two are really good kids, and we had so much fun doing Avengers training (obstacle courses), movie nights (now I have songs from Cinderella stuck in my head), and "cooking" (they have the best collection of play food I've ever seen). Super fun. :-)
Leading up to this weekend, I was trying to think of fun things to do with them. I wanted to do sun-print paper with them, but the store was sold out of it (noooooooo). I brought my baseball glove, but with the heat we didn't even go outside. But I did bring one winner.
Crochet bags. 


Who knew kids would get so excited about crocheted bags? I had originally planned to take them to the library, and the kids could use these to bring home all their books. I handed my nephew his and he said "Wait, these are ours to keep?!" Goof.
They used them all weekend to carry around books, stuffed animals, play food, all sorts of things. They even just snuggled with the bags like a blanket for a little bit. I had put a colouring book in each, but the bags themselves were way bigger hits than those.
Nice.

So I figured I'd share the pattern I used for these bags, in case anyone else needs a quick and easy gift for easy-to-please kids. I've also given this bag as a gift to my mother - I have two of them, and was using one around her, and she loved it. They work so well, and you can fit so much stuff in it since it stretches like crazy. I've used mine as market bags, baseball-gear bags, beach bags, craft supply bags, and probably others that I can't think of now.


I used this market bag pattern from Just Be Crafty. I found it on Pinterest, tried it, and it quickly became my favourite bag pattern. I use standard Sugar n' Cream cotton yarn so that they're easy to clean.

To make different coloured handles, I switch colours at row 36.
To make kid-sized bags, I skipped rows 17-24. To make a long handle (for a messenger-style bag), I just rows of 5 hdc until I got the length I wanted, and slip stitched it to the opposite side of the bag. 
Easy peasy!

That's really all I've got right now. I'm still pretty tired from this weekend, so this post is going to be a little short. 
Until next time! :-)

Saturday, July 4, 2015

DIY Woven Crocheted Bath Mat

HAPPY INDEPENDENCE DAY!!

And to my beautiful neighbours to the north:

HAPPY (belated) CANADA DAY!!

I hope everyone has stayed safe but still partied their little patriotic hearts out!! I'm currently writing this while I listen to the fireworks that have been going off in my city for at least five hours (who starts shooting fireworks in daylight?!). My apartment is starting to smell a little bit sulphurous (all my windows are open since I don't have AC), and my head is starting to hurt, but what're you gonna do? My kitties are a little stressed out, but they're making do. Here's sending good thoughts to your own pets (if you have them) - fireworks can be so stressful for animals. 
Poor little guys.

Anyways, I have lots of things to report, including a little tutorial! 
First, I want you to look at my knitting bag, because it makes me laugh all the time. 


My mom and I went to an estate sale a few months back, and I laughed so hard at this that she bought it for me.
The best part is it's machine embroidered, so someone programmed a kangaroo sitting on knitting needles into their embroidery machine.
Beautiful. I just love it.

Second, I finally got something that I've been wanting and searching for for months. 


Amazon is sold out of Johanna Basford's two colouring books every single time I look, and it was getting so frustrating. I finally walked by them at Barnes and Noble, though. I considered buying her other book (Secret Garden), but it seems to have more of an activity book-feel to it (there are several pages where it tells you to complete the drawings, and I'm just not comfortable enough with my art skills). This one is almost strictly colouring, and I LOVE it!! I've honestly been carrying it everywhere. My husband ran a 25k this morning (SO PROUD OF HIM), and I took this to the race and coloured while he ran. I even pulled out my Prismacolors from high school and was playing with those. 


I love blending. 
I will need some new coloured pencils soon, but everything I've been reading about Prismacolors since they started being manufactured in Mexico is pretty bad, so I may have to find a new brand. Any suggestions would be really helpful!! 
If you're interested in what people do with some of the pictures in Johanna Basford's books, I'd recommend searching just her name on Pinterest - people have done some really amazing things with her pictures!! They're so inspirational, even if I know I'll never make it to that level.

Okay, now the moment you've all been waiting for, I'm sure. The tutorial. 


I finally finished my crochet bath mat.
But bath mats are like $5 - why wouldn't you just buy one?
Good question! I don't like the bath mats you buy at the store because of their rubberized bottoms. That means that you can't wash it well in the washing machine, and it gets all mouldy and gross. I hate them so much. Plus my cat barfed on my last one, and so I've just been using a towel on the floor like a bachelor. 
So I decided that if I just crochet my own out of cotton yarn, I could machine wash it as much as I want! 
*Note: I actually have yet to machine wash it, so I don't know how it's going to work out. But I'm optimistic.*
Let's do this.

So I used a little less than four full balls of each colour of my cotton yarn. It's the 70.9g balls of Lily Sugar'n Cream yarn, and I'm pretty sure I got mine for really cheap at Michael's. The green colour I used is called "Sage Green," and the purple is "Hot Purple." What a weird colour name. 
My husband and I couldn't agree on the colours, so I just picked my favourite colour (purple) and his (green) and went with it. They actually look really nice together. 
You'll also need another ball for the border, but whether that's one of your main colours or a different one is up to you. I used a cream scrap cotton.


So I learned something about myself while I made this bath mat. 
Apparently, I'm not very good at following my own patterns. 
I thought I had all the measurements and everything down, but it all turned out wonky in the end. If you're trying to do this, I would go with the measurements system instead of the row counting one - I went with the latter, and, like I said, I don't know where I went wrong, but I definitely messed up. 


My goal was to make a bath mat that measured 27" x 18". I decided which colour would be my length strips (purple), and which would be my width (green). I made 6 purple strips that measured 3" x 27", and 9 green strips that measured 3" x 18". In the end, I only used 8 of the 9 green strips, but the mat still measured out to be 27" x 19.5". I don't know - if you do this just be flexible and remember that frogging is always an option (as per my last post). 
I double crocheted my strips (for speed), but you could certainly knit them or do a fancier stitch (I'm considering making a rug in a puff stitch because I think that would feel so good to walk on, but it would also use up A LOT of yarn).


Once I had all my strips done, I connected them by just single crocheting the ends together, as you can see in the picture. I connected all the purple strips at both ends, but the green only at one end (it actually made the weaving part easier, I think). 


Once all that's done, I placed my long strips on top of my short ones. 


Hooray for weaving!


Don't worry if the strips get a little scrunched (like my bottom row). Once they're all secured you can fix that really easily.
After I finished weaving, I single crocheted the open end of the green strips together. This part was a little tricky, but certainly not the worst thing I've ever crocheted. 


Once all that was done, I just took my cream scrap cotton yarn and single crocheted a border, going through both layers - the green and the purple - in order to secure them together. It doesn't look the prettiest, but I've always been more of a fan of functionality over looks in my crochet (which is really just my justification for not being very good, haha). If you wanted, you could do a fancy scalloped border or something - that would look cute. :-)
Once the border was done and I weaved in the last of my ends (which took no time at all, since I'm a big proponent of just crocheting on top of the ends), the mat was ready!
It's very absorbent, but also a little slow to dry, so be warned. Although, with it looking this cute, you could always hang it out on the line in the summertime and dry it faster (and the sun will help keep it clean, as well!). 
My husband likes it - he said it looked too good to step on.
I told him that I worked too hard on it for it not to be stepped on. 

Once I machine wash it (probably this weekend) I'll report back on how it held up. There's always that fear that it'll all come apart in the wash (at least I have that fear).  So until then, celebrate the summer holidays safely! 

Saturday, June 27, 2015

That was a really big frog

Do you ever grab your phone to check something, then as soon as you touch it you instantly forget what you originally wanted it for and end up checking half a dozen other things? Because I do that all the time.

Oh, I should check the weather. *grabs phone*
Shoot, I haven't done my French yet.
I haven't really checked my email all day.
I wonder what the Facebook world is up to.
And Instagram too, I guess.
That's enough for now. *sets phone down*
OH YEAH, WEATHER.

Ridiculous.

In any case, I don't have much to report on today, but I don't want my blog to almost-instantly become a barren wasteland.
Again.


I do have a number of projects going right now.
A picnic blanket that I've been working on for a few years now (I'm just so slow, I guess. Plus it's huge).
A bath mat (my cat puked on my last one, and it had a rubberized bottom so I couldn't clean it).
Some gifts for family members are in the planning stage, as well as favours for my wedding party next month.
A birthday gift that I owe my sister from January (oops).

I guess that's all I can think of right now. It feels like a lot, though.
I haven't made anything for myself in forever. Such sorrow. 

ANYWAY every once in a while I get a little antsy about my WIPs (there are many....), so I decided that I'm going to FROG a few of them. I decided to start with the largest one - a massive pastel rainbow granny square blanket.


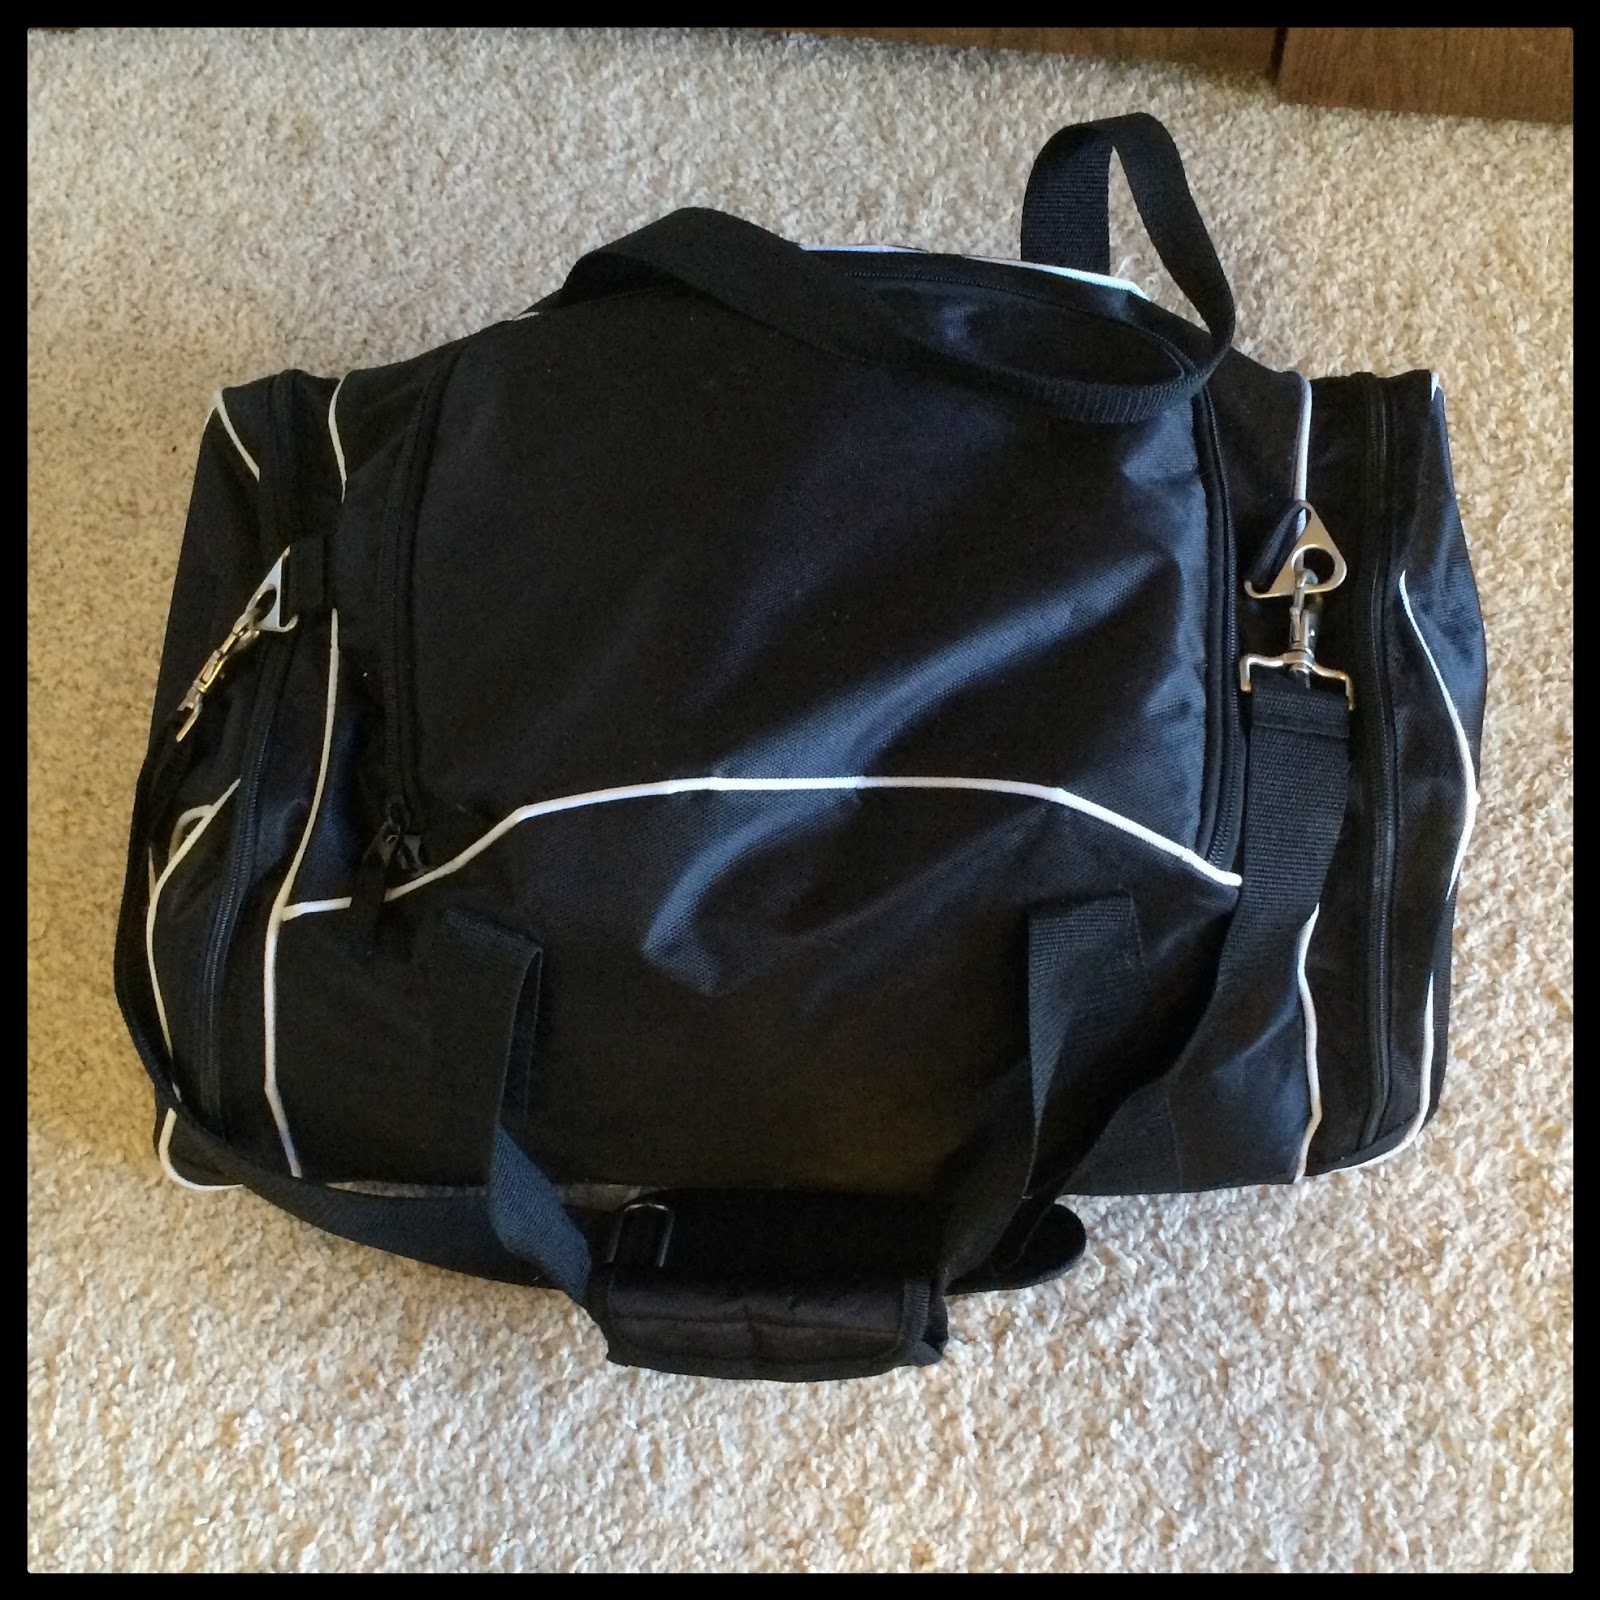
This is the Duffle of Doom which once held this blanket. I've avoided dealing with it for years, but it's finally time.


When I say this blanket is big, I really mean it. At the time of frogging, it was about 64" square. And I had only made it through a small portion of the orange. Had I kept going, it probably would have been around 84" square or so.
No one needs a blanket that large. 
No one.
I blame myself, of course. I completely mismeasured what I was doing, and didn't realize it until I had finished the yellow off. I tried to keep going and convince myself that I would indeed use a huge pastel rainbow blanket, but then I couldn't keep up that charade anymore and stopped working on it. So finally I'll have this yarn back for.... other things, I guess. I don't know I don't really have a plan.
BUT THAT'S WHAT MAKES IT FUN.

So I pulled and pulled and pulled and pulled. It took hours. 
I ended up with really big balls.


THE SHEER SIZE. 


Now, of course, I have a rainbow of yarn and no real ideas what to do with it. I could always save it until I need it, or I could make a MUCH smaller rainbow baby blanket or something, then wait until I need the finished product. 
I mean, it's going to have to wait one way or the other. I have other things to make first! 
If you have any good ideas/patterns/advice, I'd gladly welcome it!

Side note: I'm not good at taking breaks when I craft. This often leads to repetitive stress injuries in my hands, wrists, and elbows. I'm pretty sure that nothing is more embarrassing than saying you hurt your hand crocheting. 
Of course, with such a huge project, I didn't take a break from frogging either, and this was the result:


My wrist was in so much pain the day after, that I had to wrap an ice pack around it for much of the night. 
Lesson learned?
Probably not.

Until next time! Same bat time, same bat channel!
P.S. HAPPY PRIDE!!!!! I am so happy about the latest SCOTUS ruling!!!!!!

Sunday, June 16, 2013

DIY Coloured Sculpey Clay

Well hello! Happy Father's Day to all you Dads out there!
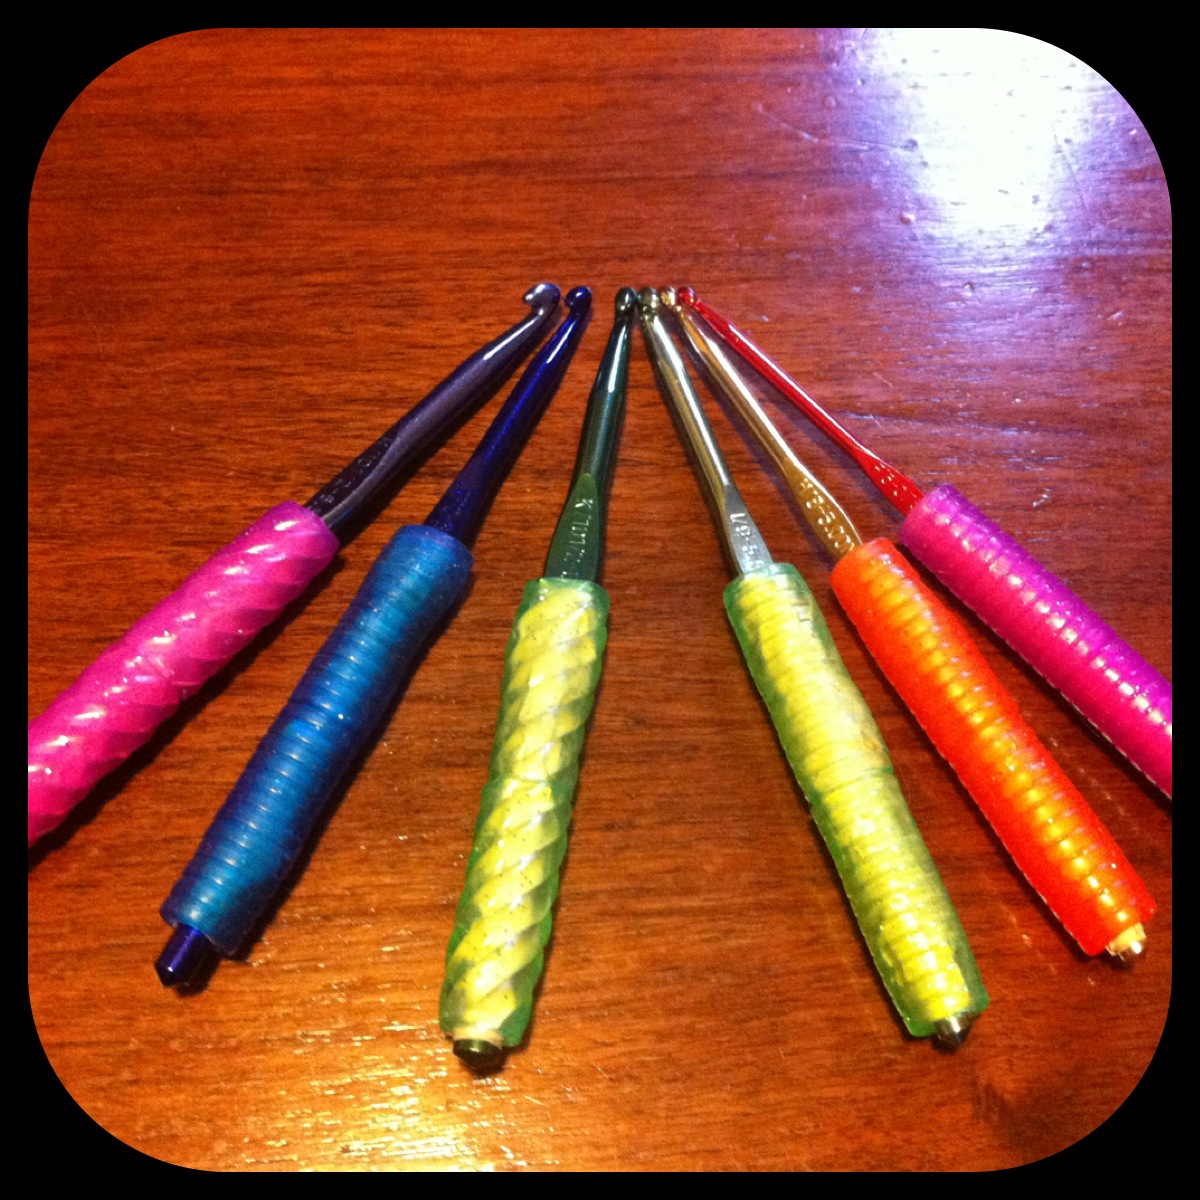
I know, I know, I've been somewhat of a ghost on here. School kept me from updating over the fall, winter, and spring. I have had so many new changes lately - a new school, new people, a new commute (that was 45 minutes on a good day - 3 hours on a bad!), I lost my part-time job (it was for the best; I need that time for school), I got engaged (!!!), and in two weeks I'll be moving to a whole new city. This is a big change for me, since I have spent all my life in small towns, and now suddenly I'll be thrown within 2 miles of skyscrapers. I'm nervous, but excited. I love the area we found (though apparently several years ago it was one of the absolute worst parts of town), and the apartment is good for us, and our new landlady is wonderful. Really, I couldn't be happier.

So even though I should be packing (though honestly, we don't have that much stuff), I've been crafting instead. What can I say. I do have a crochet pattern that I have to share with everyone - over Christmas I made everyone I worked with coffee cozies. They were a huge hit! I also (accidentally) made ice cream cozies for pint-sized containers. I'll share that soon (hopefully). Today, however, is something different. It also includes a backstory. Lucky you!
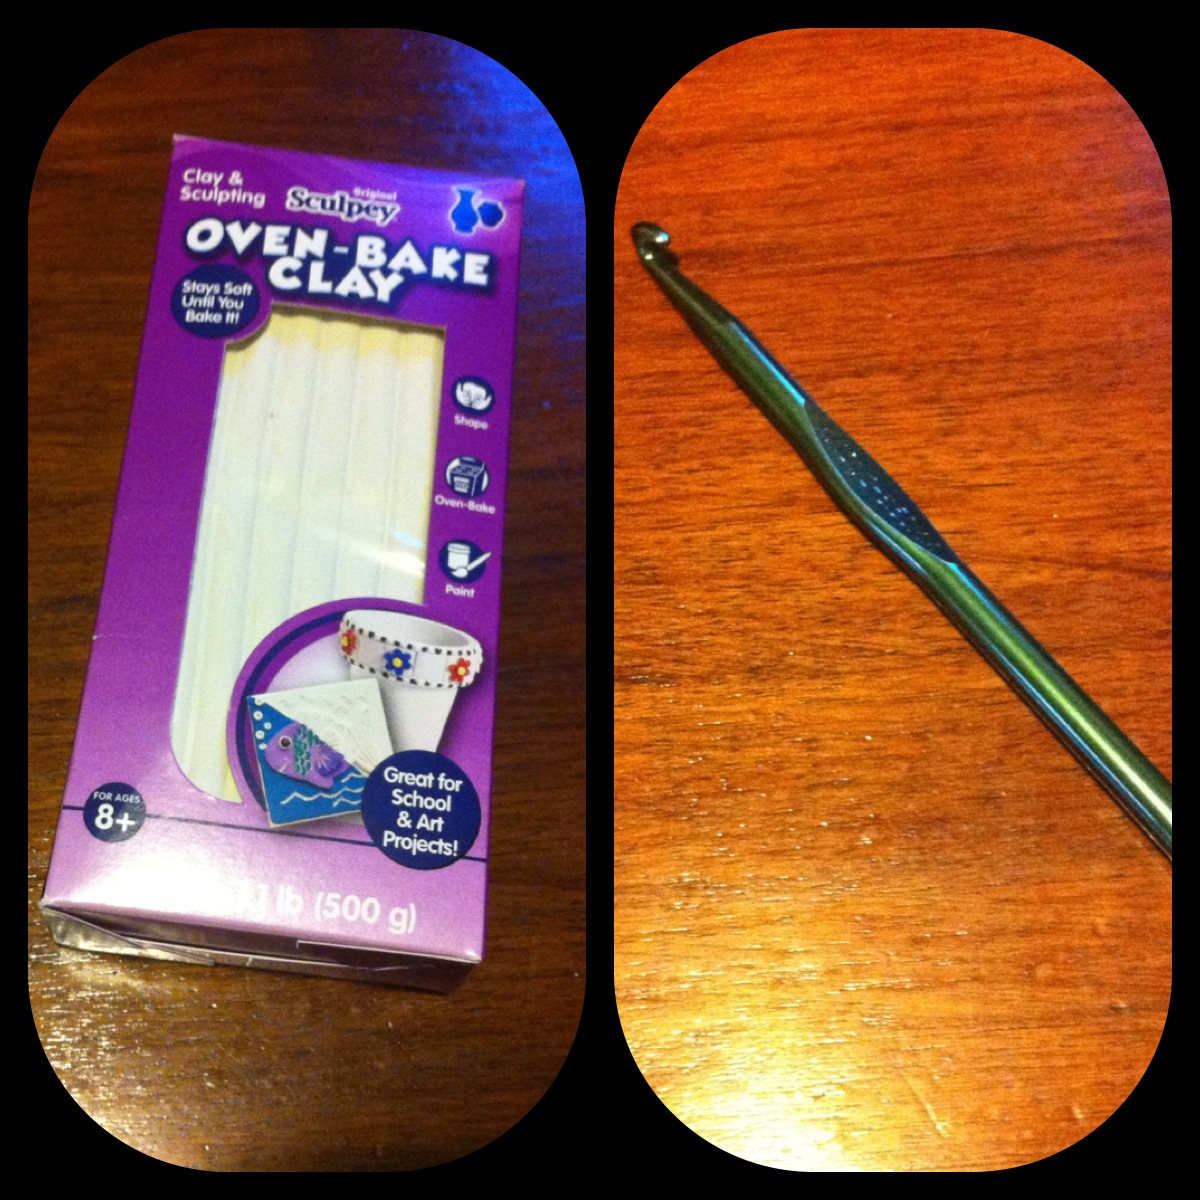
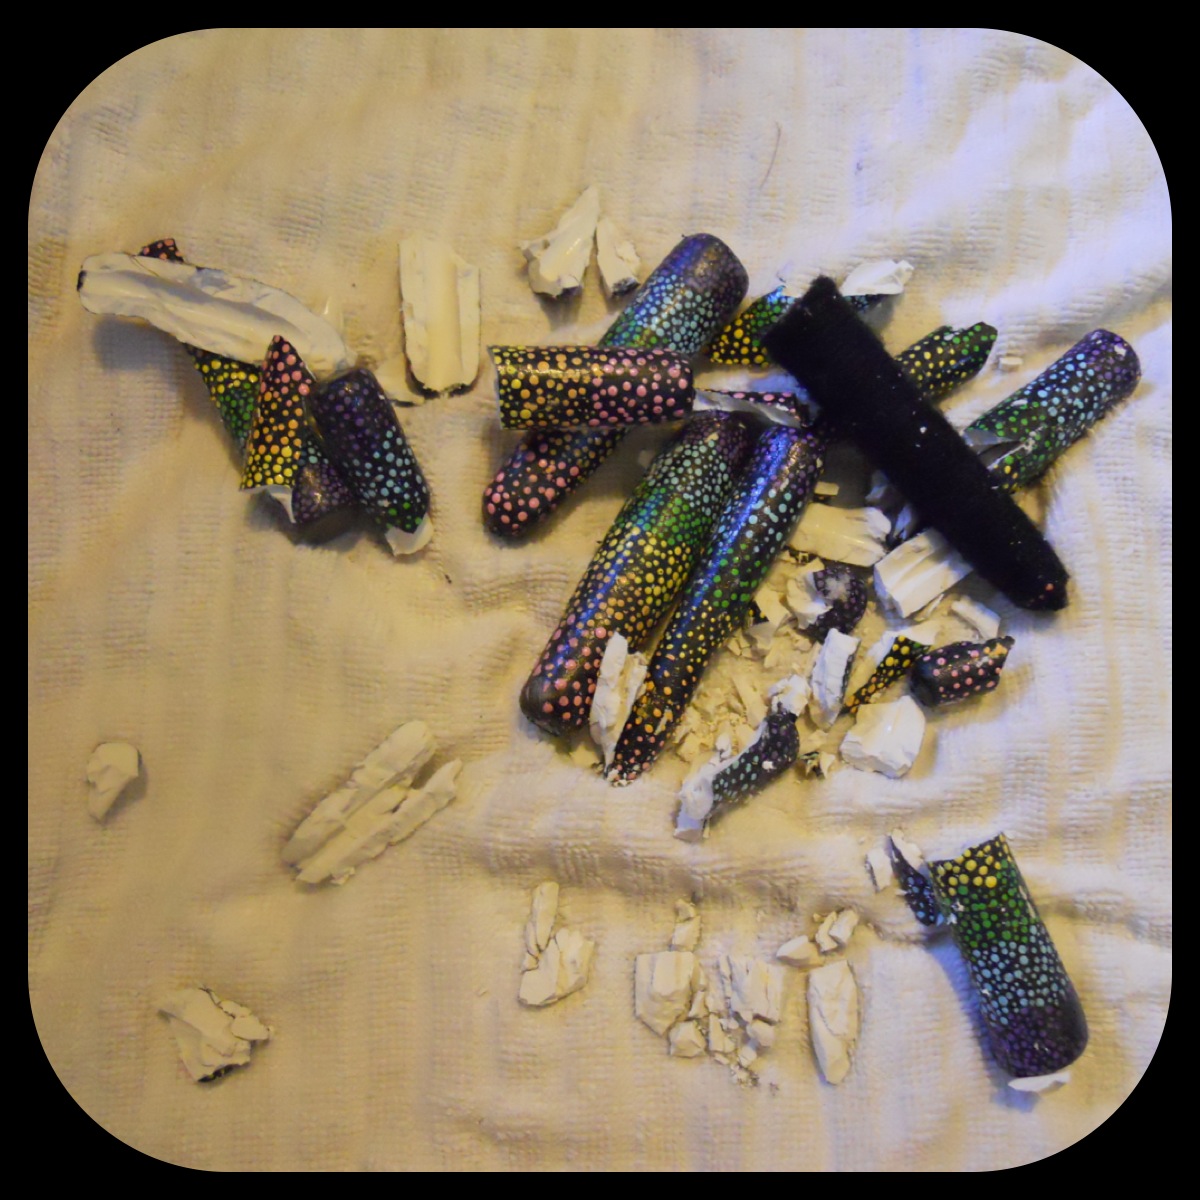
So remember those crochet hook handles I made last year? After I made them, I learned that the Mod Podge I used (glossy) dries tacky. LAME. So I spent all year with gross, sticky crochet hooks. It made me not want to crochet nearly as much. So Dave suggested that we take the hooks outside and try to hit them with a hammer until the clay breaks off. (I should note, that this was after I asked if I could ruin a steak knife trying to cut the clay off. He always tries to keep me from slicing my hand open. <3) So we wrapped the hooks in an old dishtowel and he began hitting them with a hammer.

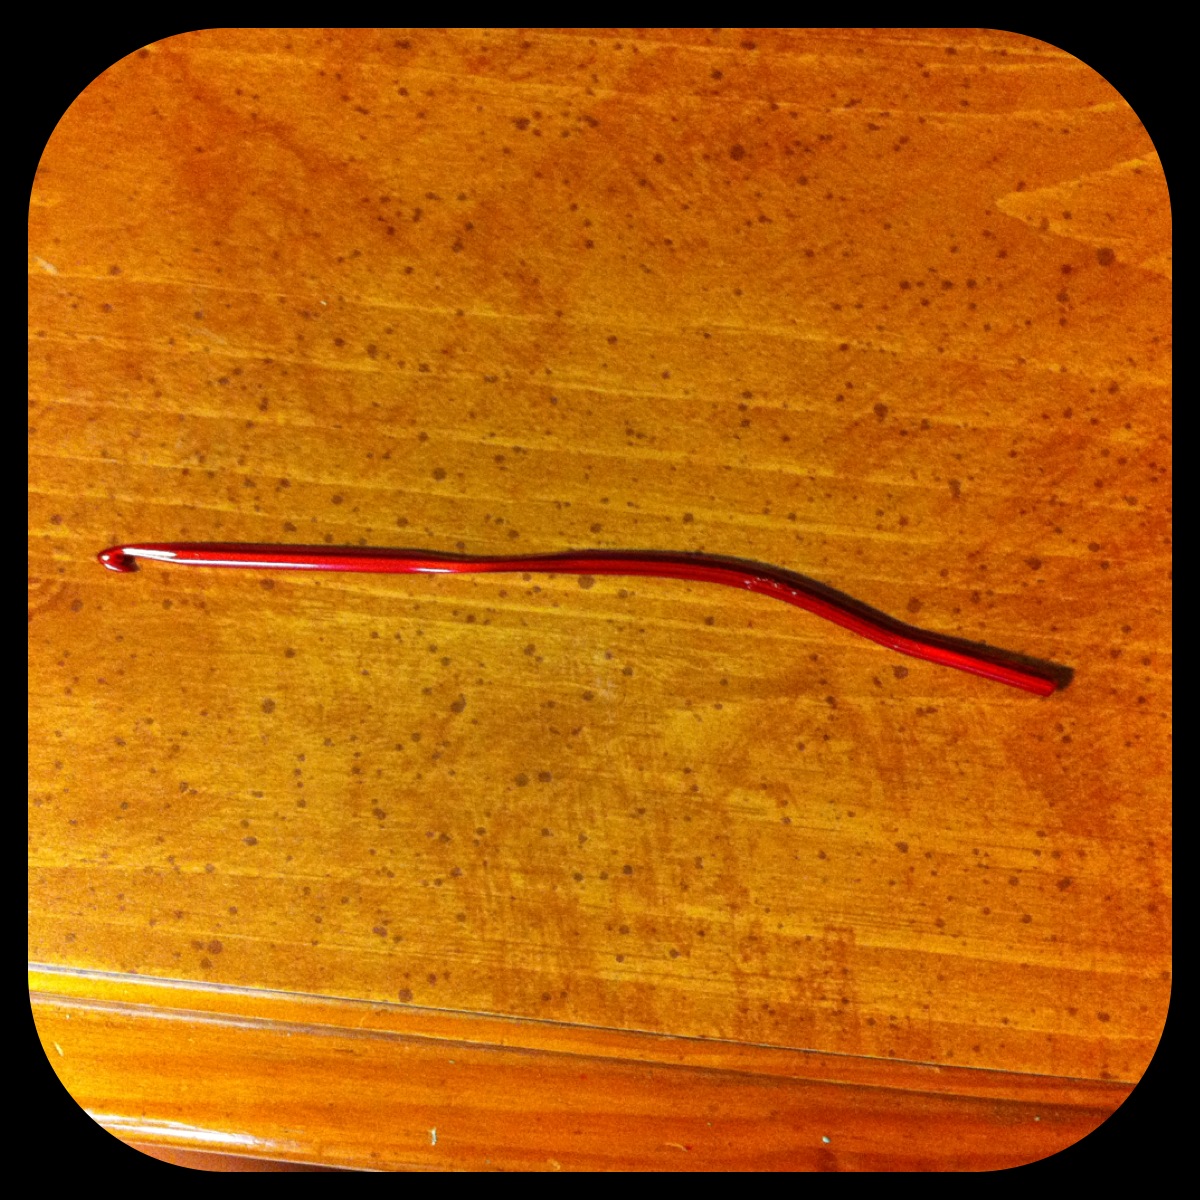
Our first try was a little unsuccessful. The clay came off, but we failed to check the hook until well after he had smashed a number of times, so I ended up with a dead hook.

So sad.
So sad.

I don't know what I'm going to do with that hook. I feel bad just throwing it away.

Eventually we got the hang of it. I even figured out the perfect pressure to hit the clay at so that the hook would just slide out. Dave preferred to just smash, though. Boys.

Smash!
Smash!

Finally I had nice clean hooks again! The possibilities! I wanted to do handles the same way I had before, but without the painting. Even the acrylic paint I used had dried a little tacky. I think some chemicals just aren't mixing right - either that or I'm doing things wrong (a very legitimate possibility). So I started researching ways to dye my white Sculpey clay.

Turns out, according to this post I found, I could dye it, but the best thing was oil paints, of which I have none. I know any normal person would just go buy some cheap tubes of oil paints, but not this lady! If I need something I will find a replacement that works before I go buying anything! So I racked my brain trying to think of a non-water based colourant that I could use in the clay. Then it hit me.

Eyeshadow.

I have so much eyeshadow that I don't wear anymore, but I hate throwing it away, because it is disgustingly expensive! Since I've made the shift from bold, bright colours to neutrals, I have had blues and greens and purples just laying around forever, taking up much-needed space in my makeup drawer! So here you go. How to dye Sculpey clay using eyeshadow.*

*Please note that I only used Original Sculpey white clay, and I have no idea if this works with anything else.

Title

Please forgive the horrible picture quality in this post. I used my Nikon Coolpix instead of my iPhone. The colour quality is better, but for some reason I can't figure out my focus. Grr, technology! You win again!

Tools of the trade (minus one).

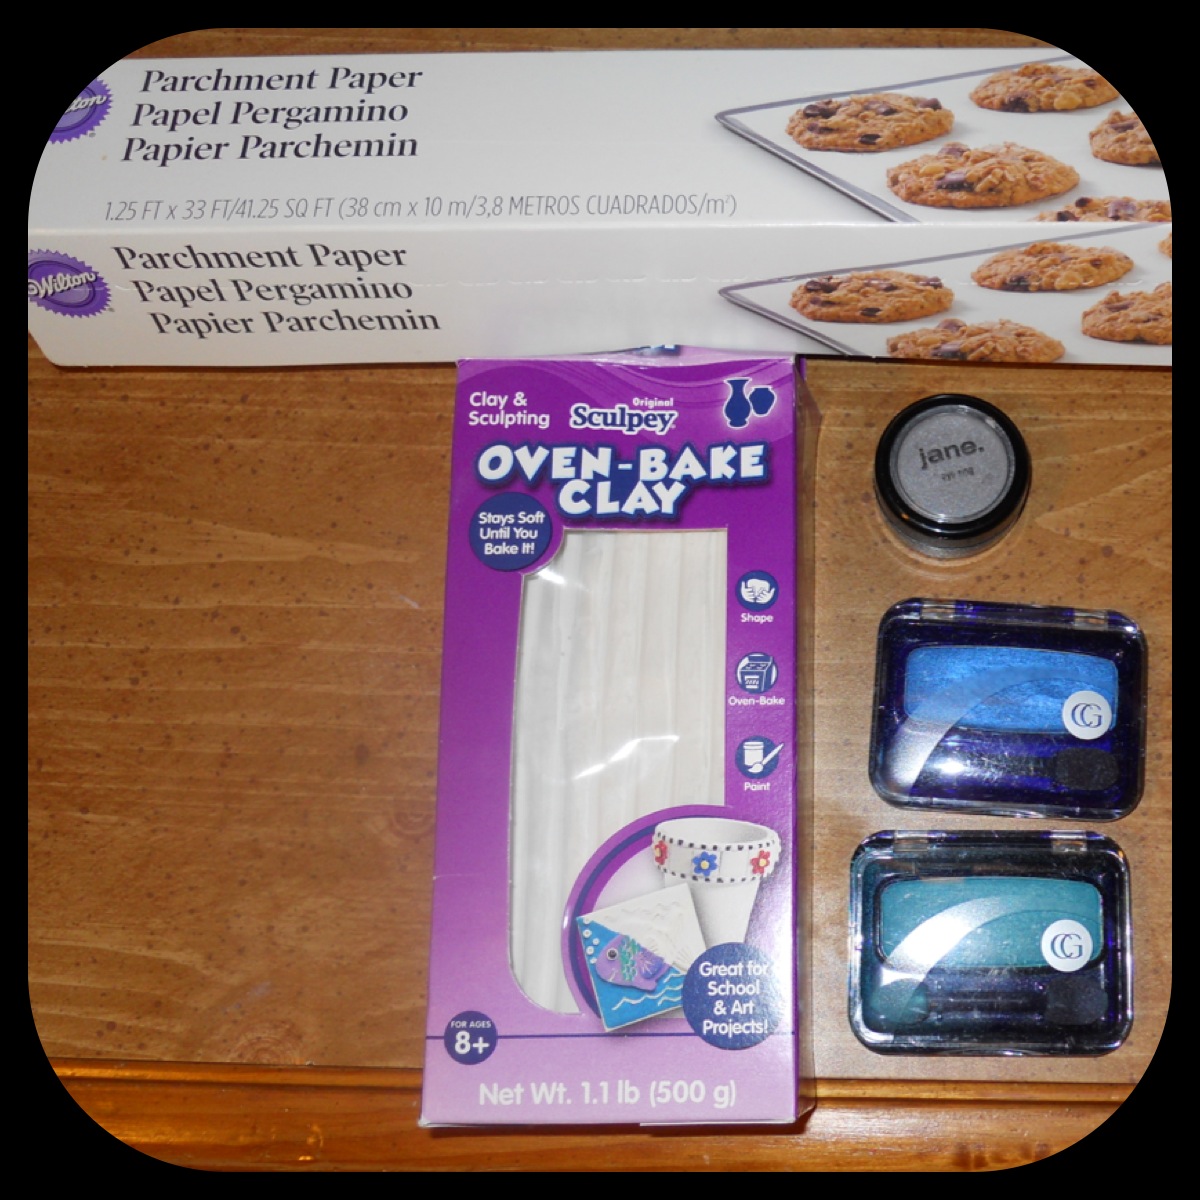
For this project, you will need waxed or parchment paper, Sculpey oven-bake clay, various eyeshadows, and a bobby pin (not pictured because I wasn't thinking ahead). If you have some spare eye pigment powder (which I assume is just unpressed eyeshadow), you can skip steps 3-5. I also recommend having a movie or music playing, as this project takes an awful long time. I sat in silence my first round, and regret it completely.

Step One.

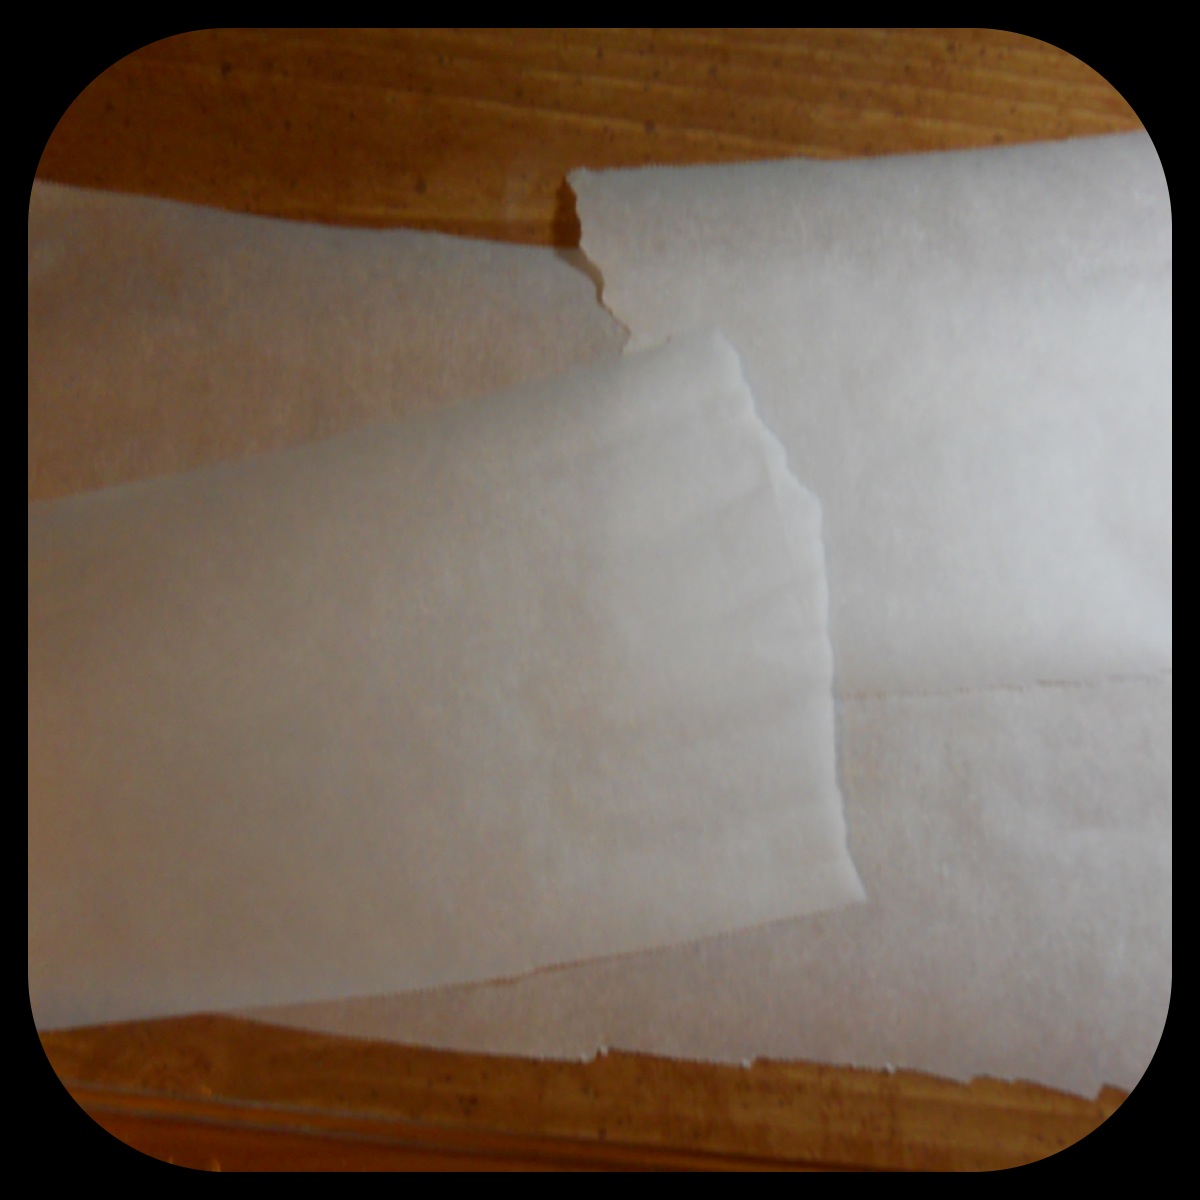
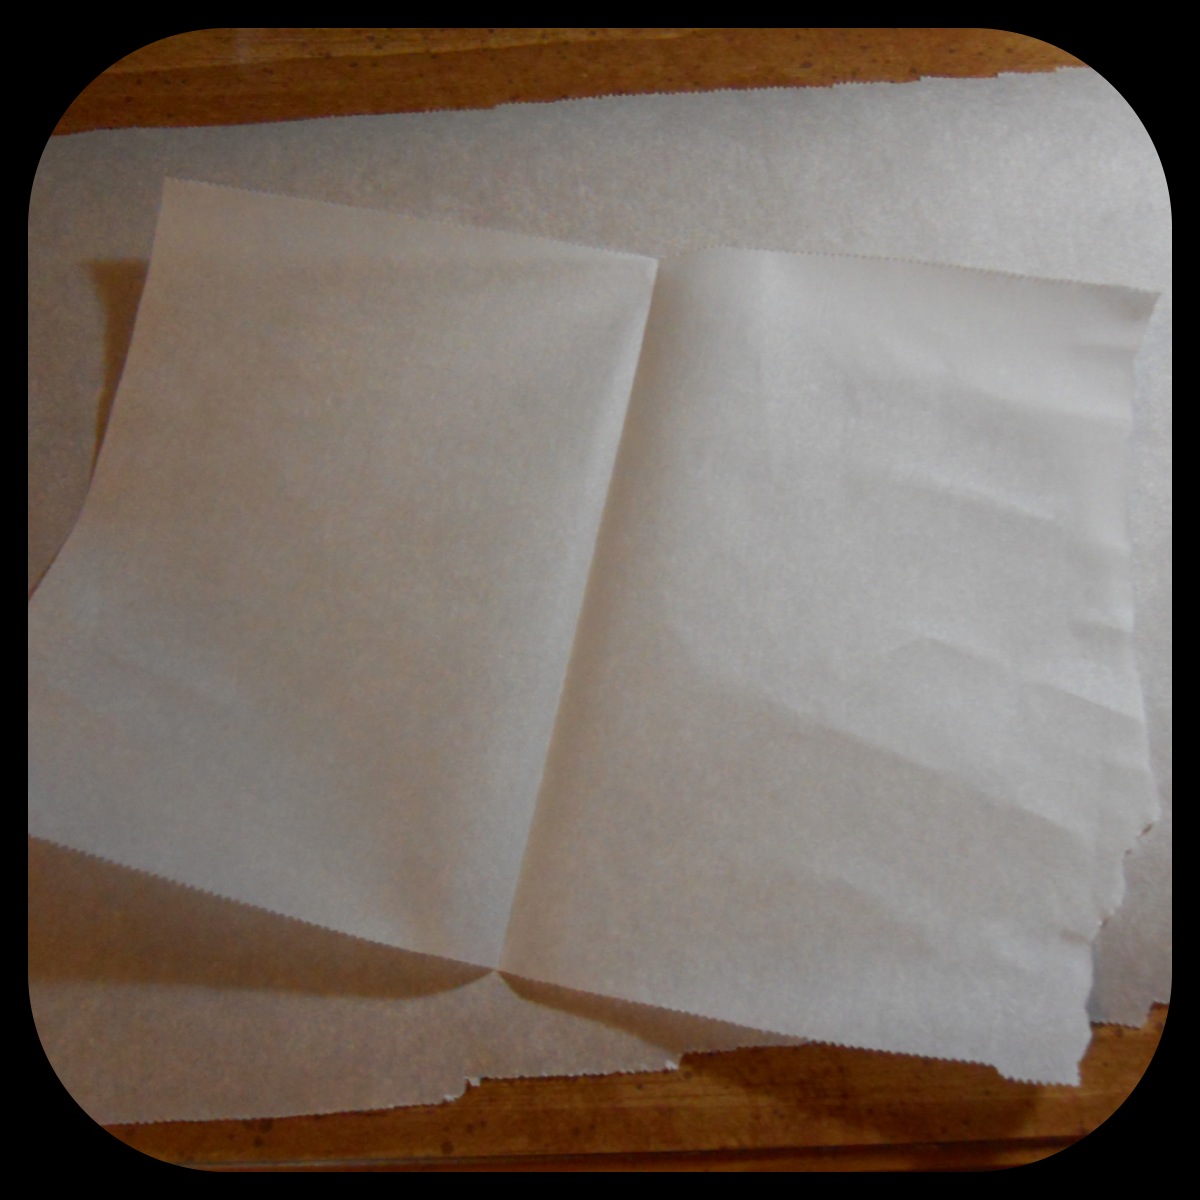
First lay down one large sheet of parchment paper to protect your workspace. I'm all about easy cleanup. Then tear off another sheet of parchment paper and rip it in half to make two square-ish pieces.

Step 2.

Next, fold one of your squares in half. In hindsight, it wouldn't be a bad idea to fold it in half again the opposite way (so the creases form a +). This is just for keeping the eyeshadow contained.

Step 3.

Then you'll want to choose your eyeshadow colour and break it up with your bobby pin. (Again, I apologize for the fuzzy pictures)

Step 4.

Using the bobby pin, scrape the eyeshadow out of the container and onto the folded parchment paper.

Step 5.

Use the bobby pin to crush the eyeshadow into a very fine powder. Try to get rid of all the clumps - you'll be happy you did. I would do it even finer than this picture. If you're going to add anything else, do it at this point and mix it in with your eyeshadow while it's a powder, instead of trying to mix it into the clay later. You could add glitter, spices, or just mix eyeshadow colours, like I did later.

Mix your colours! Get creative!

I mixed some silver and black and ended up with a really pretty gunmetal gray. Enjoy this part!!

Step 6.

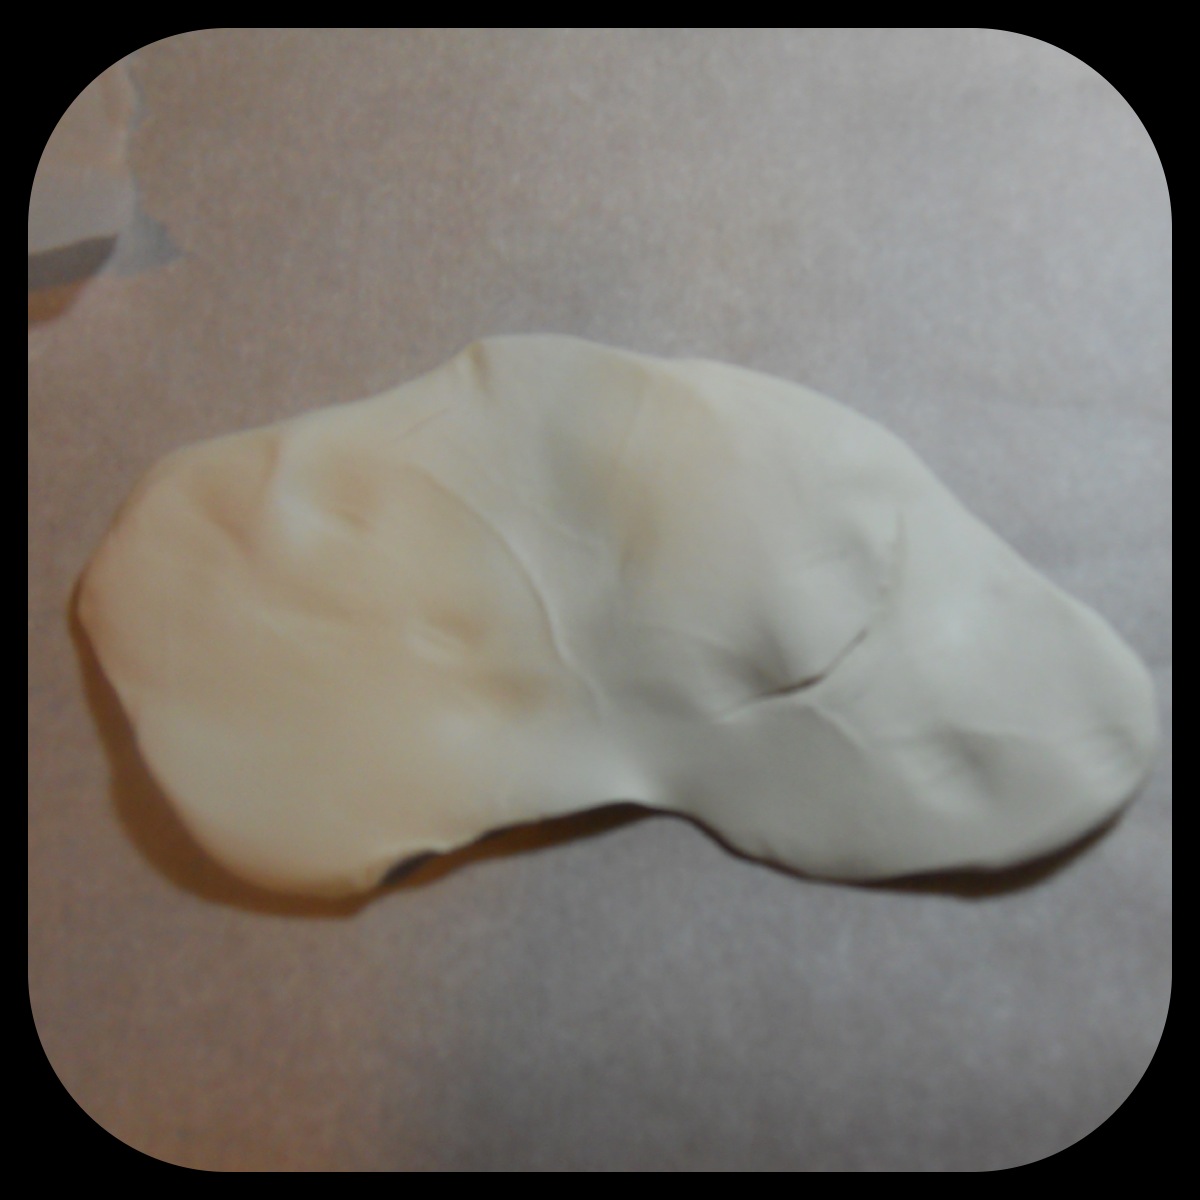
Flatten a piece of Sculpey clay onto your large sheet of parchment paper. I used a lump about the size of a golf ball for each average-sized container of eyeshadow. Keep in mind that the more or less white you use determines your final colour - make the whole amount of whatever colour you need in one batch, as it is unlikely that you'll be able to make that same shade again.

Gloves! Wear them!
Gloves! Wear them!

Before we continue.... I HIGHLY advise that you wear latex/whatever gloves starting now. I did not, and my hands looked like Smurf hands. It got under my fingernails (which is a HUGE pet peeve of mine) and took FOREVER to wash off.

Step 7.

Add small amounts of powder to your clay. DO NOT ADD ANYWHERE NEAR THE AMOUNT YOU SEE IN THE PHOTO!! At first, the powder will cause the clay to not stick to itself, and the clay will become VERY flaky. Just keep working through it, and it will mix in and restick. The less powder you add at a time, the easier it is to knead. That is why this step takes FOREVER. Again, I recommend having some sort of media nearby. If your hands get tired and sore (which they very well may), take a break just to sit and not use them or stretch them out.

Finished!
Finished!

Once you get all the powder mixed into the clay you're all done! Look at that pretty blue! It had a really nice shimmer to it as well once I molded it! You can even mix it to a lesser extent so that it has a marbled effect instead of being uniformly coloured. Whatever makes you happy! That's what it's all about!

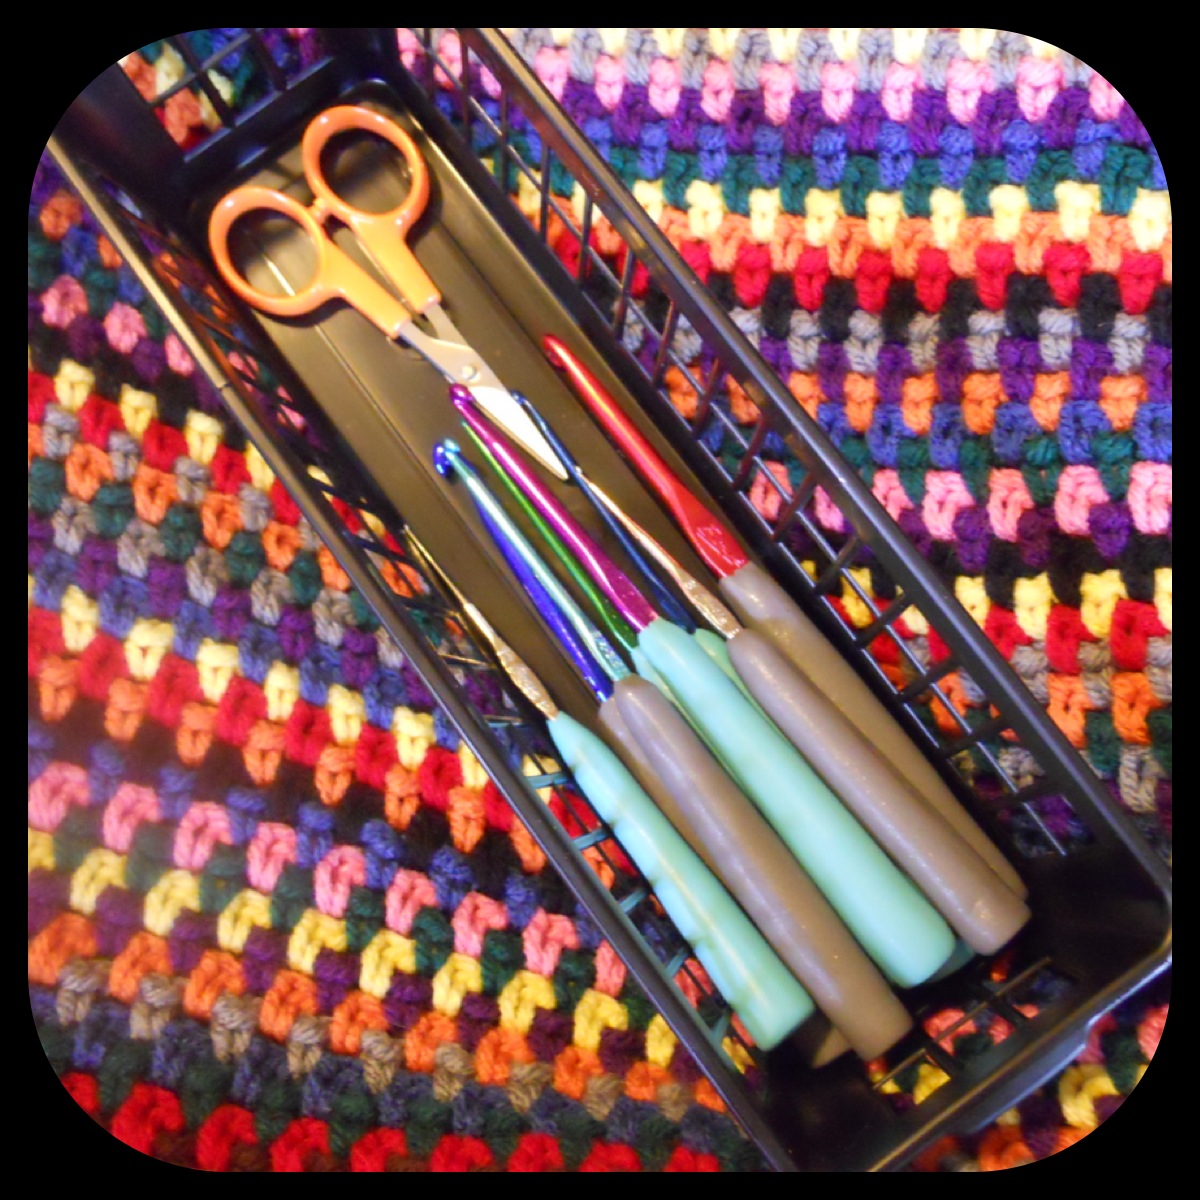
My hooks with their new handles (along with my current crochet project - a pic-nic blanket!).
My hooks with their new handles (along with my current crochet project - a picnic blanket!).

After I mixed my clay, I made my hook handles just like last time, except without the painting process. The clay bakes exactly the same as it says on the box; in the oven at 275*F for 15 minutes per 1/4" thickness. I tried sanding some of the imperfections out after they had cooled with 320 sandpaper, and that seemed to take away the shimmer. So sad. I also tried sealing the sanded ones with clear nail polish, and after 2-3 thick coats it seemed to work all right. I find myself really liking just the plain coloured clay ones, though. The texture is velvety soft, and the colours are turning out lovely! I've been using them while sitting outside with my little buddy.

Oliver is my homeboy.
Oliver is my homeboy. He likes to watch me crochet.

I'd love to see the colour combinations and projects you come up with for this clay!

Friday, September 14, 2012

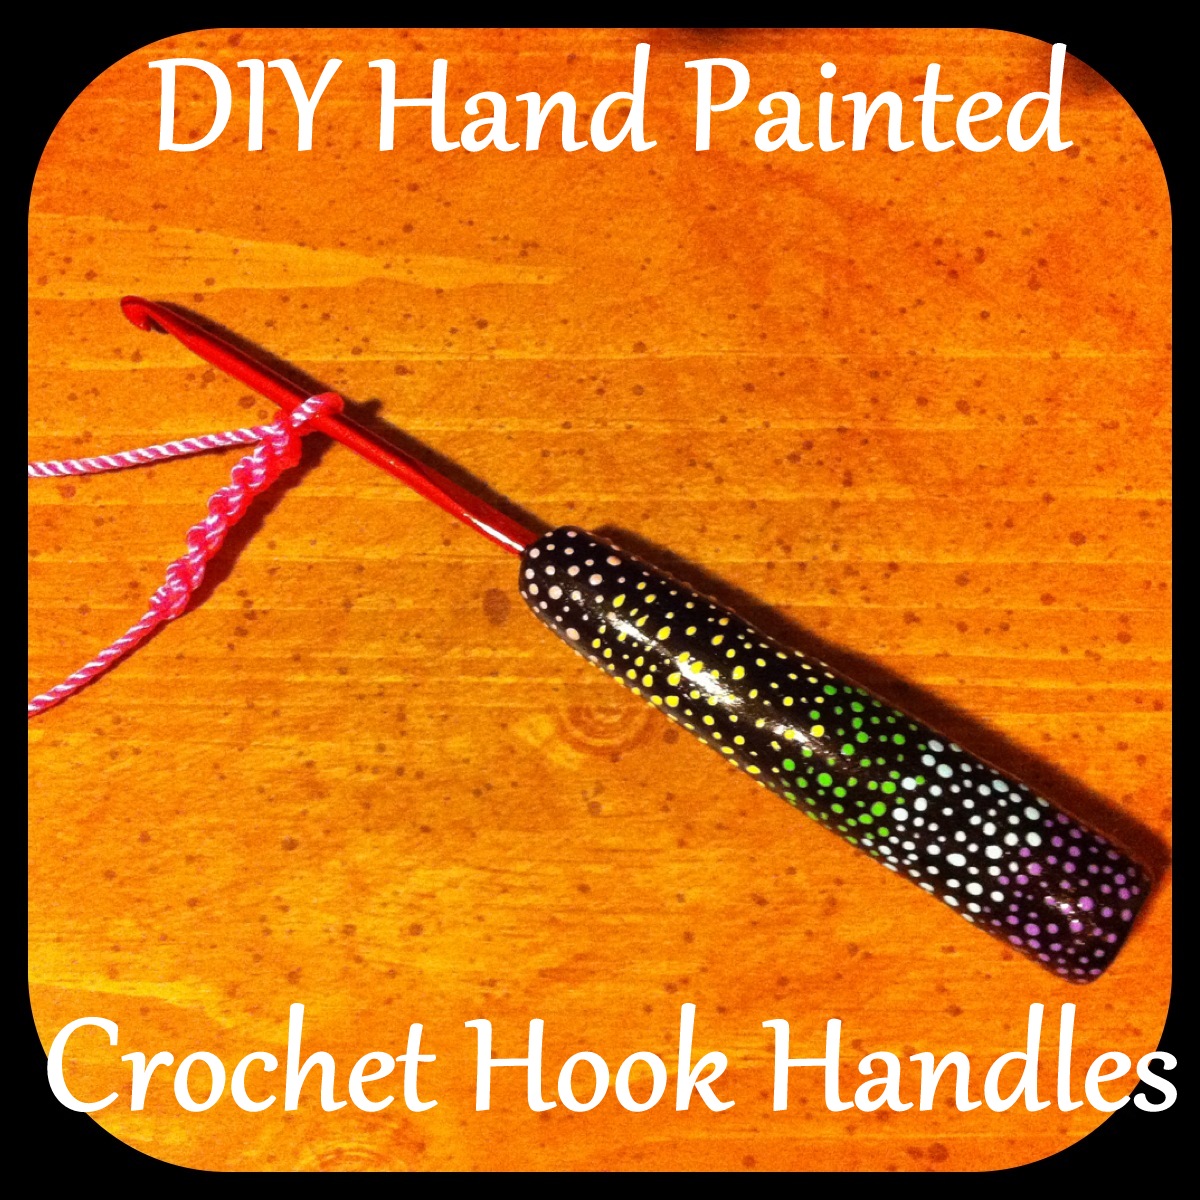
DIY Hand Painted Crochet Hook Handles

Happy Friday!

School has been hectic for me. Lots of reading and writing, and it's only been two weeks! Since it's been so nuts for me, I haven't had much time to craft. This last project, my crochet hook handles, took way longer than it they should have because I had so little time to work on them. But in any case, I hope you enjoy it!

Apparently I'm very fragile. If I crochet for long periods of time, my hands and wrists end up hurting really bad for days. My hypothesis is that I hold on very tightly (but I can't seem to fix that) to such a tiny hook. I tried making my own handles using this tutorial, and it actually worked really well for me. However, I was unable to make them as pretty as those - my tape kept showing and the grips kept slipping.

See? Not so nice.

So I decided to poke around Pinterest (because that's where I find a lot of inspiration for what I do), and I kept seeing people making handles with fimo or polymer clay. I dug through my crafty bin and found some Sculpey clay, and it just snowballed from there.

Let's do this.

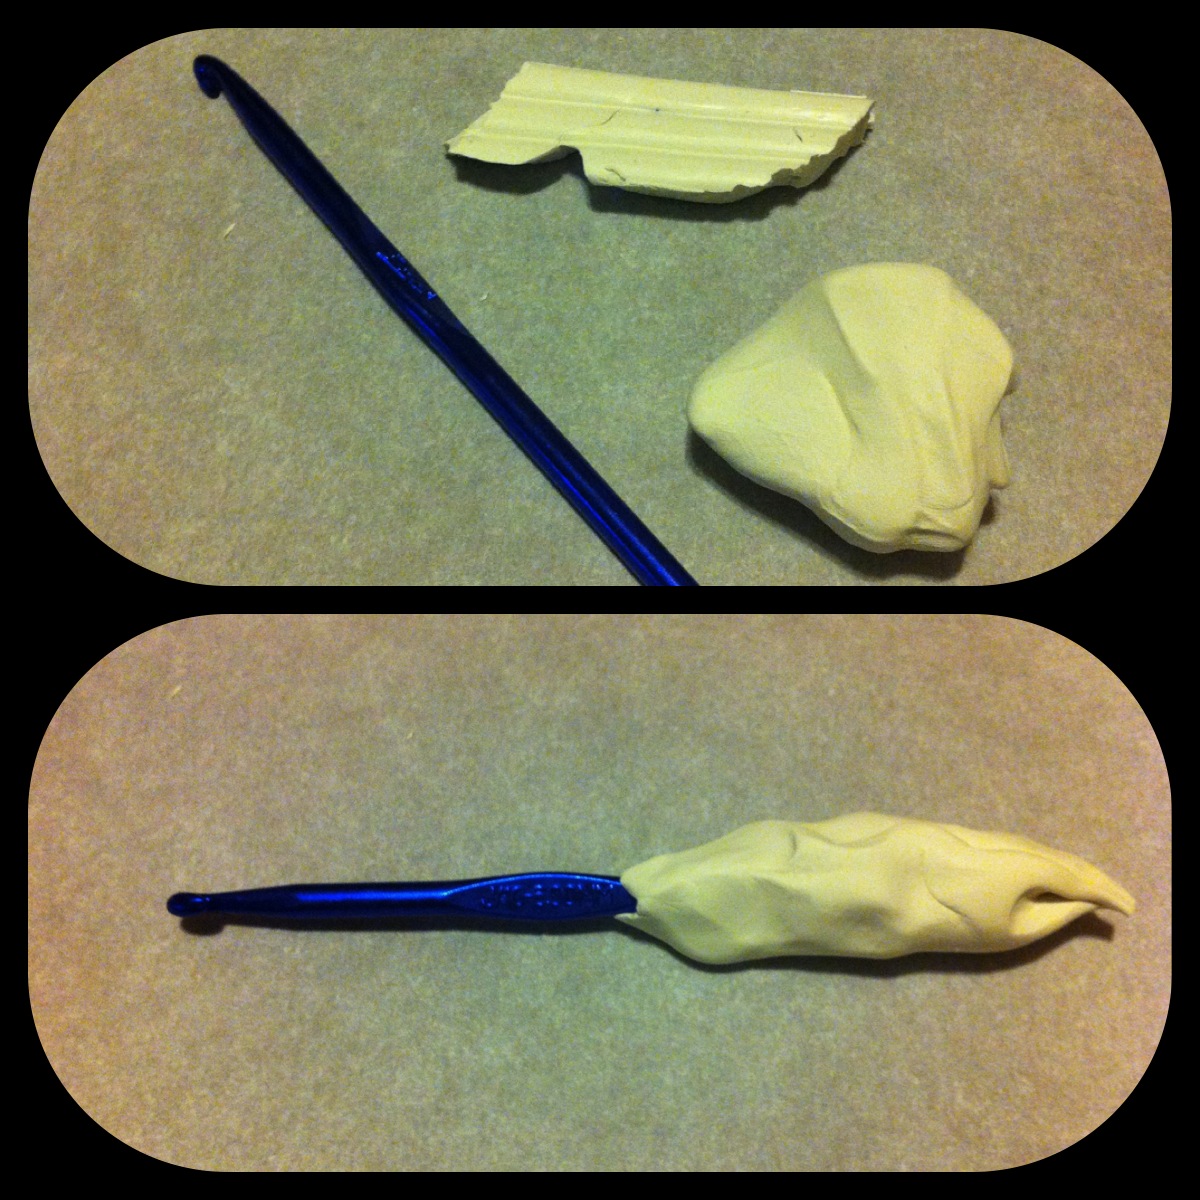
This is all you'll need for the first half of this tutorial. MAKE SURE THAT THE HOOKS YOU'RE USING ARE METAL. That's very important.

Knead the clay into a smooth handle around each hook. I put down some wax paper so as not to ruin my table. This part took me forever, because I'm a perfectionist. I made sure to keep the thumb rest clear of clay so that I could still see the hook's letter and number.

Once you make handled for all your hooks, place them on a baking sheet (I wrapped mine in aluminum foil because I'm paranoid about this stuff coming into contact with food, no matter how many times I wash it.

Bake them in the oven at 275F for 30 minutes (or whatever it says on the package of whatever clay you use). I don't have an egg timer or anything, so I have to use the timer on my microwave. :-)

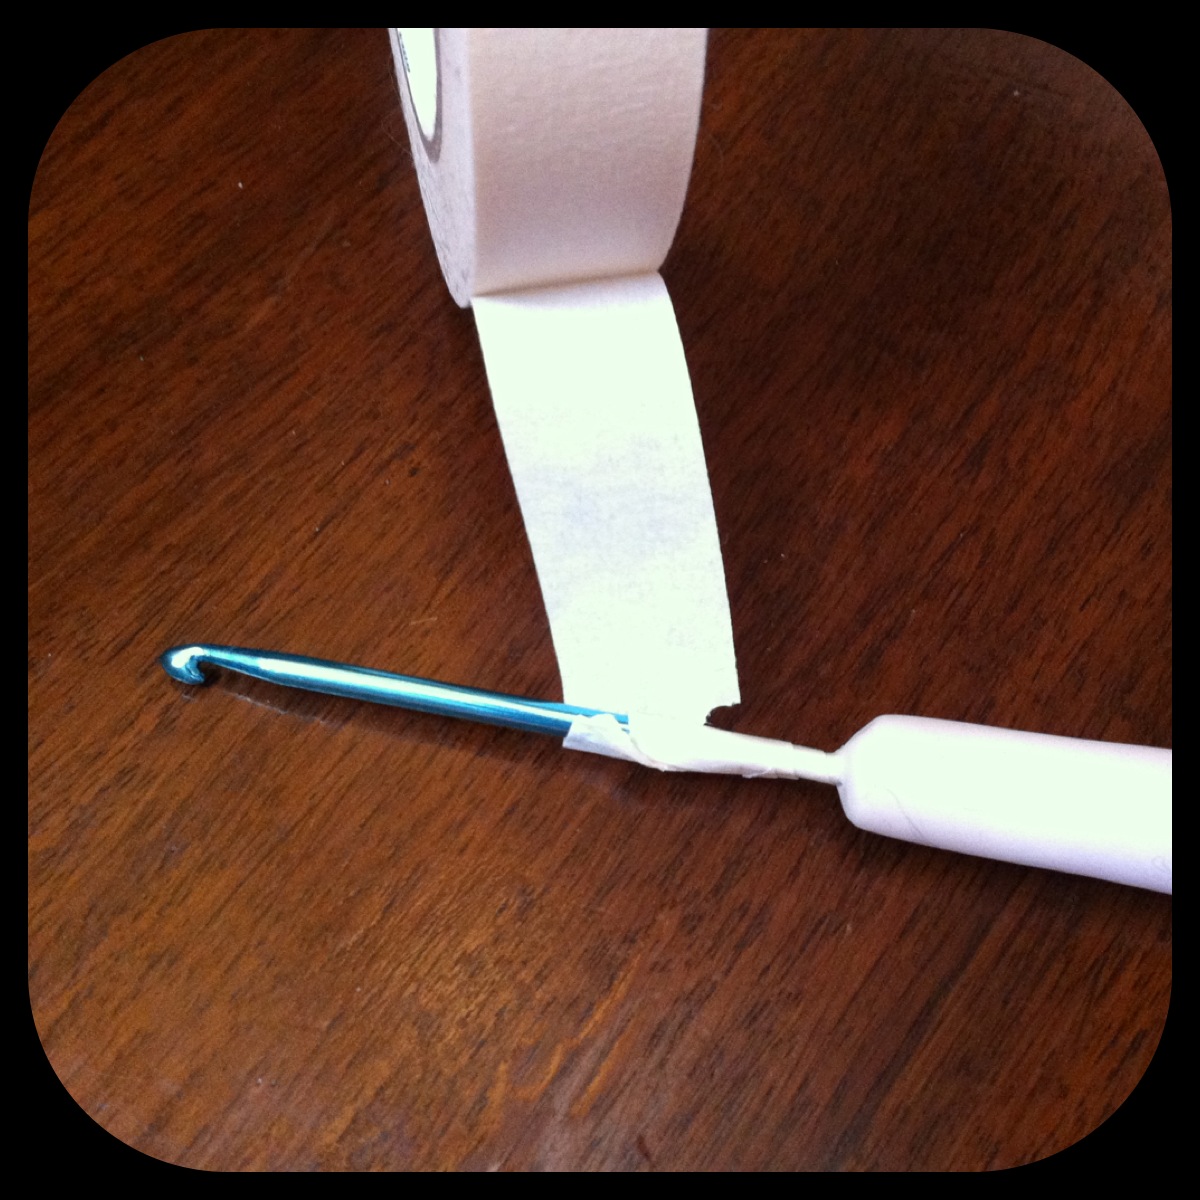
After the handles have cooled completely (I let them sit overnight), wrap masking tape around the edge of the hook where it meets the handle. This will prevent paint from getting on the hook.

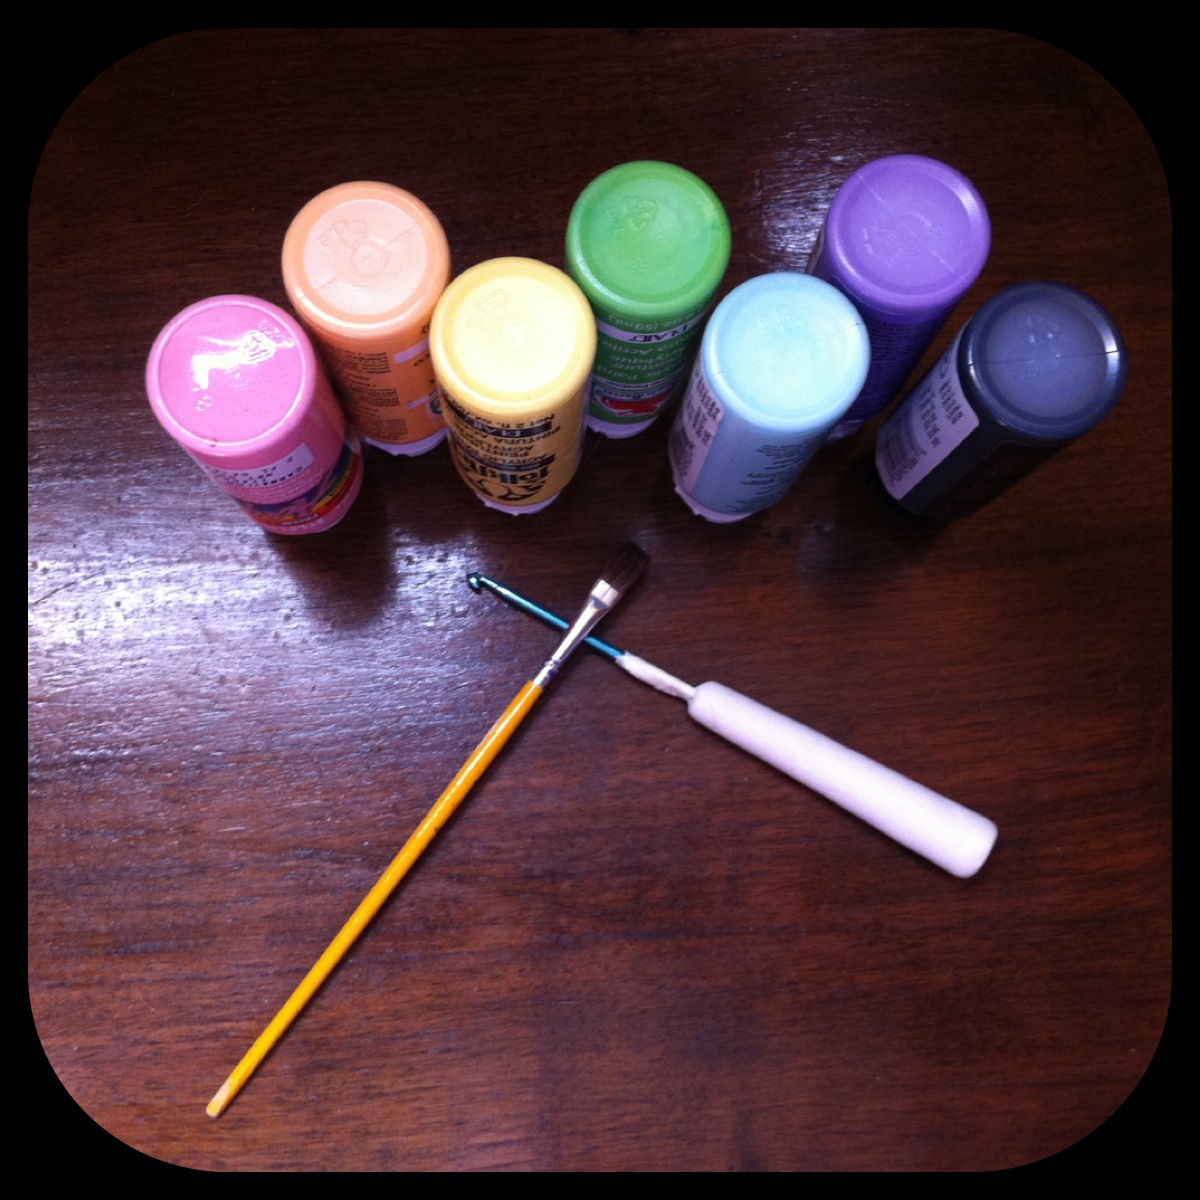
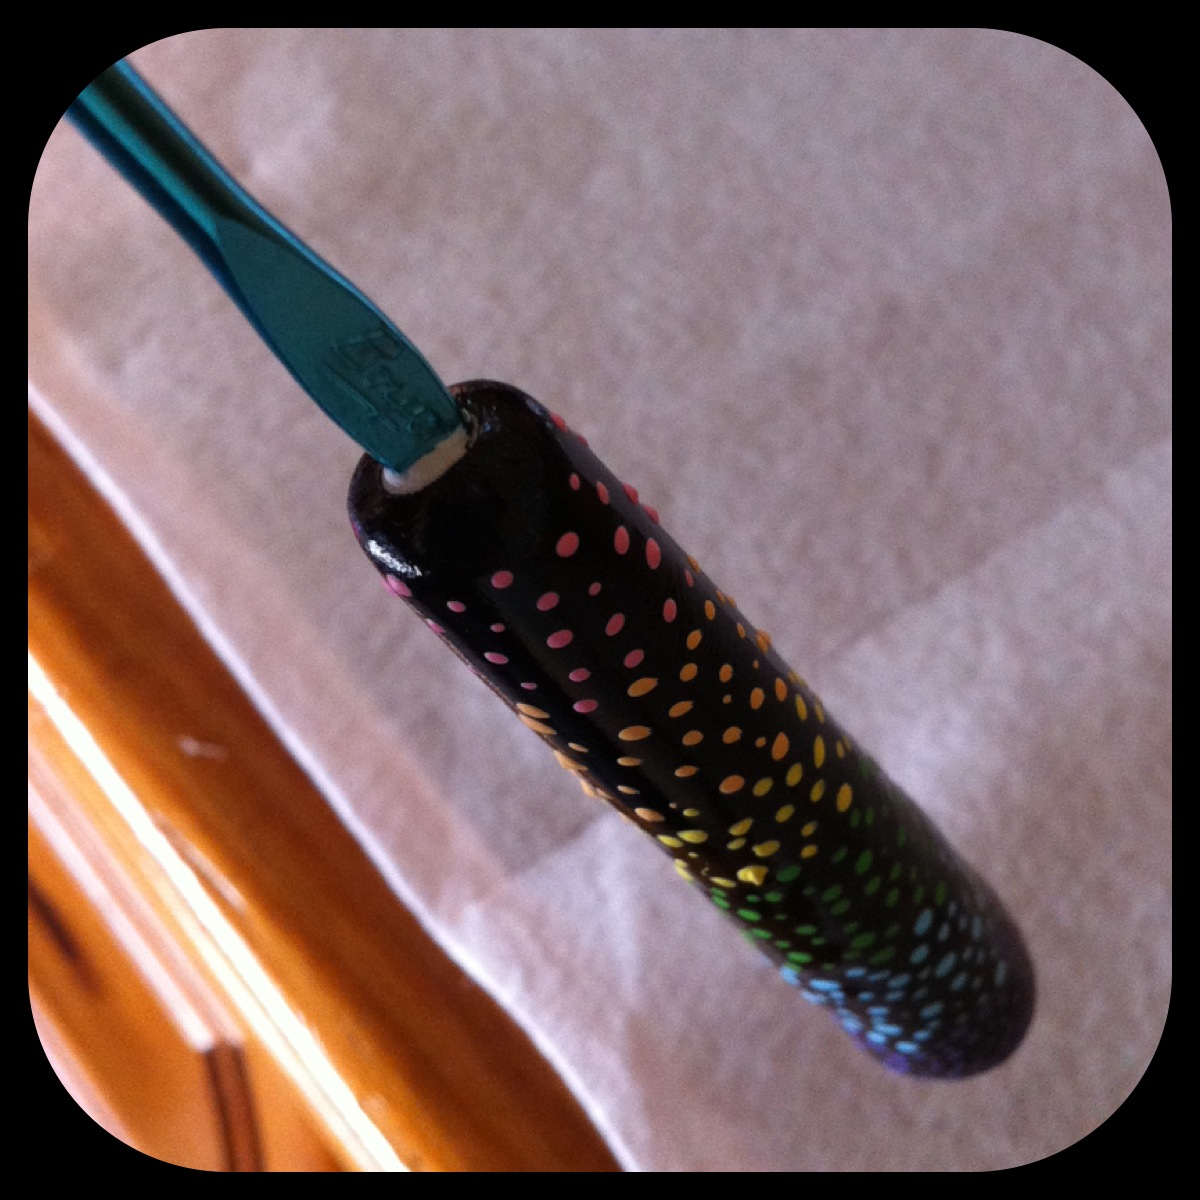
Pick out the paints you'll be using and grab your tools! I'm using a black sparkle base with pastel rainbow dots.

Paint away!!

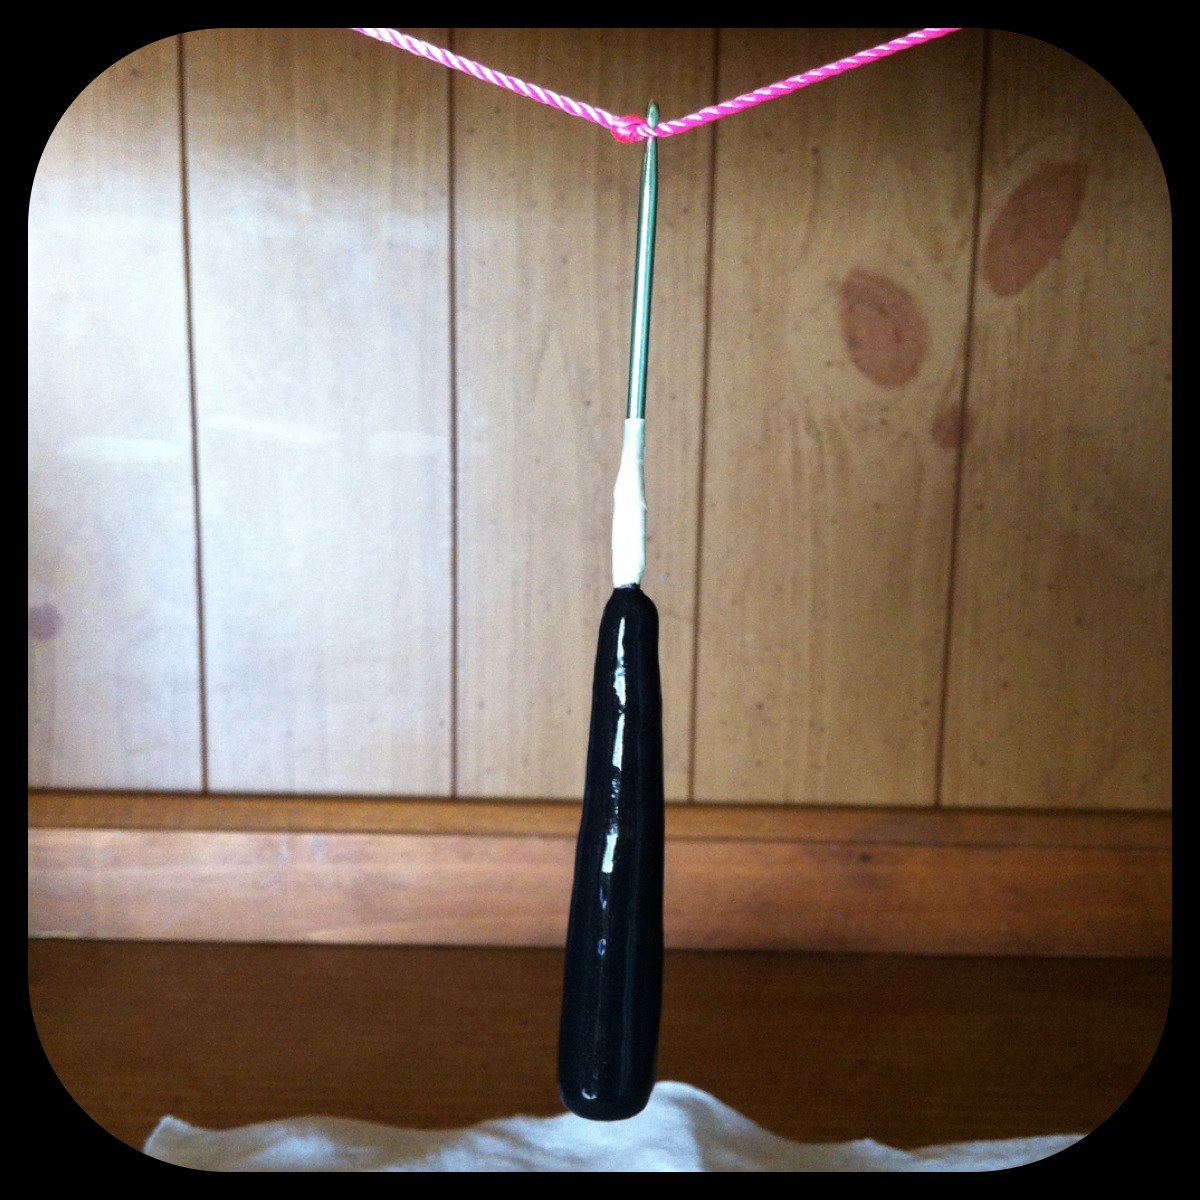
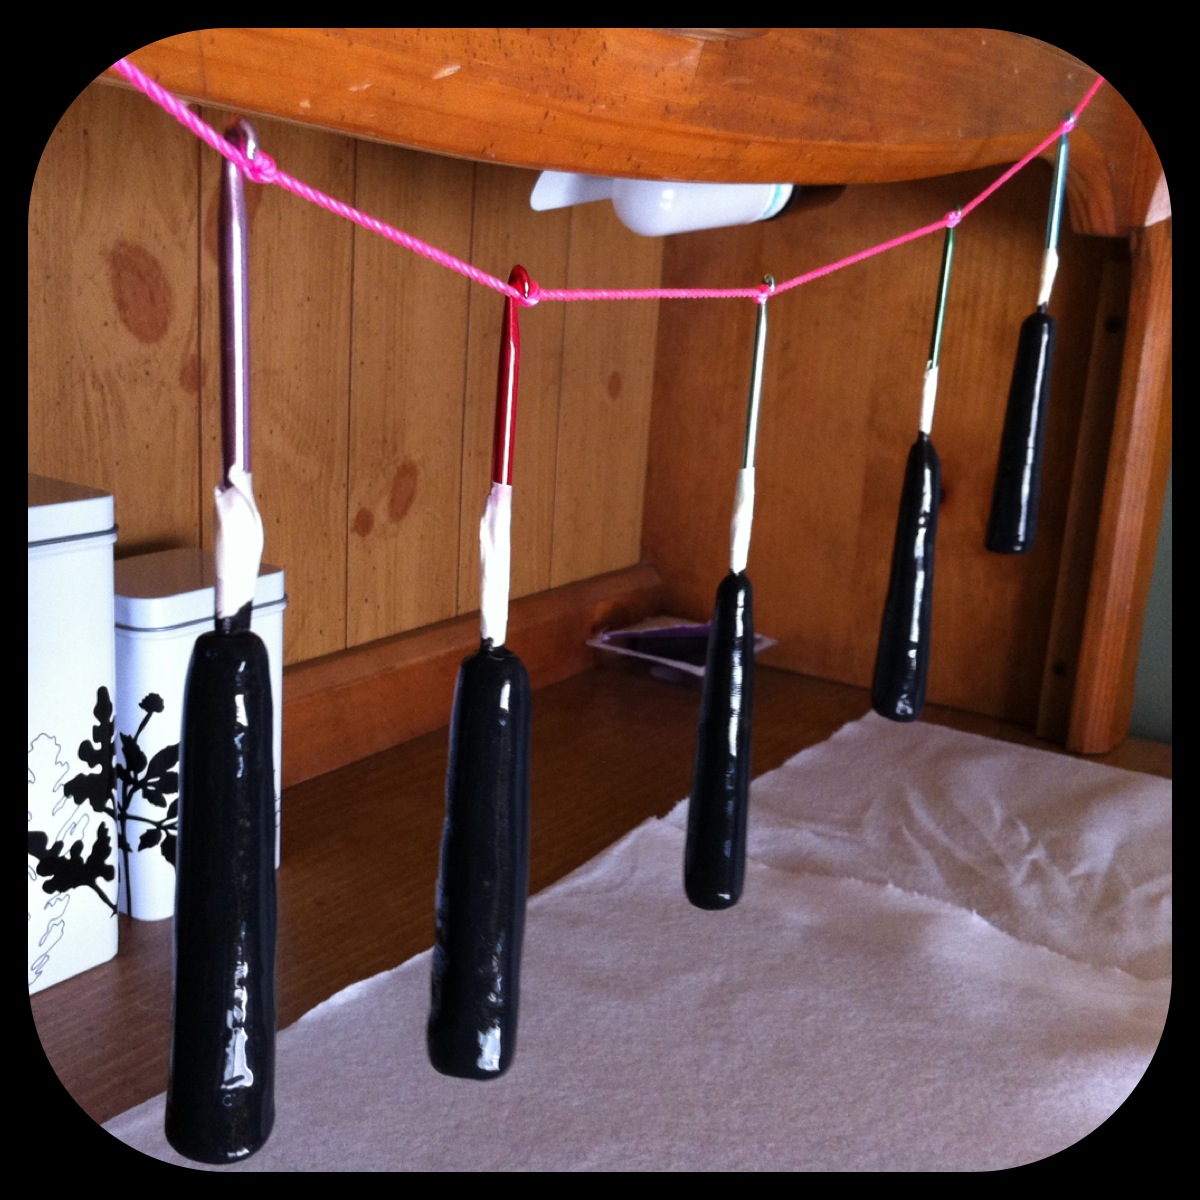
I hung mine on knotted string to let them dry. I figured you could also stick them hook-first into Styrofoam or floral foam, as well. I just happened to have string lying around. I also put a paper towel underneath it, just in case.

Now, my paint dried really sticky. I have no idea why, but I fixed it at the end. You'll see....

I let mine dry over night, partially because it was sticky. If yours is sticky, it doesn't mean it's not dry.

I painted teeny polka dots onto my hooks by pushing a small pin into an eraser and dipping it into paint and onto the hooks. It actually created a fun texture, too! But you can paint anything you want - flowers, dogs, swirls, whatever!

When I took my tape off, I noticed that it had covered some of the clay, so it was still white. I fixed it by dipping a toothpick into black paint and touching it up.

Mod Podge the hooks in order to seal them - this is what makes them no longer sticky! Hooray!

Ta da!! So pretty! I love them! They're pretty comfortable, too. Not bad. :-)

Let me know how this tutorial goes for you!! I'd love to see pictures of your finished products! Until next time!!