Sunday, June 16, 2013

DIY Coloured Sculpey Clay

Well hello! Happy Father's Day to all you Dads out there!

I know, I know, I've been somewhat of a ghost on here. School kept me from updating over the fall, winter, and spring. I have had so many new changes lately - a new school, new people, a new commute (that was 45 minutes on a good day - 3 hours on a bad!), I lost my part-time job (it was for the best; I need that time for school), I got engaged (!!!), and in two weeks I'll be moving to a whole new city. This is a big change for me, since I have spent all my life in small towns, and now suddenly I'll be thrown within 2 miles of skyscrapers. I'm nervous, but excited. I love the area we found (though apparently several years ago it was one of the absolute worst parts of town), and the apartment is good for us, and our new landlady is wonderful. Really, I couldn't be happier.

So even though I should be packing (though honestly, we don't have that much stuff), I've been crafting instead. What can I say. I do have a crochet pattern that I have to share with everyone - over Christmas I made everyone I worked with coffee cozies. They were a huge hit! I also (accidentally) made ice cream cozies for pint-sized containers. I'll share that soon (hopefully). Today, however, is something different. It also includes a backstory. Lucky you!

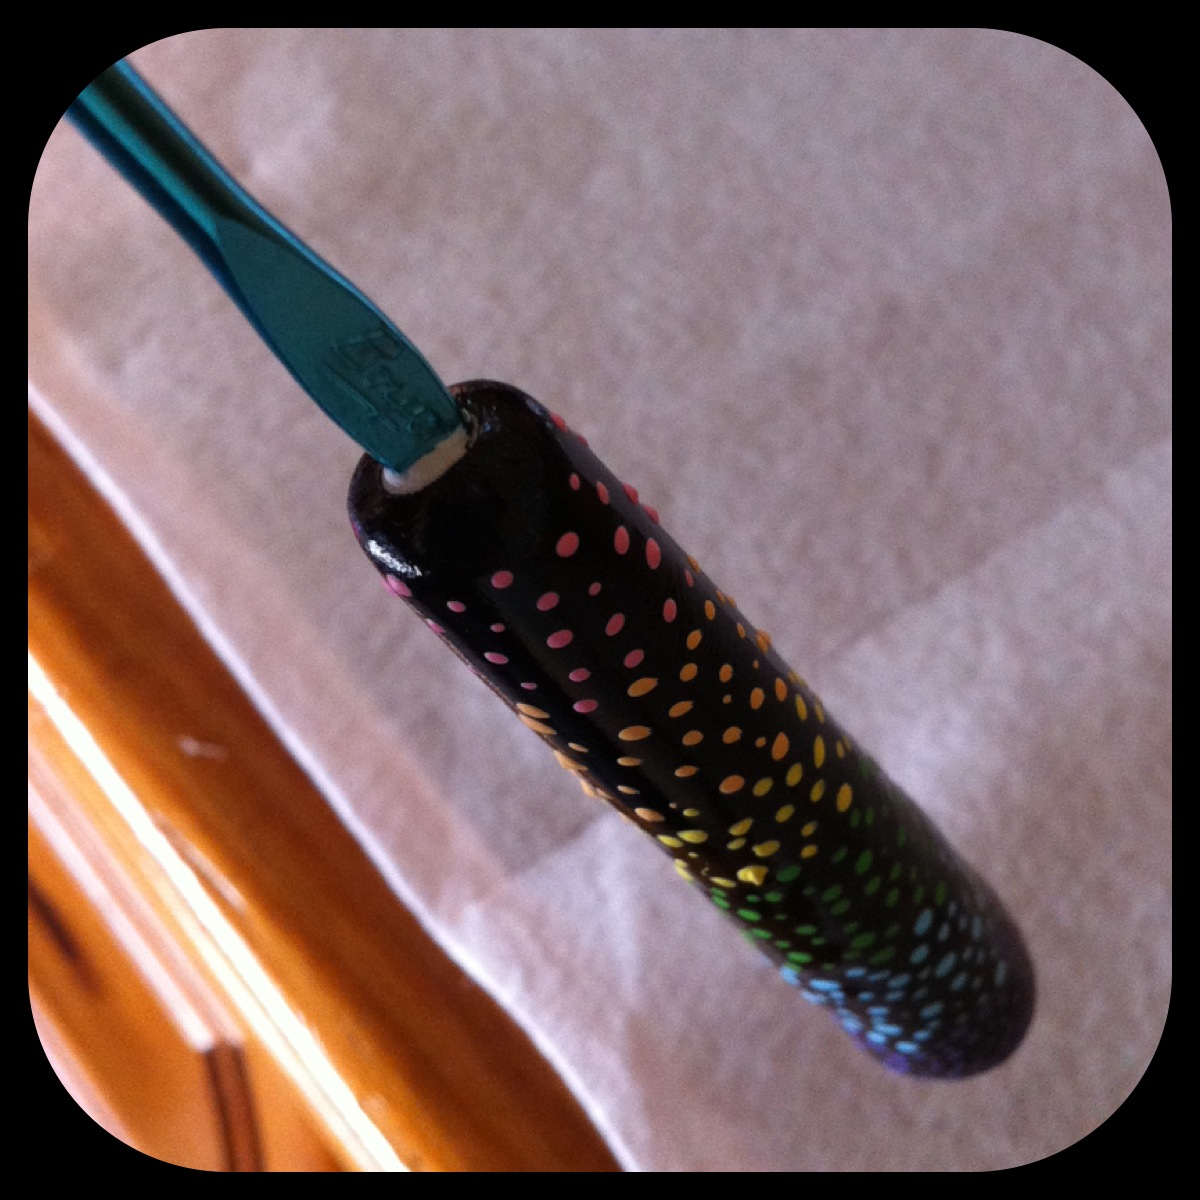
So remember those crochet hook handles I made last year? After I made them, I learned that the Mod Podge I used (glossy) dries tacky. LAME. So I spent all year with gross, sticky crochet hooks. It made me not want to crochet nearly as much. So Dave suggested that we take the hooks outside and try to hit them with a hammer until the clay breaks off. (I should note, that this was after I asked if I could ruin a steak knife trying to cut the clay off. He always tries to keep me from slicing my hand open. <3) So we wrapped the hooks in an old dishtowel and he began hitting them with a hammer.

Our first try was a little unsuccessful. The clay came off, but we failed to check the hook until well after he had smashed a number of times, so I ended up with a dead hook.
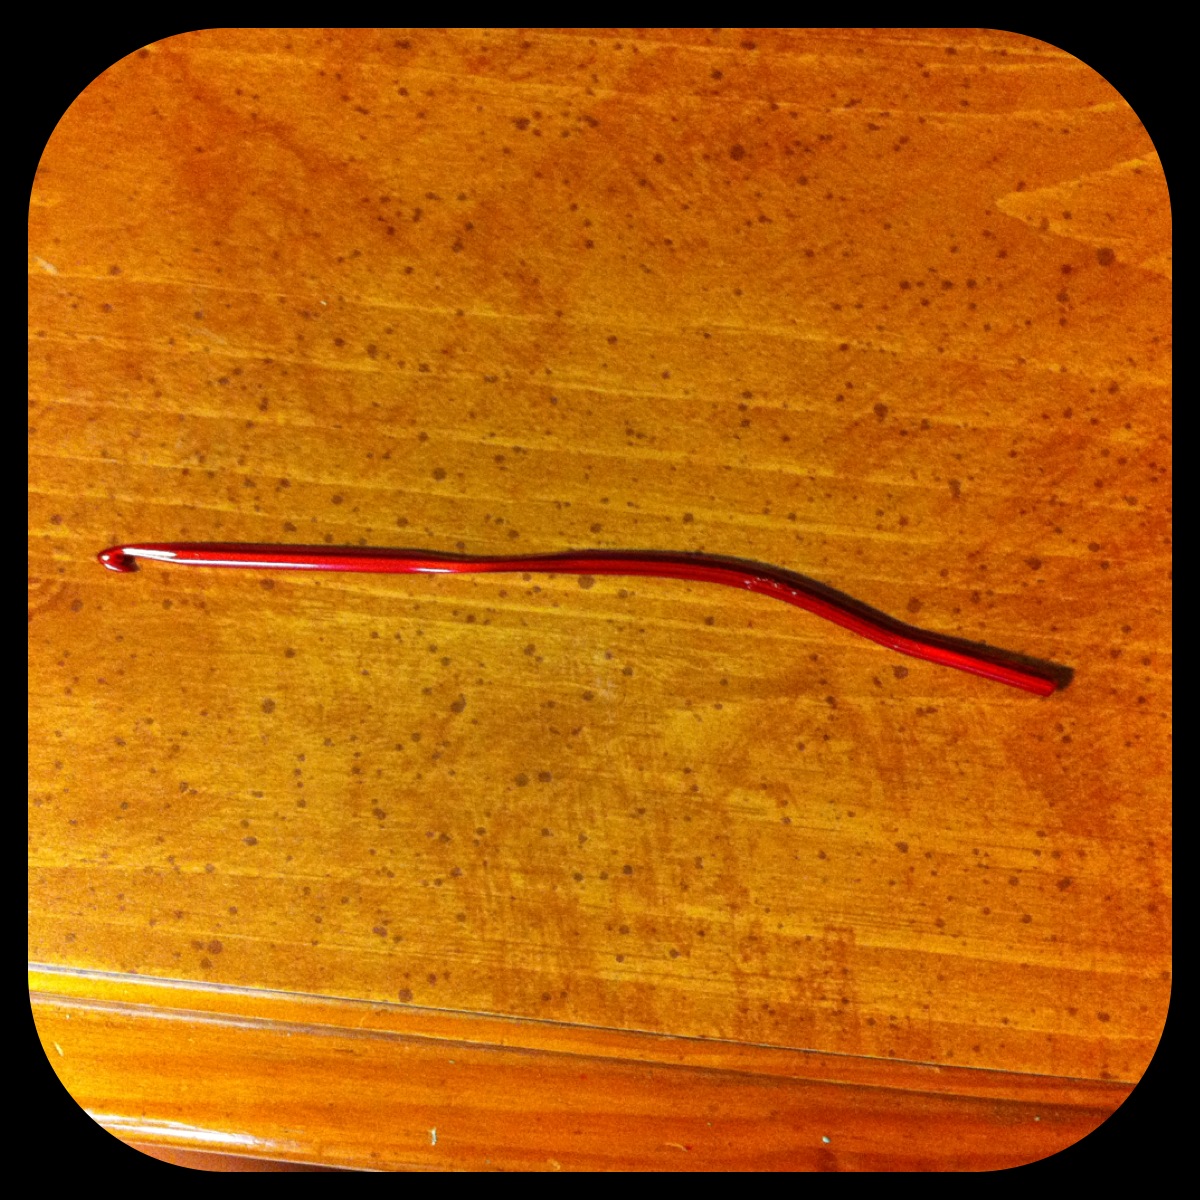
So sad.
So sad.

I don't know what I'm going to do with that hook. I feel bad just throwing it away.

Eventually we got the hang of it. I even figured out the perfect pressure to hit the clay at so that the hook would just slide out. Dave preferred to just smash, though. Boys.
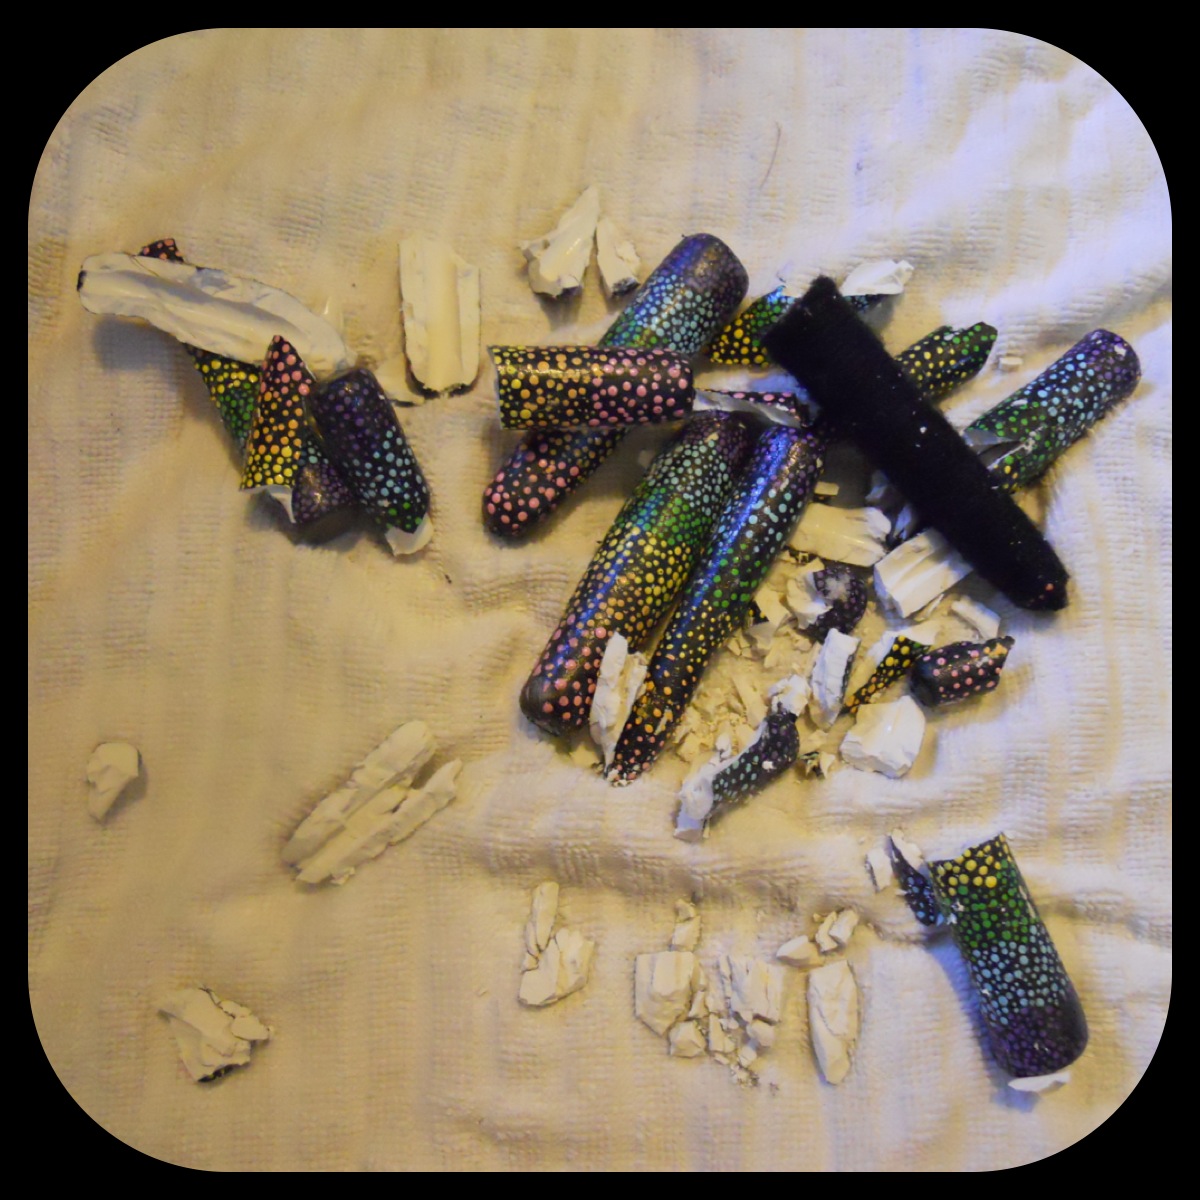
Smash!
Smash!

Finally I had nice clean hooks again! The possibilities! I wanted to do handles the same way I had before, but without the painting. Even the acrylic paint I used had dried a little tacky. I think some chemicals just aren't mixing right - either that or I'm doing things wrong (a very legitimate possibility). So I started researching ways to dye my white Sculpey clay.

Turns out, according to this post I found, I could dye it, but the best thing was oil paints, of which I have none. I know any normal person would just go buy some cheap tubes of oil paints, but not this lady! If I need something I will find a replacement that works before I go buying anything! So I racked my brain trying to think of a non-water based colourant that I could use in the clay. Then it hit me.

Eyeshadow.

I have so much eyeshadow that I don't wear anymore, but I hate throwing it away, because it is disgustingly expensive! Since I've made the shift from bold, bright colours to neutrals, I have had blues and greens and purples just laying around forever, taking up much-needed space in my makeup drawer! So here you go. How to dye Sculpey clay using eyeshadow.*

*Please note that I only used Original Sculpey white clay, and I have no idea if this works with anything else.

Title

Please forgive the horrible picture quality in this post. I used my Nikon Coolpix instead of my iPhone. The colour quality is better, but for some reason I can't figure out my focus. Grr, technology! You win again!
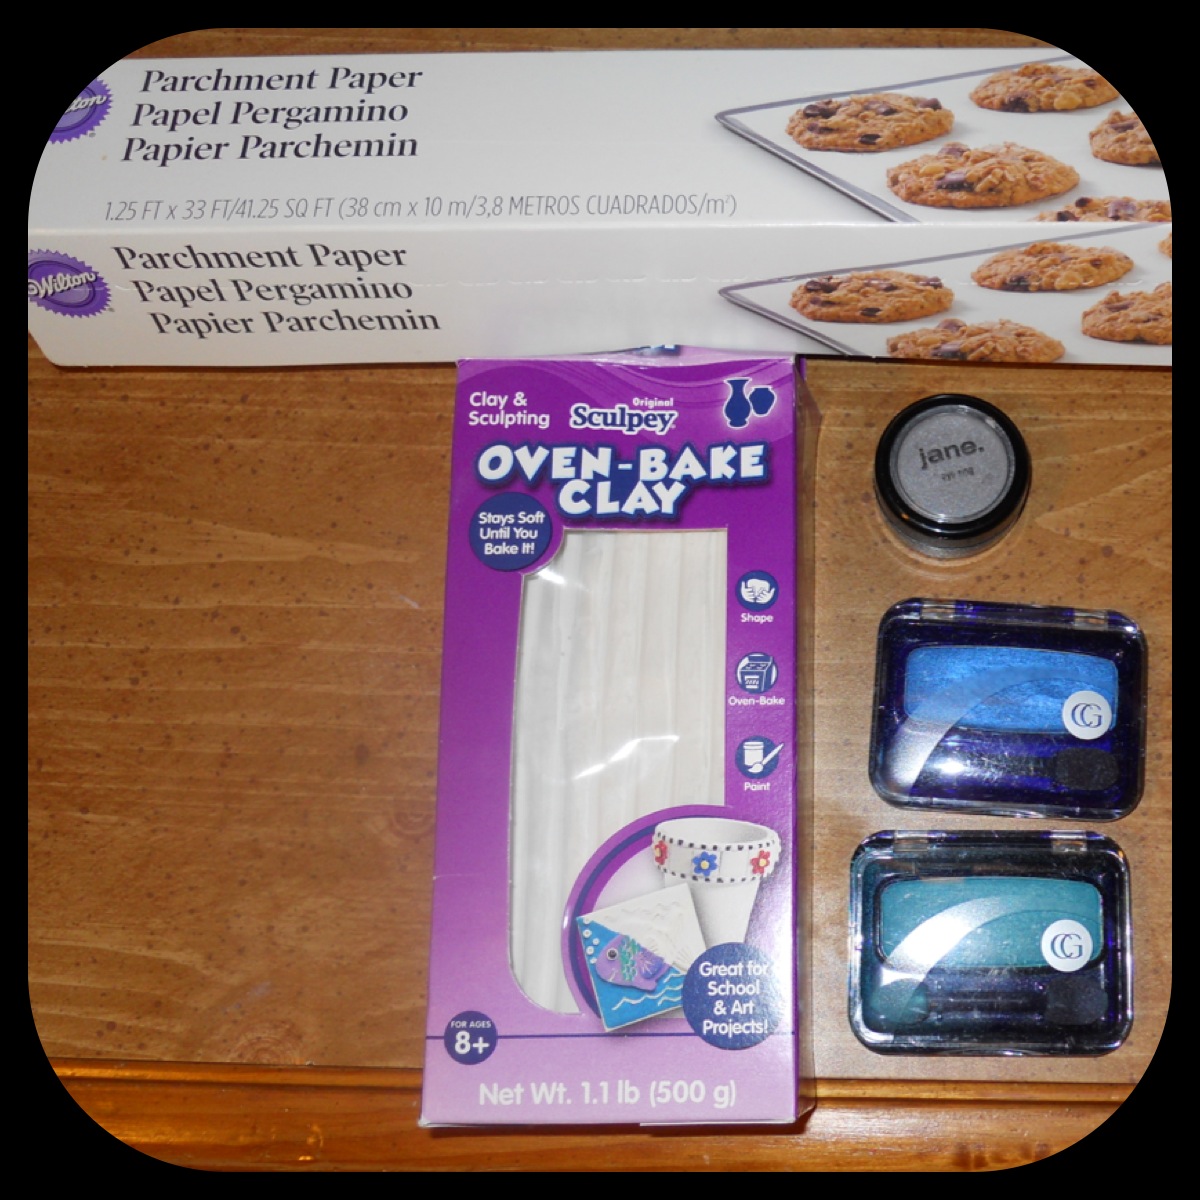
Tools of the trade (minus one).

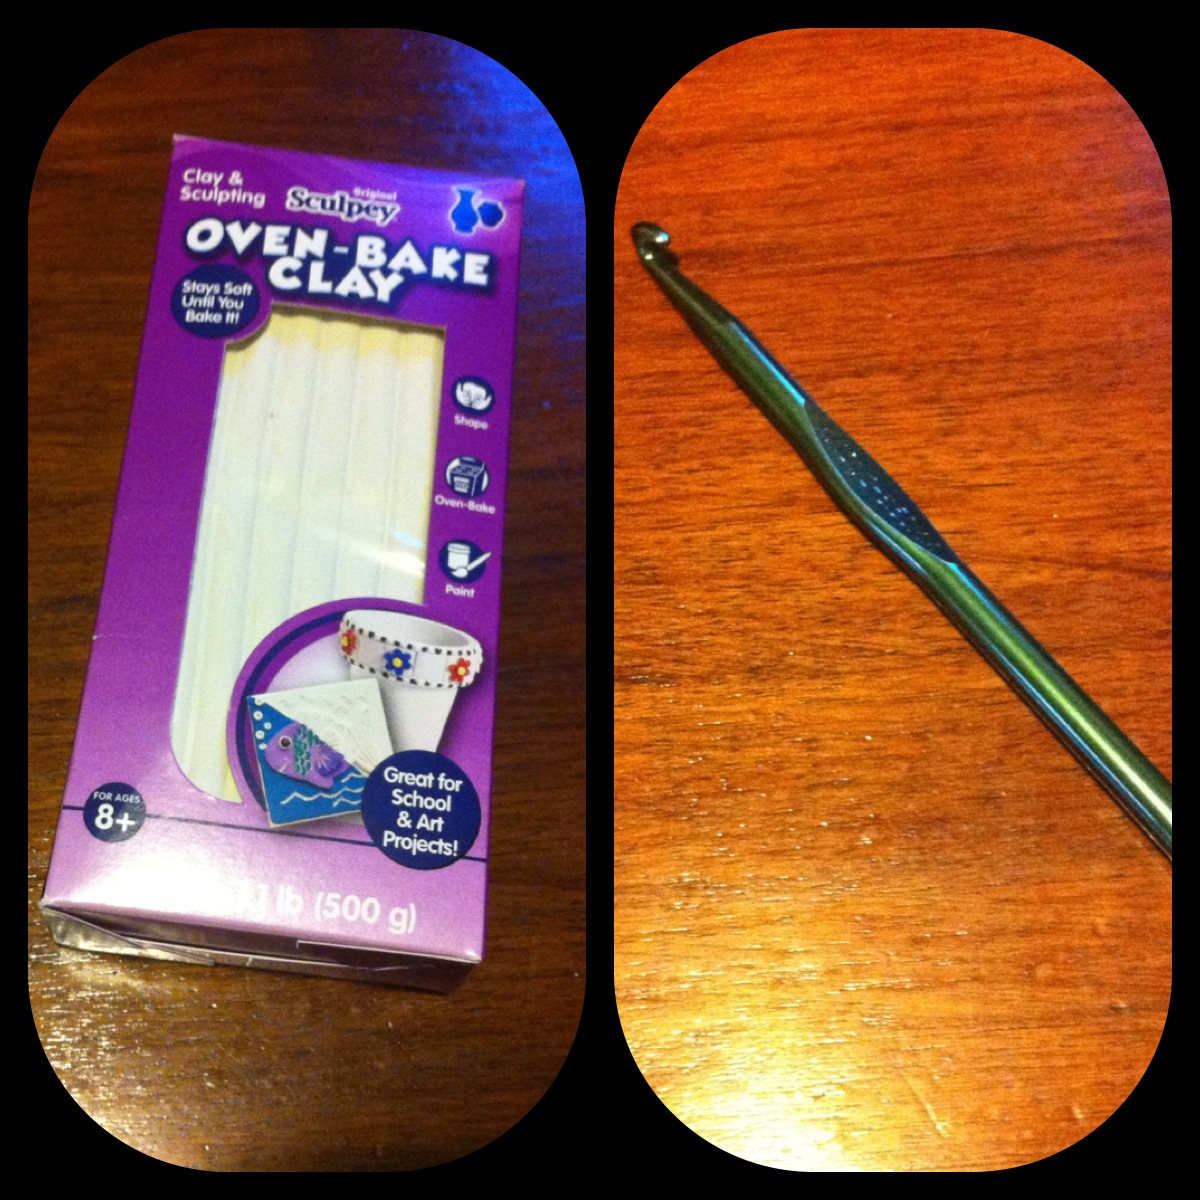
For this project, you will need waxed or parchment paper, Sculpey oven-bake clay, various eyeshadows, and a bobby pin (not pictured because I wasn't thinking ahead). If you have some spare eye pigment powder (which I assume is just unpressed eyeshadow), you can skip steps 3-5. I also recommend having a movie or music playing, as this project takes an awful long time. I sat in silence my first round, and regret it completely.
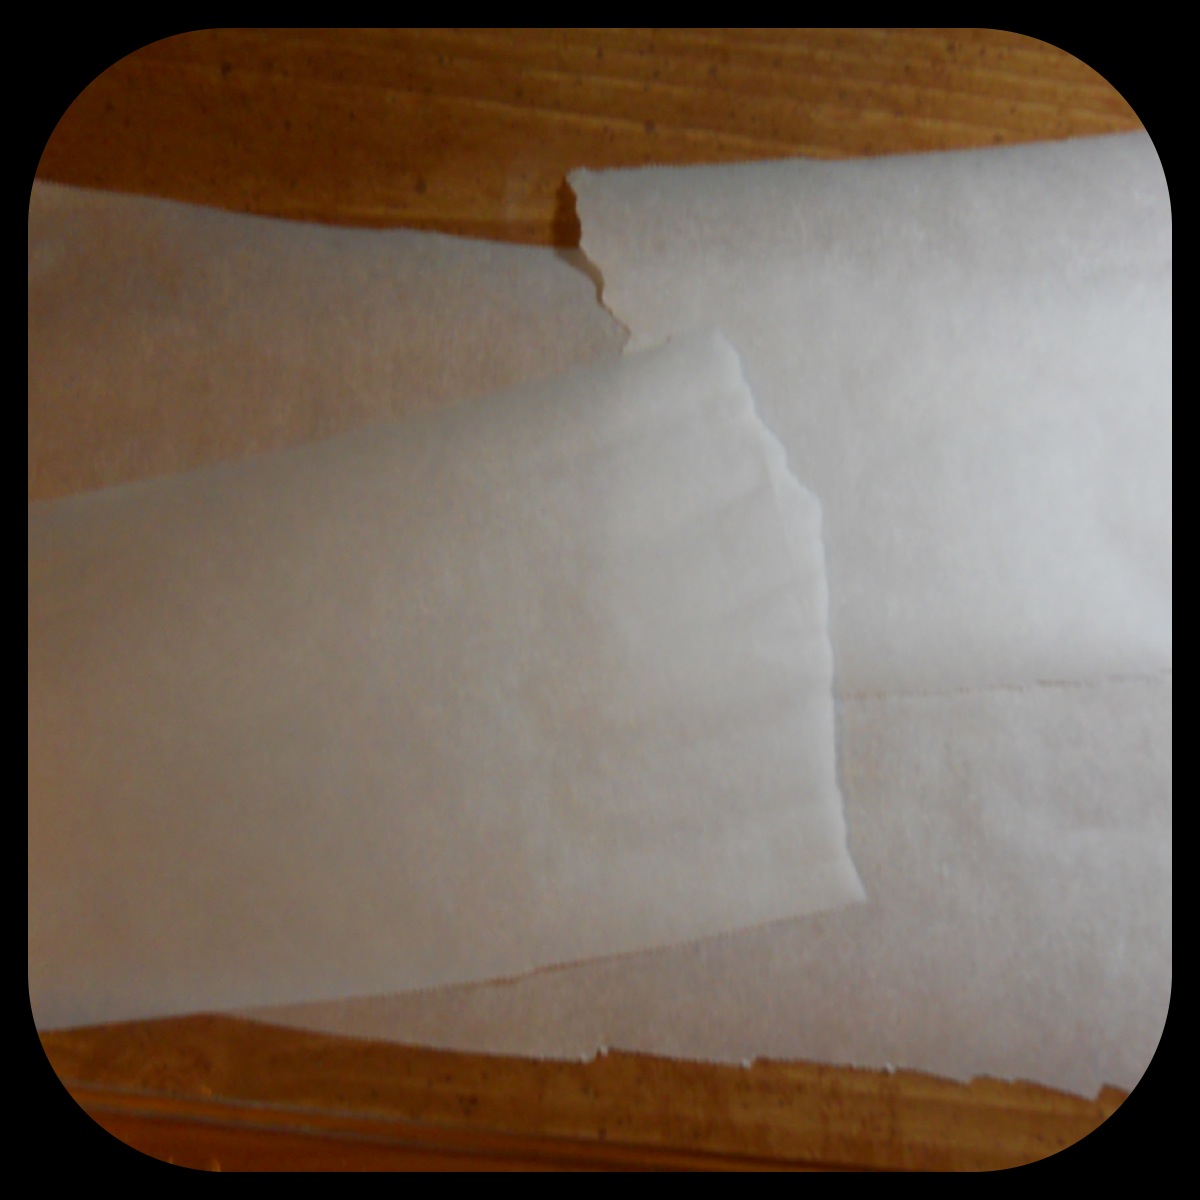
Step One.

First lay down one large sheet of parchment paper to protect your workspace. I'm all about easy cleanup. Then tear off another sheet of parchment paper and rip it in half to make two square-ish pieces.
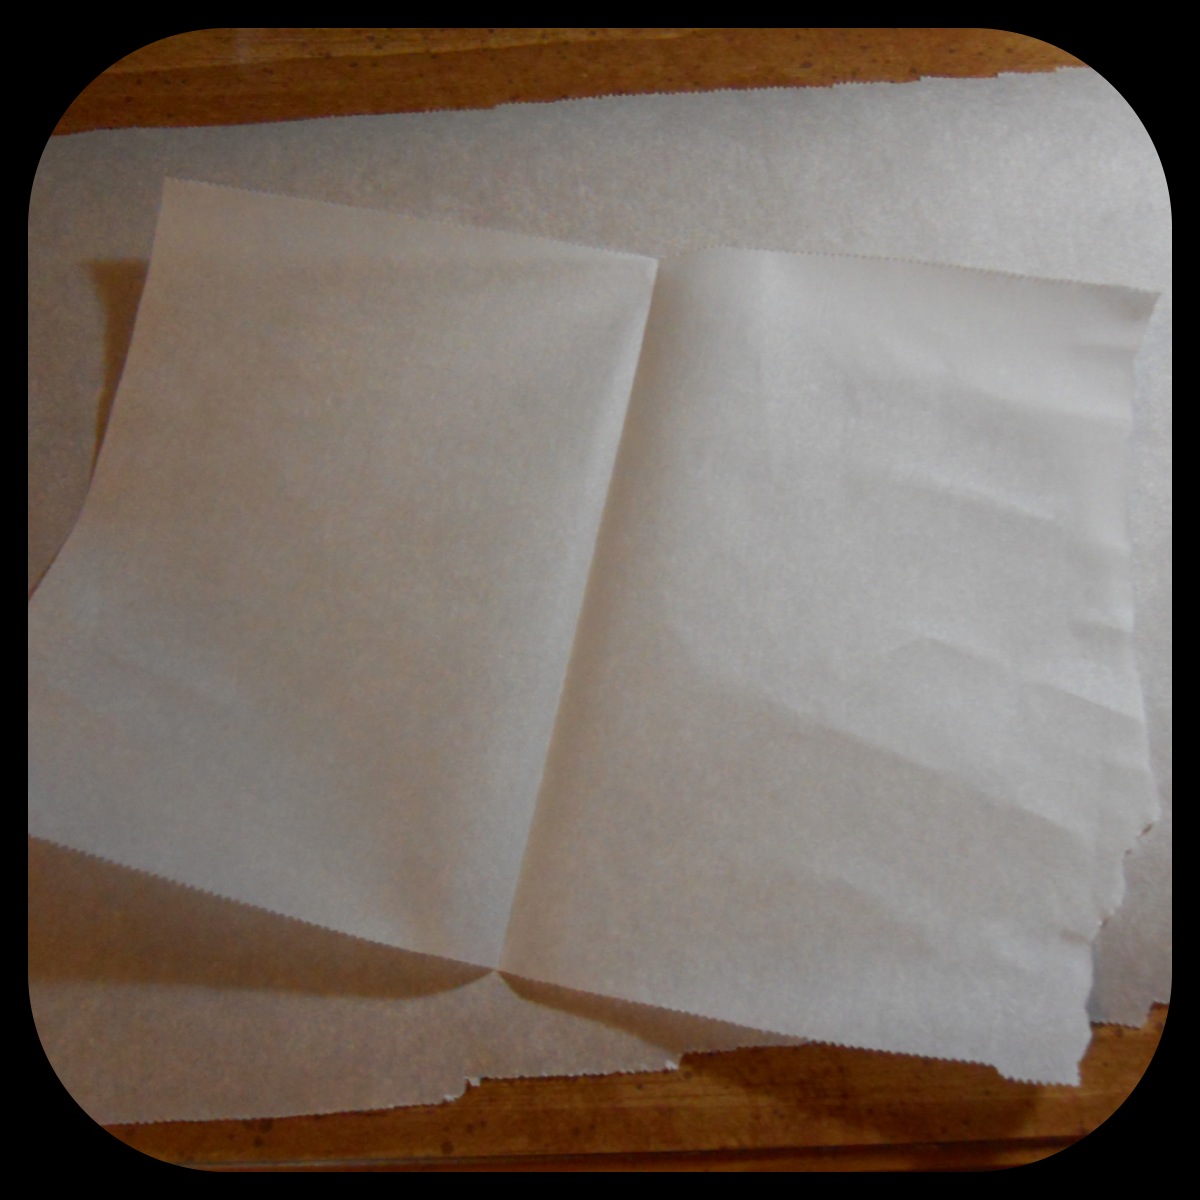
Step 2.

Next, fold one of your squares in half. In hindsight, it wouldn't be a bad idea to fold it in half again the opposite way (so the creases form a +). This is just for keeping the eyeshadow contained.

Step 3.

Then you'll want to choose your eyeshadow colour and break it up with your bobby pin. (Again, I apologize for the fuzzy pictures)

Step 4.

Using the bobby pin, scrape the eyeshadow out of the container and onto the folded parchment paper.

Step 5.

Use the bobby pin to crush the eyeshadow into a very fine powder. Try to get rid of all the clumps - you'll be happy you did. I would do it even finer than this picture. If you're going to add anything else, do it at this point and mix it in with your eyeshadow while it's a powder, instead of trying to mix it into the clay later. You could add glitter, spices, or just mix eyeshadow colours, like I did later.

Mix your colours! Get creative!

I mixed some silver and black and ended up with a really pretty gunmetal gray. Enjoy this part!!
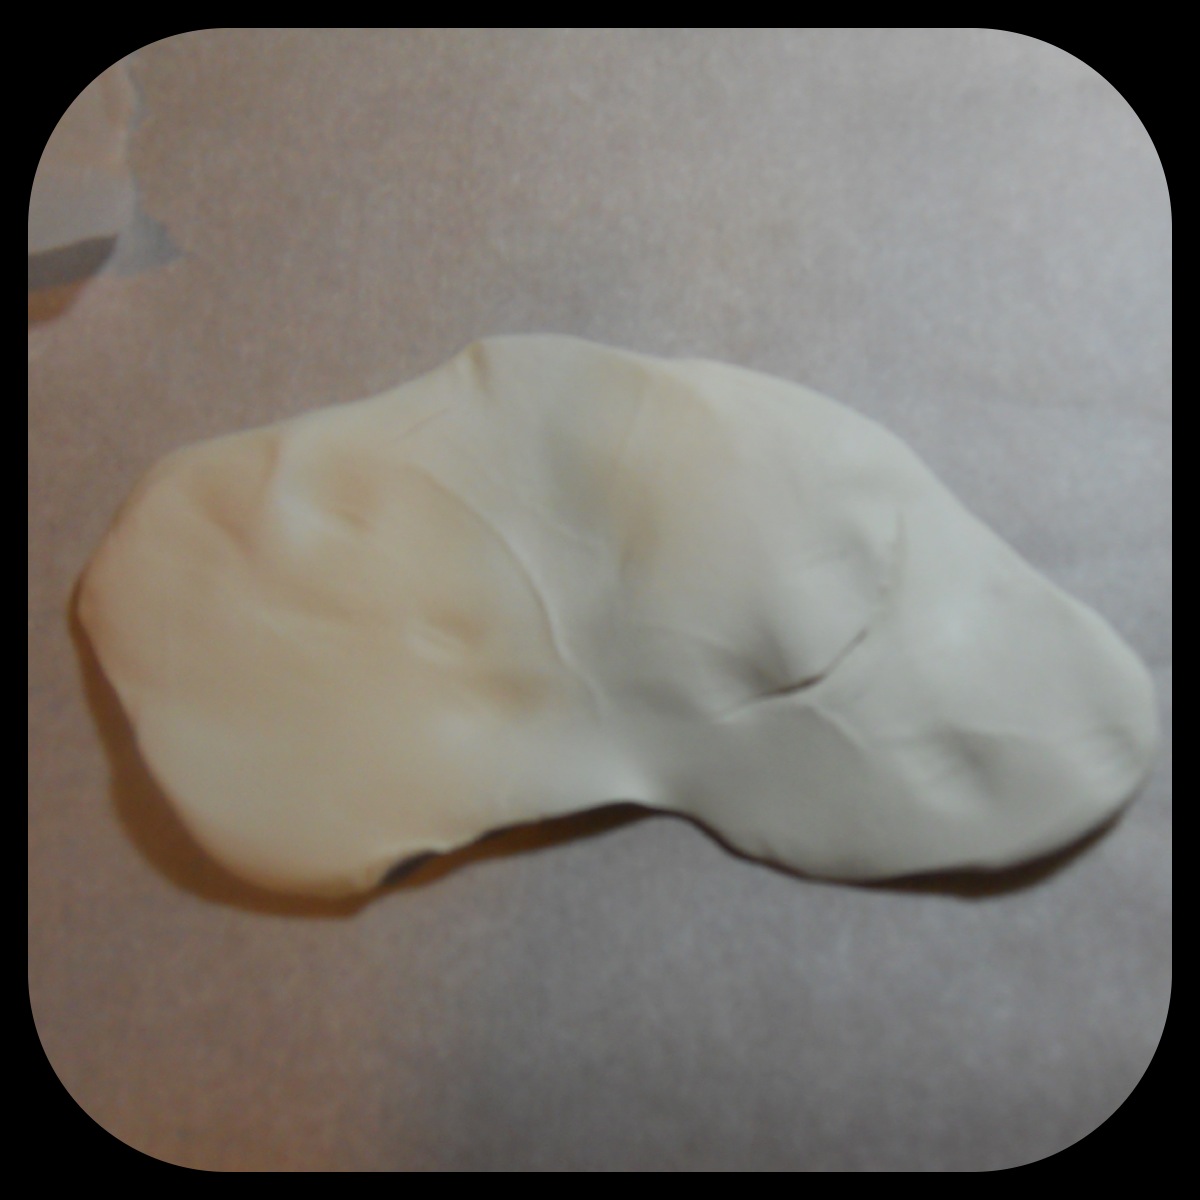
Step 6.

Flatten a piece of Sculpey clay onto your large sheet of parchment paper. I used a lump about the size of a golf ball for each average-sized container of eyeshadow. Keep in mind that the more or less white you use determines your final colour - make the whole amount of whatever colour you need in one batch, as it is unlikely that you'll be able to make that same shade again.

Gloves! Wear them!
Gloves! Wear them!

Before we continue.... I HIGHLY advise that you wear latex/whatever gloves starting now. I did not, and my hands looked like Smurf hands. It got under my fingernails (which is a HUGE pet peeve of mine) and took FOREVER to wash off.

Step 7.

Add small amounts of powder to your clay. DO NOT ADD ANYWHERE NEAR THE AMOUNT YOU SEE IN THE PHOTO!! At first, the powder will cause the clay to not stick to itself, and the clay will become VERY flaky. Just keep working through it, and it will mix in and restick. The less powder you add at a time, the easier it is to knead. That is why this step takes FOREVER. Again, I recommend having some sort of media nearby. If your hands get tired and sore (which they very well may), take a break just to sit and not use them or stretch them out.

Finished!
Finished!

Once you get all the powder mixed into the clay you're all done! Look at that pretty blue! It had a really nice shimmer to it as well once I molded it! You can even mix it to a lesser extent so that it has a marbled effect instead of being uniformly coloured. Whatever makes you happy! That's what it's all about!
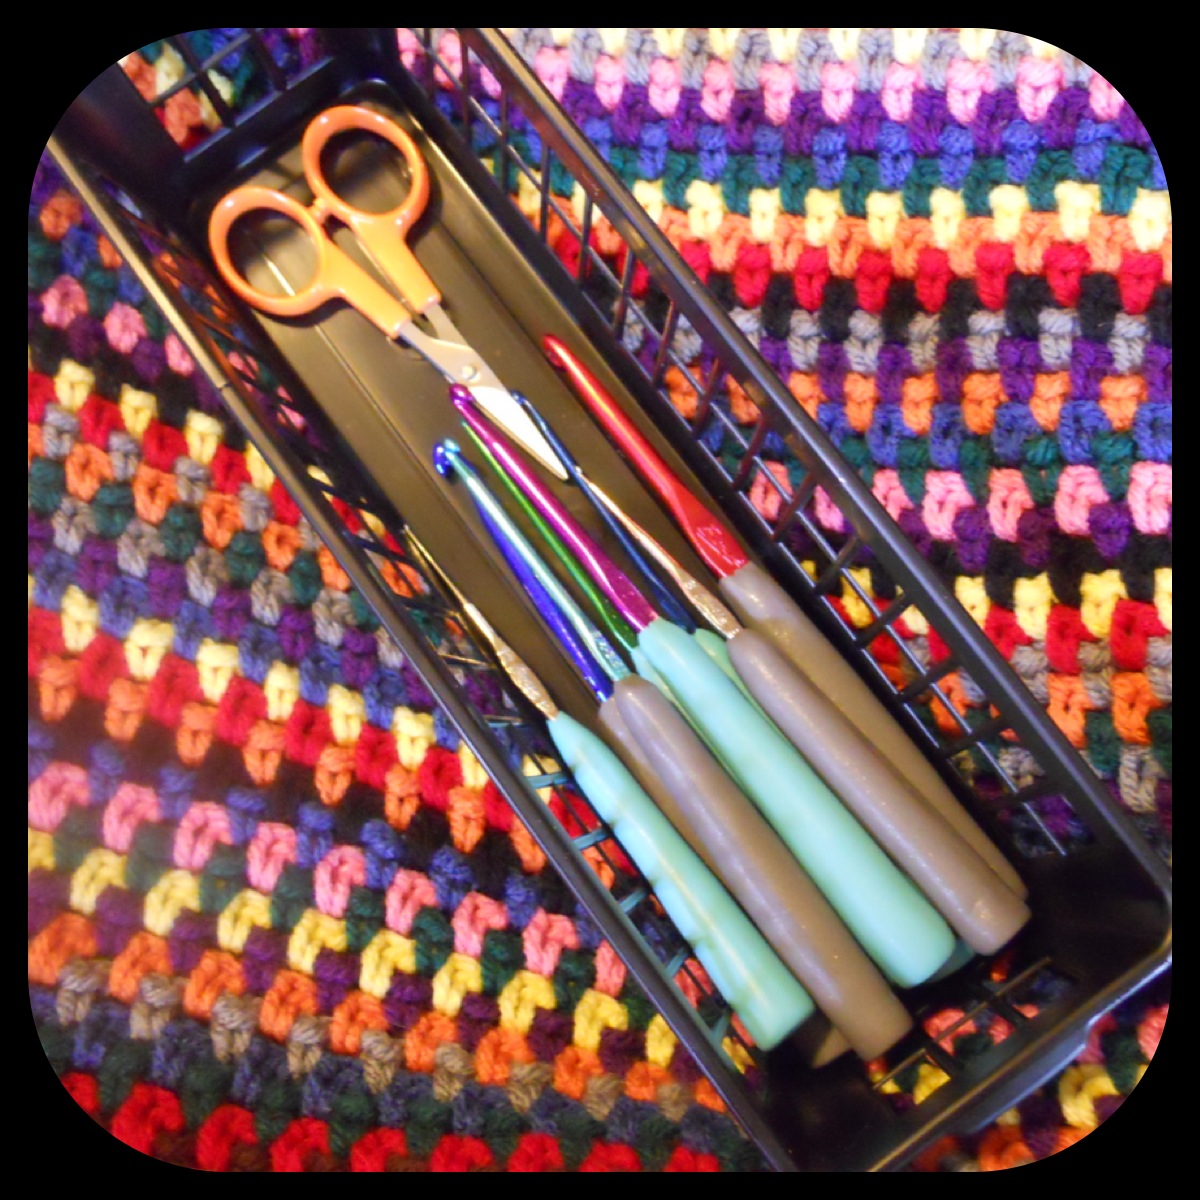
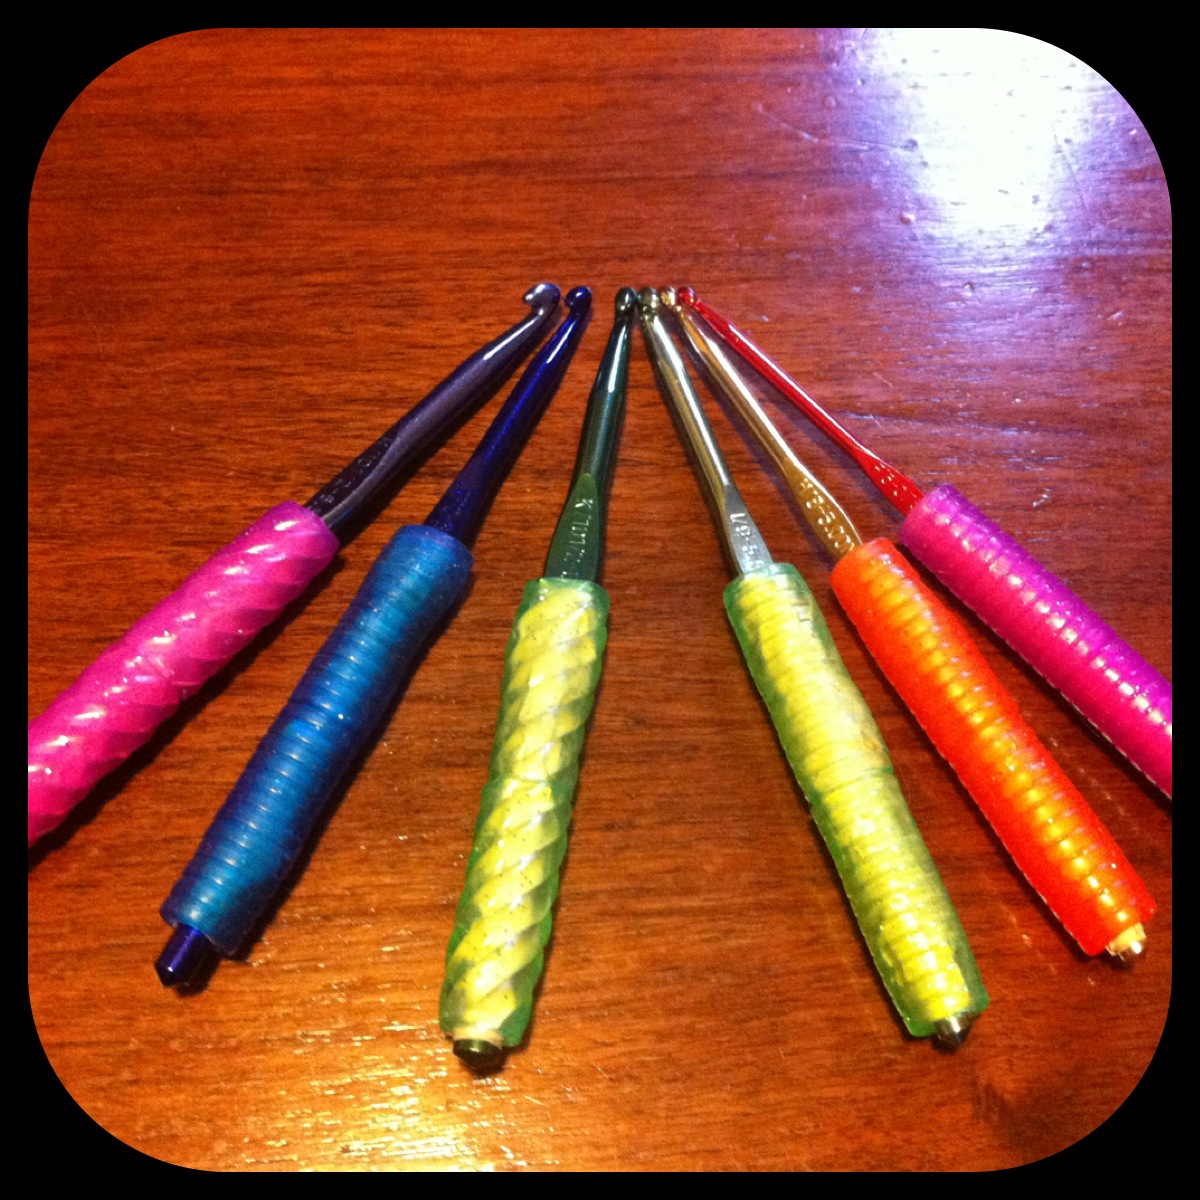
My hooks with their new handles (along with my current crochet project - a pic-nic blanket!).
My hooks with their new handles (along with my current crochet project - a picnic blanket!).

After I mixed my clay, I made my hook handles just like last time, except without the painting process. The clay bakes exactly the same as it says on the box; in the oven at 275*F for 15 minutes per 1/4" thickness. I tried sanding some of the imperfections out after they had cooled with 320 sandpaper, and that seemed to take away the shimmer. So sad. I also tried sealing the sanded ones with clear nail polish, and after 2-3 thick coats it seemed to work all right. I find myself really liking just the plain coloured clay ones, though. The texture is velvety soft, and the colours are turning out lovely! I've been using them while sitting outside with my little buddy.

Oliver is my homeboy.
Oliver is my homeboy. He likes to watch me crochet.

I'd love to see the colour combinations and projects you come up with for this clay!

Friday, September 14, 2012

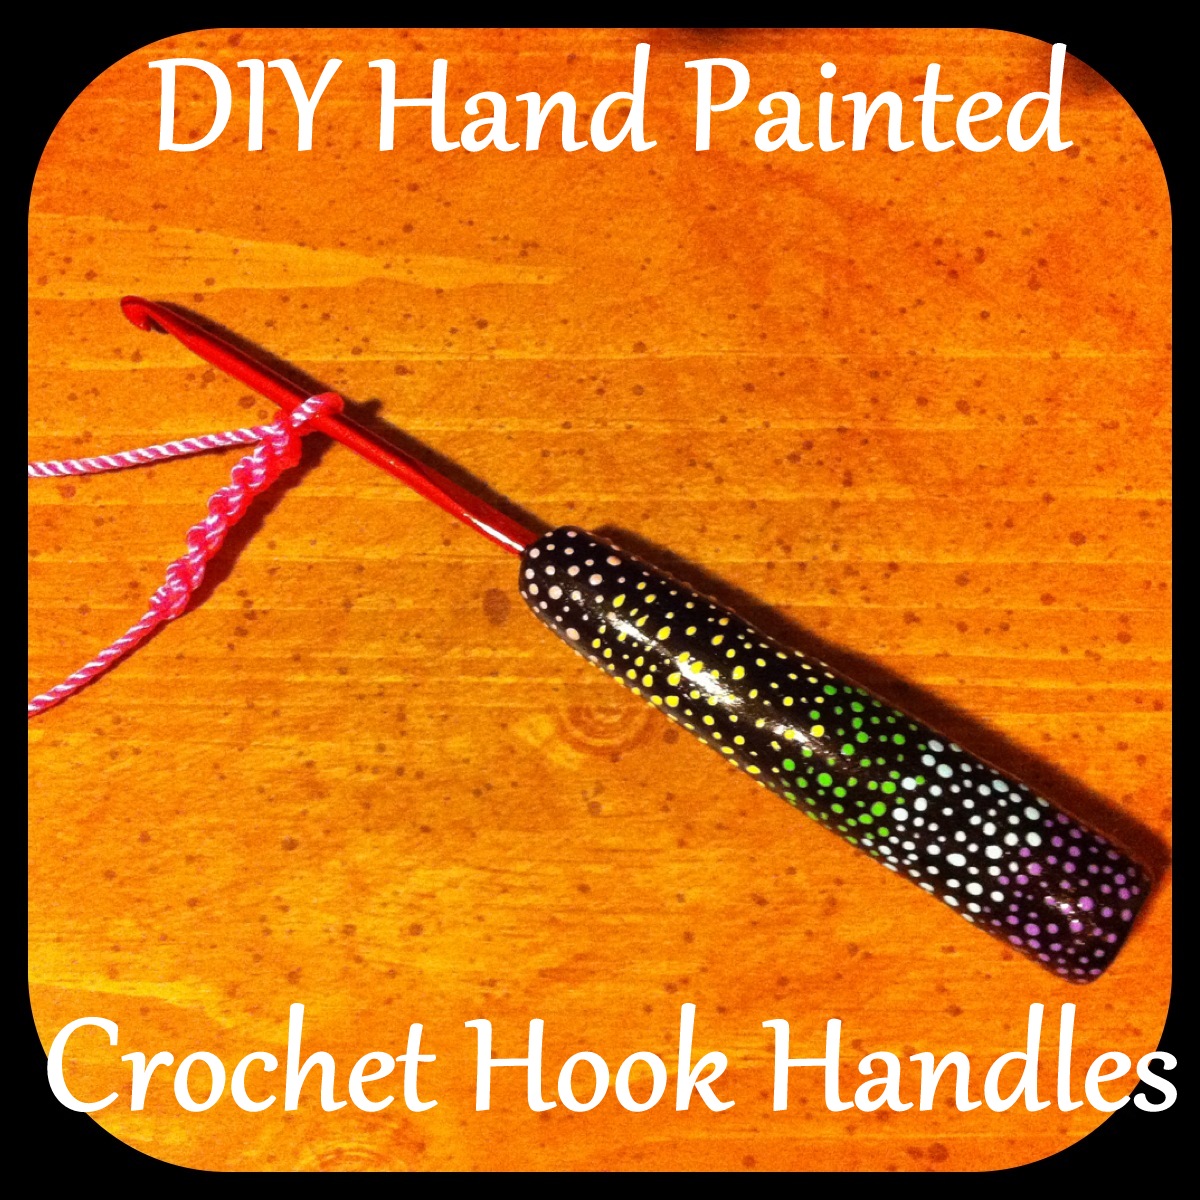
DIY Hand Painted Crochet Hook Handles

Happy Friday!

School has been hectic for me. Lots of reading and writing, and it's only been two weeks! Since it's been so nuts for me, I haven't had much time to craft. This last project, my crochet hook handles, took way longer than it they should have because I had so little time to work on them. But in any case, I hope you enjoy it!

Apparently I'm very fragile. If I crochet for long periods of time, my hands and wrists end up hurting really bad for days. My hypothesis is that I hold on very tightly (but I can't seem to fix that) to such a tiny hook. I tried making my own handles using this tutorial, and it actually worked really well for me. However, I was unable to make them as pretty as those - my tape kept showing and the grips kept slipping.

See? Not so nice.

So I decided to poke around Pinterest (because that's where I find a lot of inspiration for what I do), and I kept seeing people making handles with fimo or polymer clay. I dug through my crafty bin and found some Sculpey clay, and it just snowballed from there.

Let's do this.

This is all you'll need for the first half of this tutorial. MAKE SURE THAT THE HOOKS YOU'RE USING ARE METAL. That's very important.

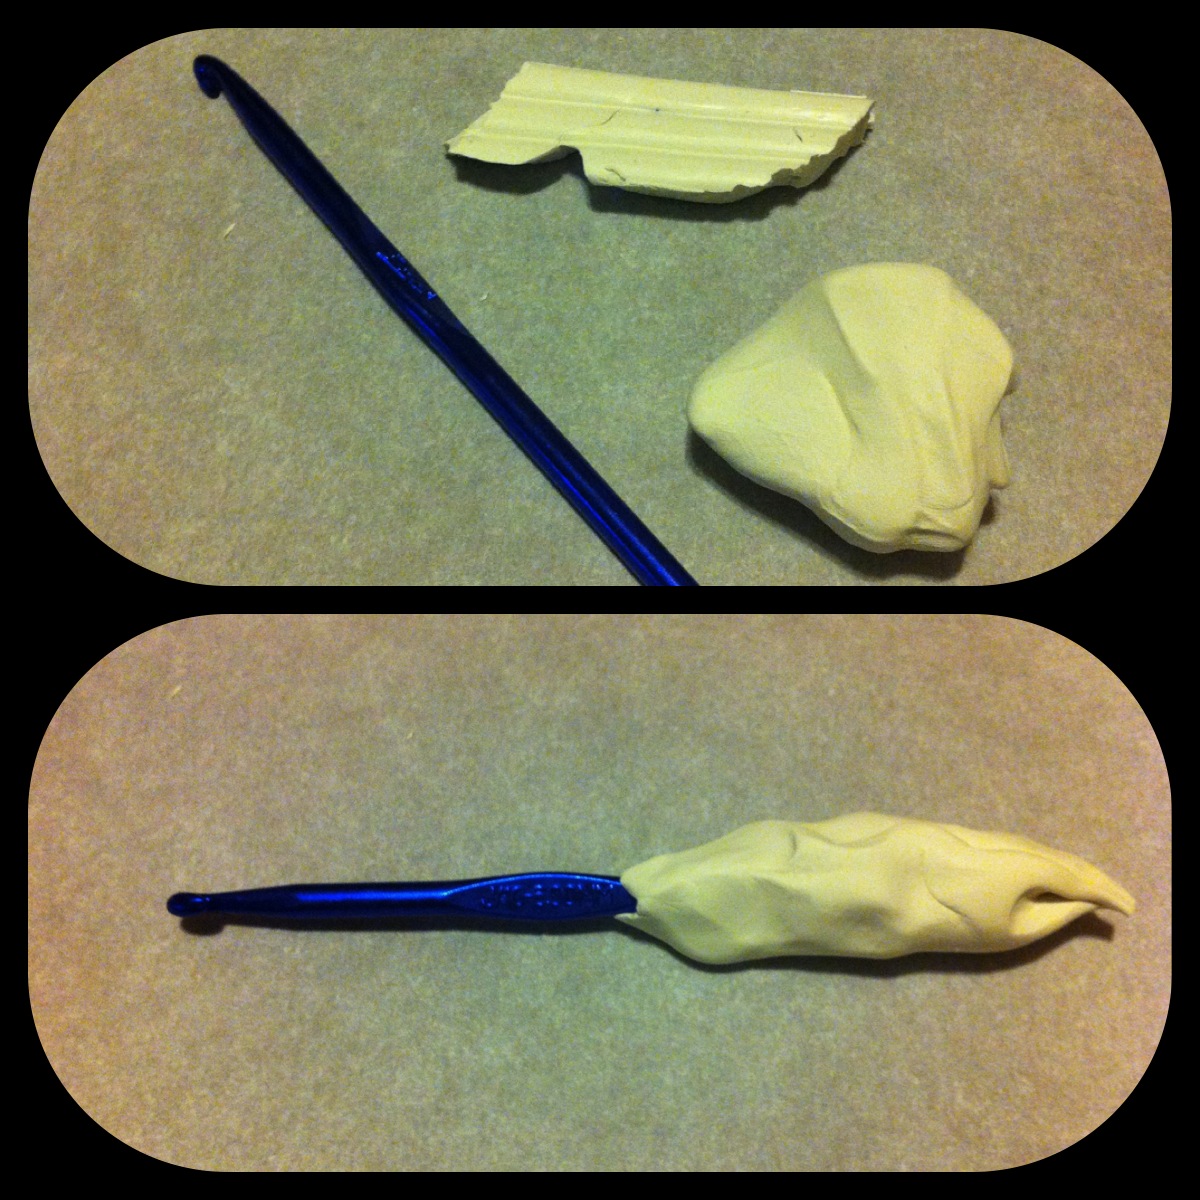
Knead the clay into a smooth handle around each hook. I put down some wax paper so as not to ruin my table. This part took me forever, because I'm a perfectionist. I made sure to keep the thumb rest clear of clay so that I could still see the hook's letter and number.

Once you make handled for all your hooks, place them on a baking sheet (I wrapped mine in aluminum foil because I'm paranoid about this stuff coming into contact with food, no matter how many times I wash it.

Bake them in the oven at 275F for 30 minutes (or whatever it says on the package of whatever clay you use). I don't have an egg timer or anything, so I have to use the timer on my microwave. :-)

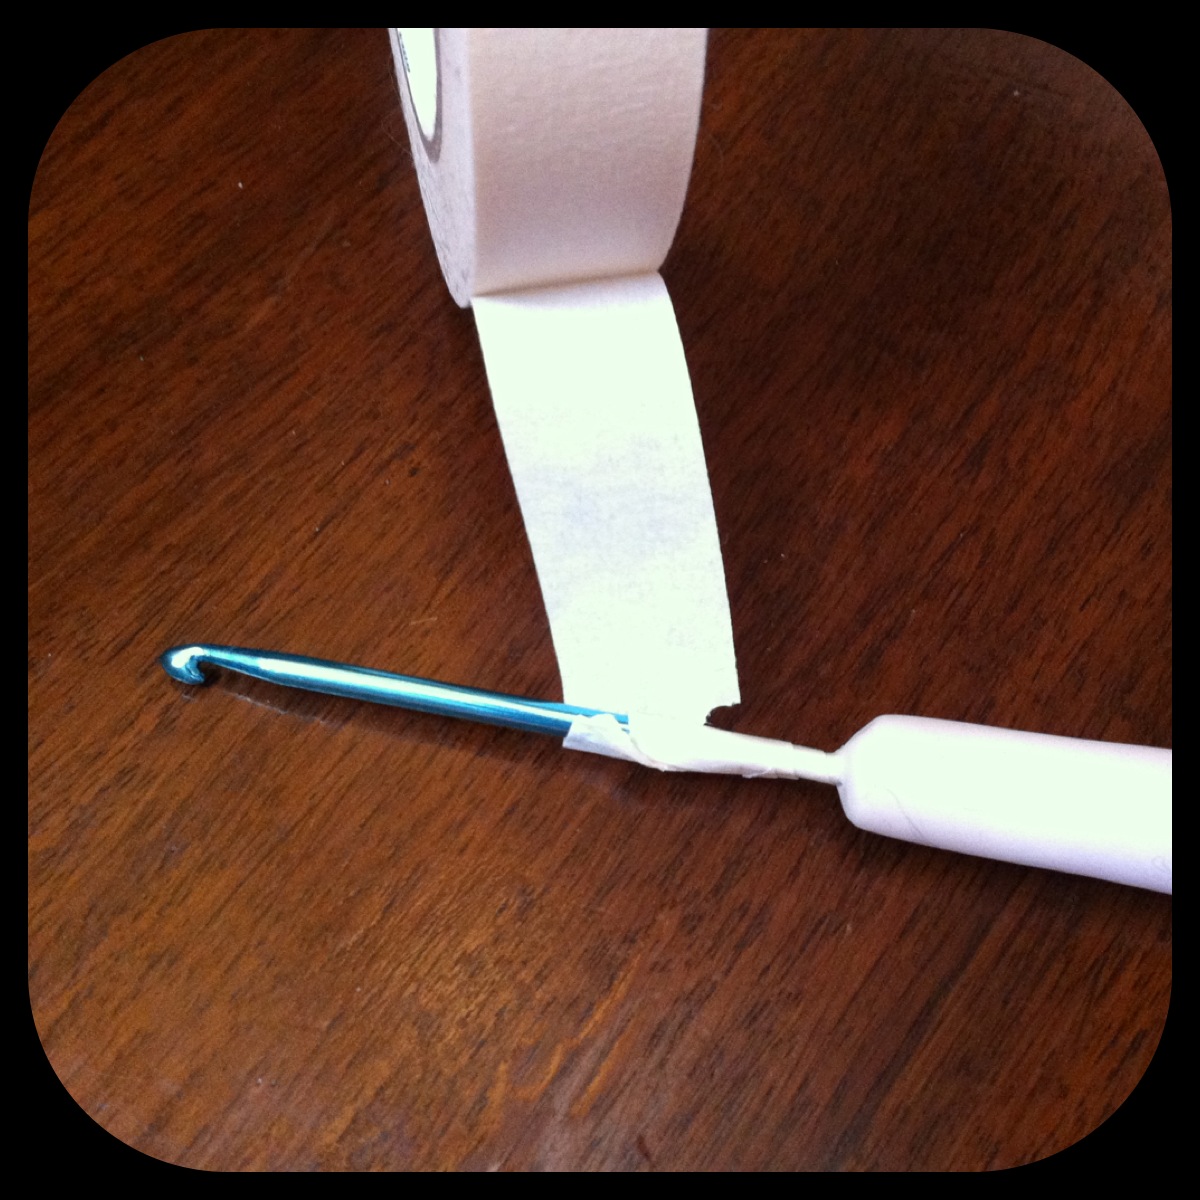
After the handles have cooled completely (I let them sit overnight), wrap masking tape around the edge of the hook where it meets the handle. This will prevent paint from getting on the hook.

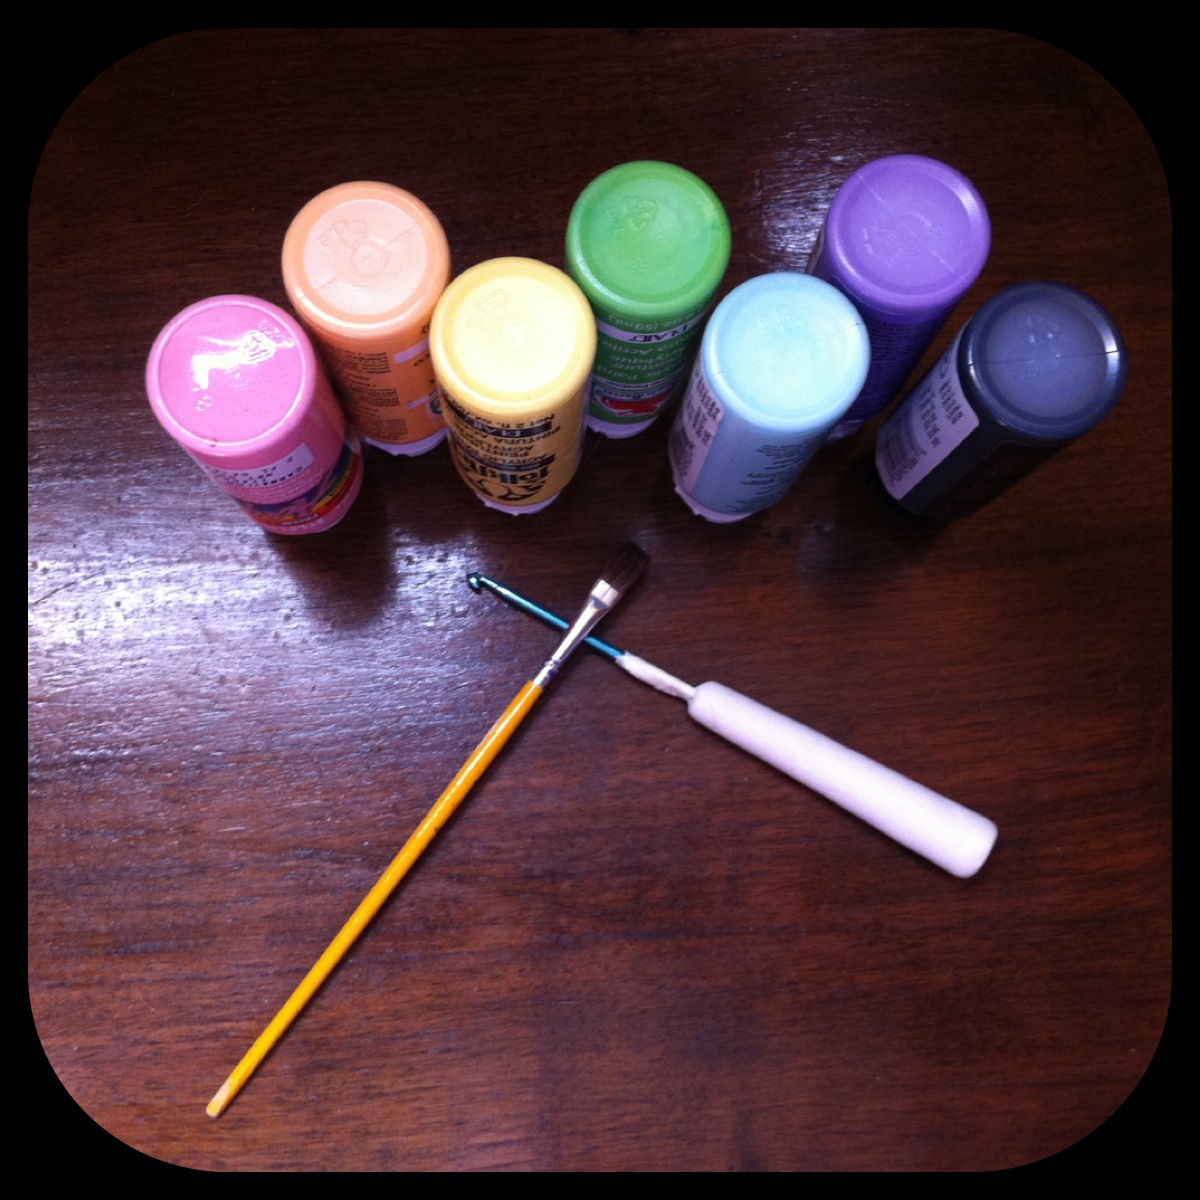
Pick out the paints you'll be using and grab your tools! I'm using a black sparkle base with pastel rainbow dots.

Paint away!!

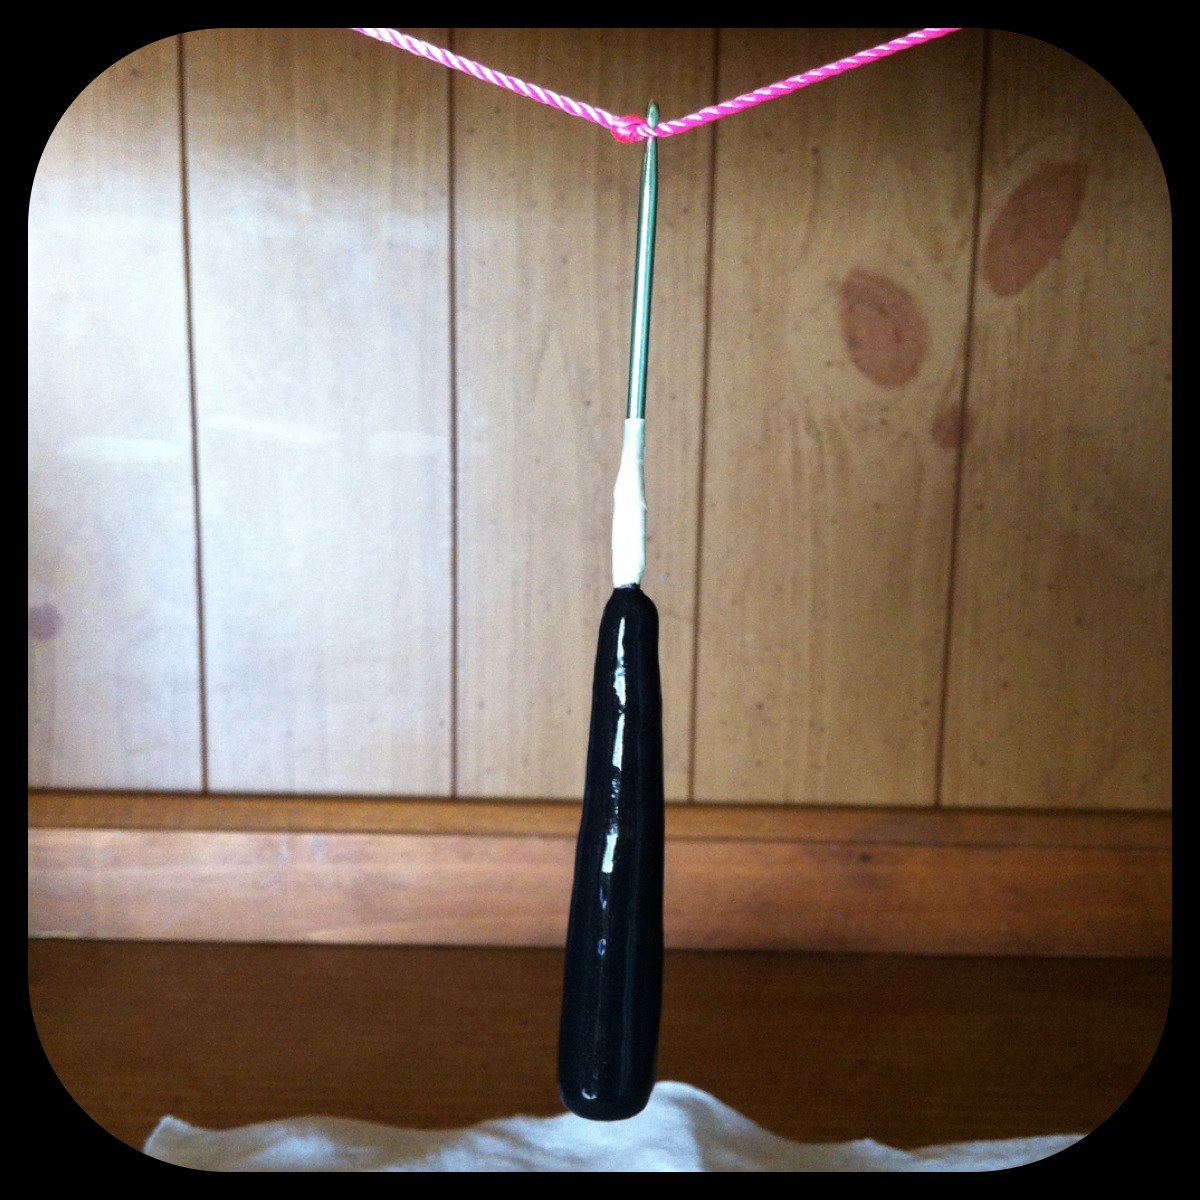
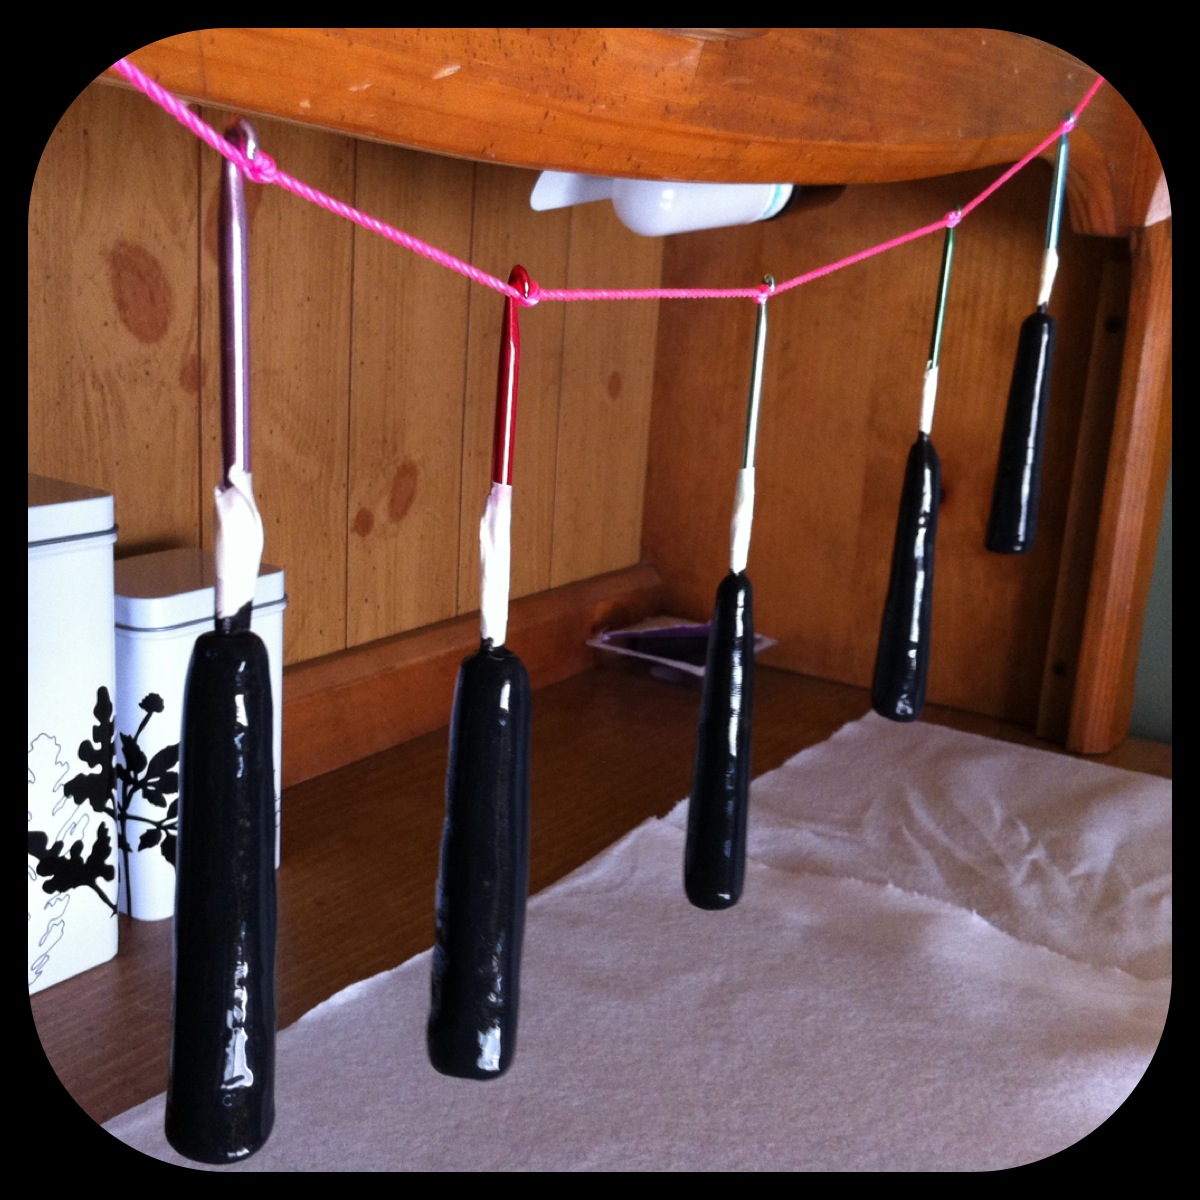
I hung mine on knotted string to let them dry. I figured you could also stick them hook-first into Styrofoam or floral foam, as well. I just happened to have string lying around. I also put a paper towel underneath it, just in case.

Now, my paint dried really sticky. I have no idea why, but I fixed it at the end. You'll see....

I let mine dry over night, partially because it was sticky. If yours is sticky, it doesn't mean it's not dry.

I painted teeny polka dots onto my hooks by pushing a small pin into an eraser and dipping it into paint and onto the hooks. It actually created a fun texture, too! But you can paint anything you want - flowers, dogs, swirls, whatever!

When I took my tape off, I noticed that it had covered some of the clay, so it was still white. I fixed it by dipping a toothpick into black paint and touching it up.

Mod Podge the hooks in order to seal them - this is what makes them no longer sticky! Hooray!

Ta da!! So pretty! I love them! They're pretty comfortable, too. Not bad. :-)

Let me know how this tutorial goes for you!! I'd love to see pictures of your finished products! Until next time!!

Friday, August 31, 2012

Crochet Zipper Clutch DIY


School is coming soon for me! I start in 5 days! So excited! Except that I've only finished one of my back to school projects. Eek! Of course, having my finger out of commission was unfortunate. It's a little better now - I finally stopped using the splint, which means I can crochet again! So, let's all enjoy a crochet tutorial.

I realize this is more of a "How-I-Did-It" than a tutorial since I don't have specific stitch numbers, but hopefully this can help you make one if you so choose.

As school begins, I really wanted a pencil pouch. I have about two dozen pens and pencils I like to bring to school - I love colour choices when I write notes. :-) Of course, the only pencil pouches I could find that weren't too childish were too ordinary.

Snore.

So I sat for days and stared at this thing, wondering what I could do to make it less snooze-worthy. I considered embroidering it, but couldn't think of a pattern I wanted to do. I thought about just sewing some simple buttons onto it, but I didn't have a whole lot of buttons in my stash that I really liked. I almost painted it, but I only have one colour of fabric paint. SO WHAT ELSE IS THERE?!

Crochet of course!! I decided to crochet a little shell for this pouch with some of my scrap yarn. My yarn bin is overflowing, so I'm always looking for good projects to use up my bits and pieces.

As I was making this, I was thinking that this would make a great pouch for anything - pens, paintbrushes, crochet hooks, I could even use it as a little purse! Anyway, let's do this.

This pink yarn has a little sparkle in it, and it's really sort of special to me. It was the first yarn I bought and brought to my Mom's so that she could teach me how to crochet. I also used it (along with a bright blue yarn) to make my first crocheted piece - a super bright scarf. :-)

To start this clutch, chain until it is long enough to wrap around the case and slip stitch into the first chain. Make sure there are no twists in the chain! Keep single crocheting in the round until it gets tall enough to fit over the clutch. Sew one end closed so that it makes a little pouch.

(I ran out of pink before it was tall enough, but I found some sparkle black yarn, so I guess it's a colour-blocked pouch).

The top of the shell should reach to the zipper. That's how you know it's ready.

I crocheted a little scallop edge on the top to add a little feminine touch, but if this pencil pouch is being made for a boy, you'd probably want to avoid this step. :-)

Embellish the pouch with buttons, ribbons, embroidery, whatever you want!

Sew the pouch into the shell with matching thread. I did it about 1/4" below the zipper. I (obviously) did the sewing by hand, but if you're more skilled than I am you could use a machine.

Finished! Stuff it full of your pens, cash, marbles (so you don't lose them!), or anything else you want!

Keep in mind that this could be done with ANY zipper bag. Get creative! Do this over a thermal bag and take your lunch with you (that's actually a really good idea.... I might have to do that)! Do this with a larger bag and use it to keep crayons and notebooks together for you kids, or use it as a first aid kit, or to keep diapers and wipes together in your diaper bag (I'm going to be honest, I don't have kids so I don't know if that's an issue or not, but you get the idea). Possibilities for customization are endless, and those are my favourite kinds of projects.

I have a lot of great projects lined up, so I'm sure I'll be back with more soon. :-)

Sunday, August 12, 2012

Finally!

I'm finally done with all of my August gifts! Hooray! Now I can finally get going on my back to school projects. Or I can even read a book (Currently I'm in the middle of Anathem by Neal Stephenson)!

As promised, here are the photos of my finished projects. If you would like me to make a tutorial for any of these just let me know!

A watermelon hat for my niece's first birthday. I miscalculated the size of it (by a lot - this was my first time not using a pattern), so I had to weave some ribbon around the brim to tighten it (I really didn't want to start all over). This way the hat is going to poof so she'll look like Strawberry Shortcake, and she can have the hat pretty much forever since she can't grow out of it.

Total cost: $20 for yarn (I wanted to try my hand using the higher-quality yarn at my local yarn shop).

This is my nephew's fort kit. I made it out of a flat bed sheet, pillow case, clothesline, clothespins, and a flashlight. I sewed a cinch into the pillow case, and crocheted a pouch to hold the clothespins. The Fort Sam sign is just fabric paint on a piece of scrap fabric that he can pin to his fort when he sets it up.

Total cost: $21.

The Kindle case for my sister-in-law. I lined the inside with red satin (the top picture). This is the first time I've ever lined anything I've crocheted. I really hope she likes it - I unfortunately don't know her very well, but I know she likes blue and loves her Kindle. This shade of blue that I used looked so perfect with red (I know, the picture quality really isn't that good).

Total cost: $0 (What I didn't have on hand I was able to get from family members).

My mom's bookmark. I crocheted this out of embroidery floss to make it nice and thin. My mom loves vintage books, and I had one that I had bought to do another craft with, but I decided against that for right now. I love making bookmarks, and I think this is one of my prettiest. :-)

Total cost: $3 (for the book).

Dave's niece's ponchos - one for her and one for her new American Girl doll. I had originally planned to make them other matching accessories (like hats and scarves), but I ran out of time. Oh well - that just means I have a lot of time to make those for Xmas - maybe a whole winter set? :-)

Total cost: $0.

Some other fun stuff that's been happening lately:

My mom had a bunch of pots that she wanted to get rid of, and this is the one I got. I replanted my cactus that I got from Walgreens into it. I also discovered that repotting a cactus without gloves HURTS. Even in places where you think there are no spines there are painful spines.

My mom found a craft book that she had bought in the '70s. This is such a cool book, because it's like vintage squared - the book is about crafts that were big in the 1900s-1930s. It actually has a lot of really cool embroidery patterns in the last couple of chapters - I'm excited to try them out!

Well, that's all my fun stuff going on. Until next time! :-)

Monday, August 6, 2012

DIY Hardcover Needlebook

It's Monday and I'm done with work (hooray!). I have a great big pile of projects that need to get done before Wednesday in front of me (I have 3 projects to start and one to finish), but I like to procrastinate, so.... here we go. :-) I'm sure I'll be just fine. I'll post pictures of them when they are completed, and I might even add a tutorial for one of them. We'll see.

August is a hectic month for me. It is my mom's birthday, my sister-in-law's birthday, my nephew's birthday, my niece's birthday, and Dave's niece's birthday all at once. It's also back to school time, so I have to get all of those crafts started and finished.... Eep! So this year since I'm totally broke they all get handmade gifts - mostly crocheted, because I have a huge stockpile of yarn. If yarn could ever be used as currency I'll be sitting pretty. :-)

In my procrastination, I decided to quickly do my second tutorial. Over the weekend I wanted to make a needlebook (needle book? One word or two?), and as I love hardcover books more than paperback, I decided that my needlebook had to be hardcover as well. It's only right. I will admit, the pins and needles are a little trickier to get into the felt, but it's so cute that it's totally worth it. This project took me a long time to make, but I had to work out the measurements and kinks, so it will probably take you less time. I also hand-sewed the entire thing, so if you decide to use a sewing machine it will take no time at all.

Feel free to leave a comment or email me at littlecraftyfox@gmail.com if you have any questions! Keep in mind I am fairly new to the photo tutorial world, so any helpful hints you may have would be fabulous! I apologize in advance for the poor photo quality. I'm not a photographer (obviously). :-)

So here we go!

First let's look at the supplies you'll need....

1. An old cardboard binder (I have been madly in hate with this one for so long. Finally I get to get it out of my house).

2. Felt. You'll need two rectangles that measure 6" x 9.25" each. (Have you seen the cool patterned felt they have out there now?? Possibilities are endless!)

3. Ribbon to match your felty colour scheme.

4. Scissors (of course).

*Not pictured (mostly because I'm lazy)*

5. Needle and thread (Easily thread the needle using your handy-dandy Wine Cork Needle Threader! :-P)

6. Any embellishments you would like (fabric paint, buttons, embroidery floss, etc).

**I had all this stuff on hand, so total cost for me was $0!!**

Let's get started!


1. Cut one of the covers off of your binder. This can be a little tricky since the cardboard is thick, so you may want to use something stronger than scissors.

2. Cut two rectangles that measure 3.75" x 5". Set them aside.

3. Cut 21" of ribbon and stitch it onto the felt you are going to use as the outside cover of your needlebook (or I suppose you could glue it). Make sure you match up the middle of your ribbon with the middle of your felt so that the extra ribbon is even.

4. Embellish the cover any way you like. You can use felt pieces, embroidery, crochet appliques (like me! I used this pattern to make my flower out of embroidery floss), fabric paint, beads, or pretty much anything else you can think of. Just be certain that you are really happy with how it looks before you continue with the project. Trying to decorate the cover after you continue gets a lot harder (as I discovered).

5. Pin the two pieces right sides out (as in you will not turn them inside-out after you're done stitching) and sew three sides together using either a matching or contrasting thread. I recommend sewing the two sides and top of the felt, leaving the bottom open. I used a basic running stitch.

6. Slide the two cardboard pieces into the felt pocket and stitch up the bottom.

7. You're so close!

**At this point if you would like to add pages to your book now would be the time to do it. Cut felt that is 8.5" x 5.25" and run a quick stitch around the edge. Add pockets, elastic, buttons, pouches, whatever you want to those pages. Then pin it to the inside of your book and do the next step through all layers of felt at once. I was going to put a page in mine, but I'm a beginning embroidery enthusiast, so I don't have many pins and needles that need organizing. :-)

8. Sew along the outside of the cardboard that is inside the felt. This creates a good foldable middle for your book.

9. Fill your book with all manner of pins and needles! (As you can see I wasn't kidding when I said I don't have many pins and needles that I use!) I crocheted another flower and stuck it into the corner of the inside as a little extra bit of happy. :-)

All finished!

Obviously you can see that I tried to decorate my book even more after I had stitched the book together. I had to use fabric paint because I couldn't sew anymore, but I still like it. :-)

If you use this tutorial to make your own, please post a link to the picture of your finished product! I would so love to see it!!

And because I can....

This is my cat Oliver. He loves to hug and play fetch (not kidding). I think it's hilarious that he plays fetch, so I decided to offer some photographic evidence (it's blurry because he wouldn't pose for me). He will play until he gets so tired that he collapses and pants - it's so great. :-)

Enjoy your week!