Hi there! It's been so long, I know. I don't like posting unless I have something to say/show off, and this summer has been fairly uneventful as far as crafting goes.
I finally moved out of my awful apartment to a beautiful one in the city. It's so exciting - Dave and I just love it! I love being within walking distance of SO many new shops and restaurants (not to mention a YARN SHOP!!). Other than that and getting ready for school, I really haven't been up to much. Dave told me to relax this summer - it's probably the last summer I'll ever have off.
I feel like I wasted it.
Oh well!
In any case, let me tell you the story of my night. Currently, my area is in a drastic, unseasonal heat wave. It's late August - time for fall to start showing up (which I was all excited for, since autumn is definitely my favourite season), but our heat index has been passing 100 degrees F for two days now, and it won't cool off much for another few days at least. To top that off, the only window that will fit an air conditioner in my new apartment is in our kitchen.... waaaaaaaaaay at the opposite end of the apartment as our bedroom. So this means that our bedroom and bathroom are broiling day and night, and our air conditioner (which really doesn't work that well in the first place) only cools the kitchen and a little bit of the living room. This means we're hot and sticky 100% of the time we're home. Joyous.
So I've been trying to take my mind off the heat by crafting. Those of you who have spent days in a 90+ degree apartment know that your brain doesn't always work as well as it normally does, so I've actually spent most of my time on Pinterest looking for inspiration. As with YouTube, one thing on Pinterest leads to another, and soon I was looking for ideas for an outfit to wear to my first day of school next week.
(Side note: This semester is going to be my BEST EVER. I'm actually taking classes that I enjoy and will be useful to me later on when I'm studying to be an Egyptologist. SO EXCITED!!)
I've fallen in love with boho style a little bit this summer, especially the stacking bracelets. Dave got me one bracelet at the Festival of Nations, and one of my dearest students got me a GORGEOUS one (which is actually three put together) as an end of the year gift after my last recital with the dance studio this past June. (Side note again: Seriously, she is an amazing girl. I miss teaching her so much - her attitude, her enthusiasm for ballet, her sense of humour.... She's the best. ^^) I have been wearing both of those bracelets almost every day for the past week or so. I just love them!!
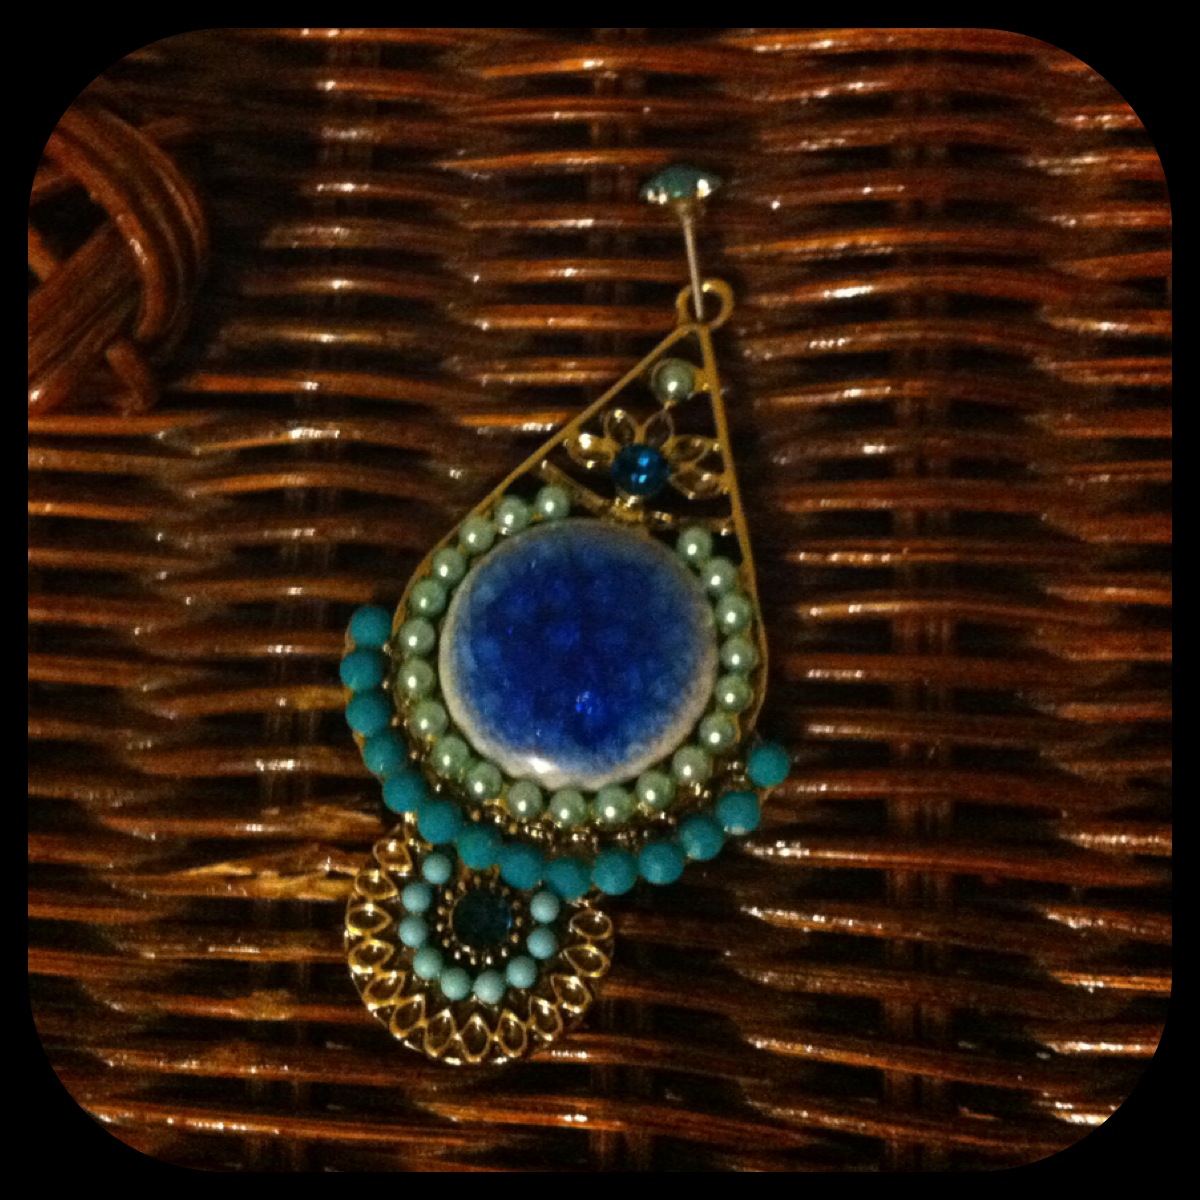
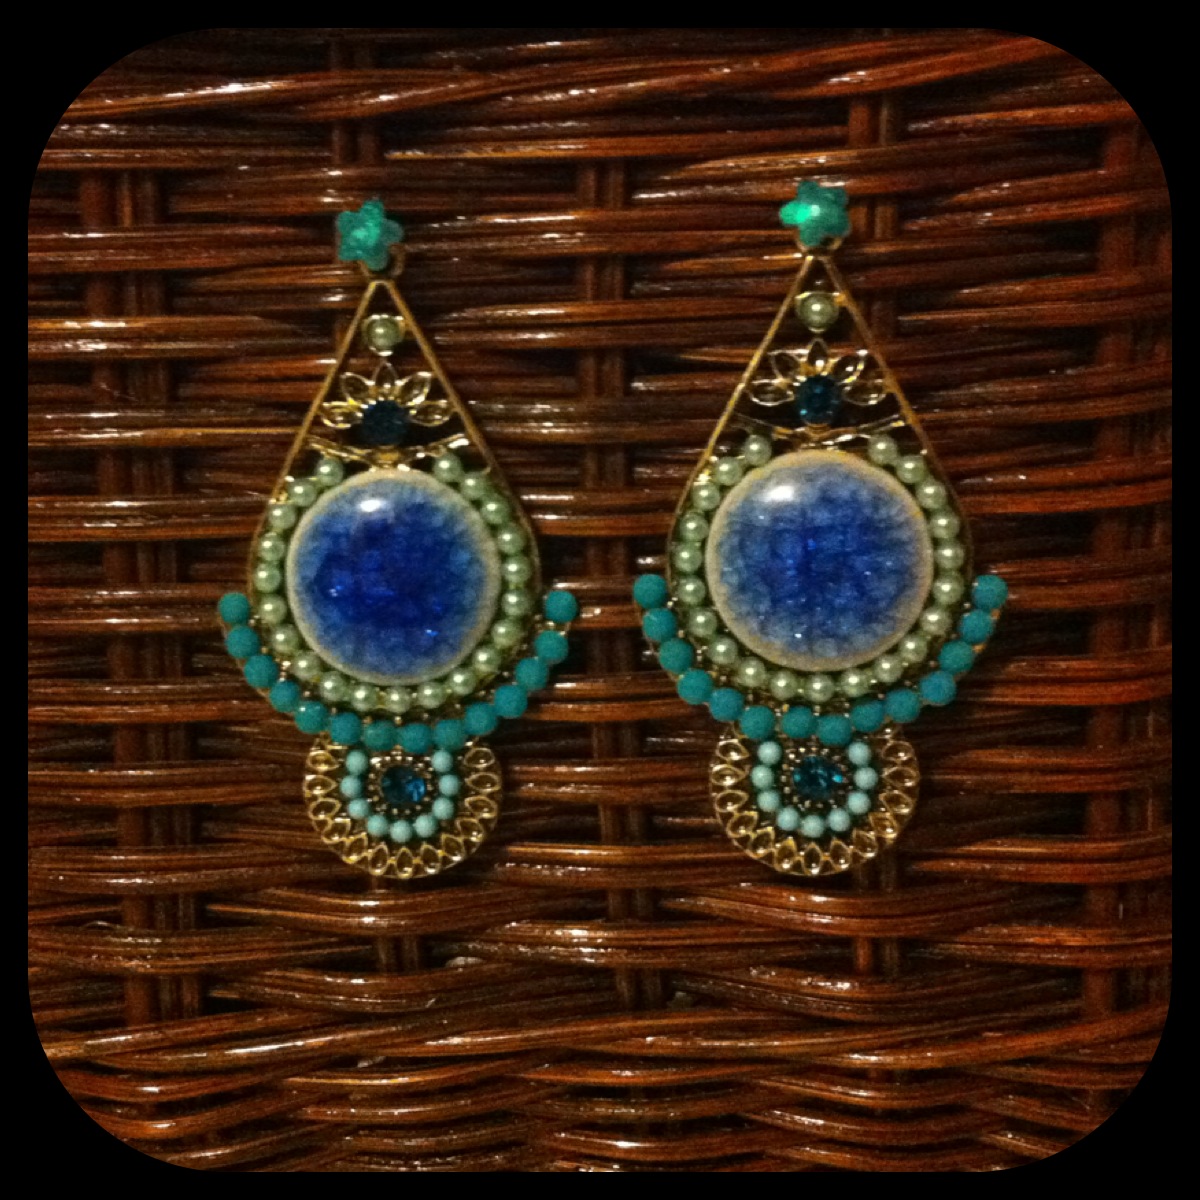
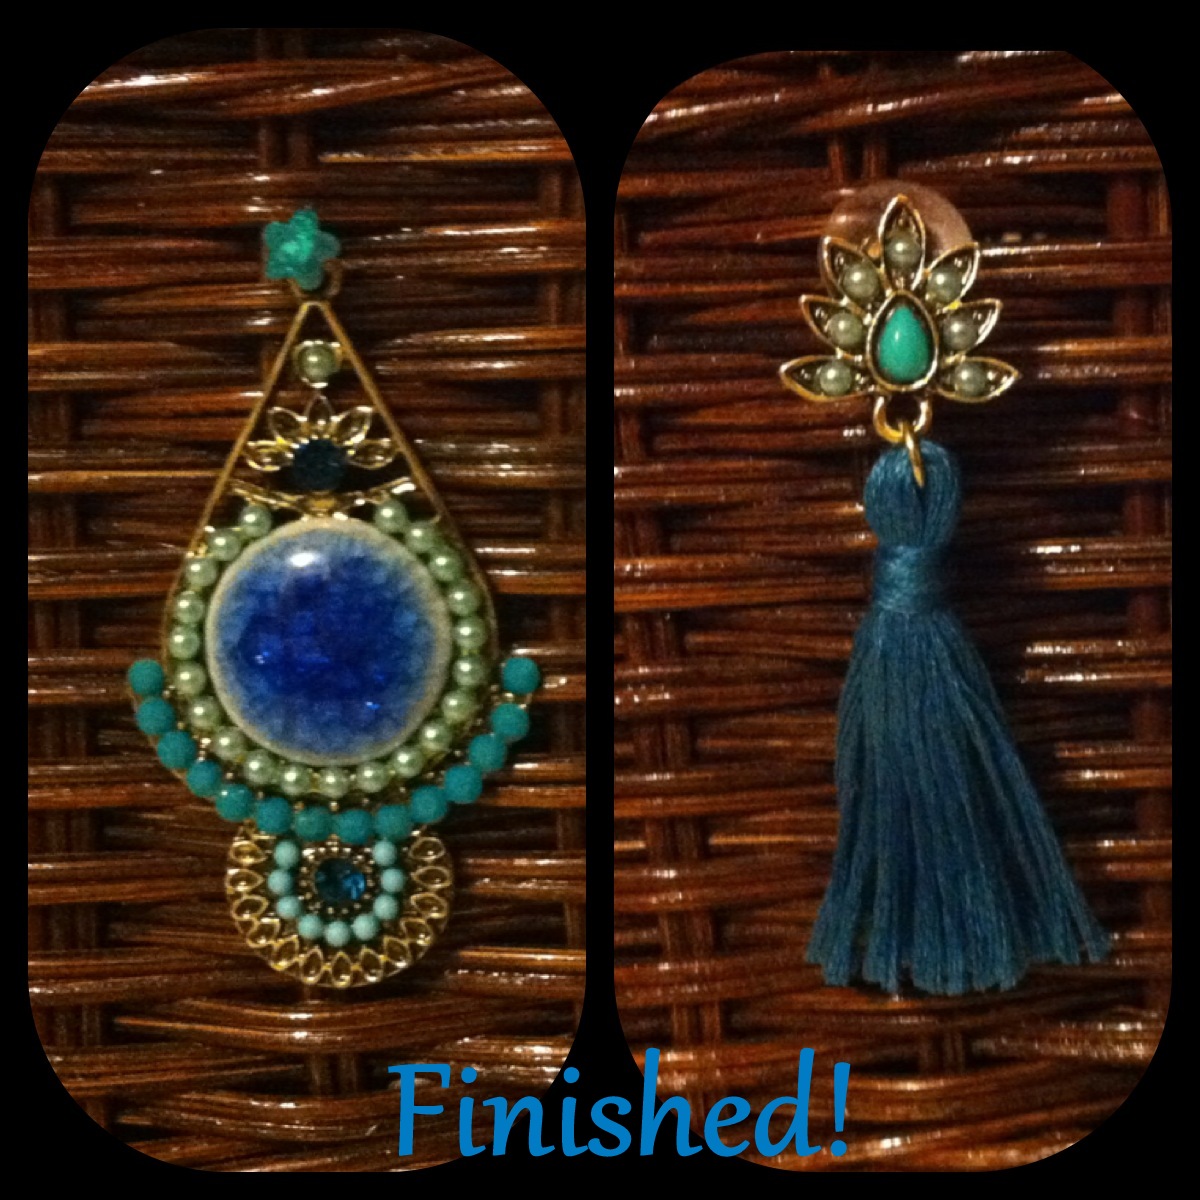
So I was looking up different ways to incorporate boho style more into my wardrobe on the cheap (or even better, the DIY), and I discovered that I LOVE tassel earrings. They are so cute! So I pawed through my jewelry box looking for inspiration, and I found them. They were absolutely perfect for my purposes. See, this same student also gifted me with gorgeous earrings (because she's so sweet).
Aren't they lovely?

I realized the top of the earrings would be so perfect for tassel earrings, so I decided to get to work to turn these earrings into ones that I could wear twice as often. :-)

*NOTE* This isn't really a tutorial, more of a "How I Did It," since I don't know the mechanics of any earrings you would want to upcycle.
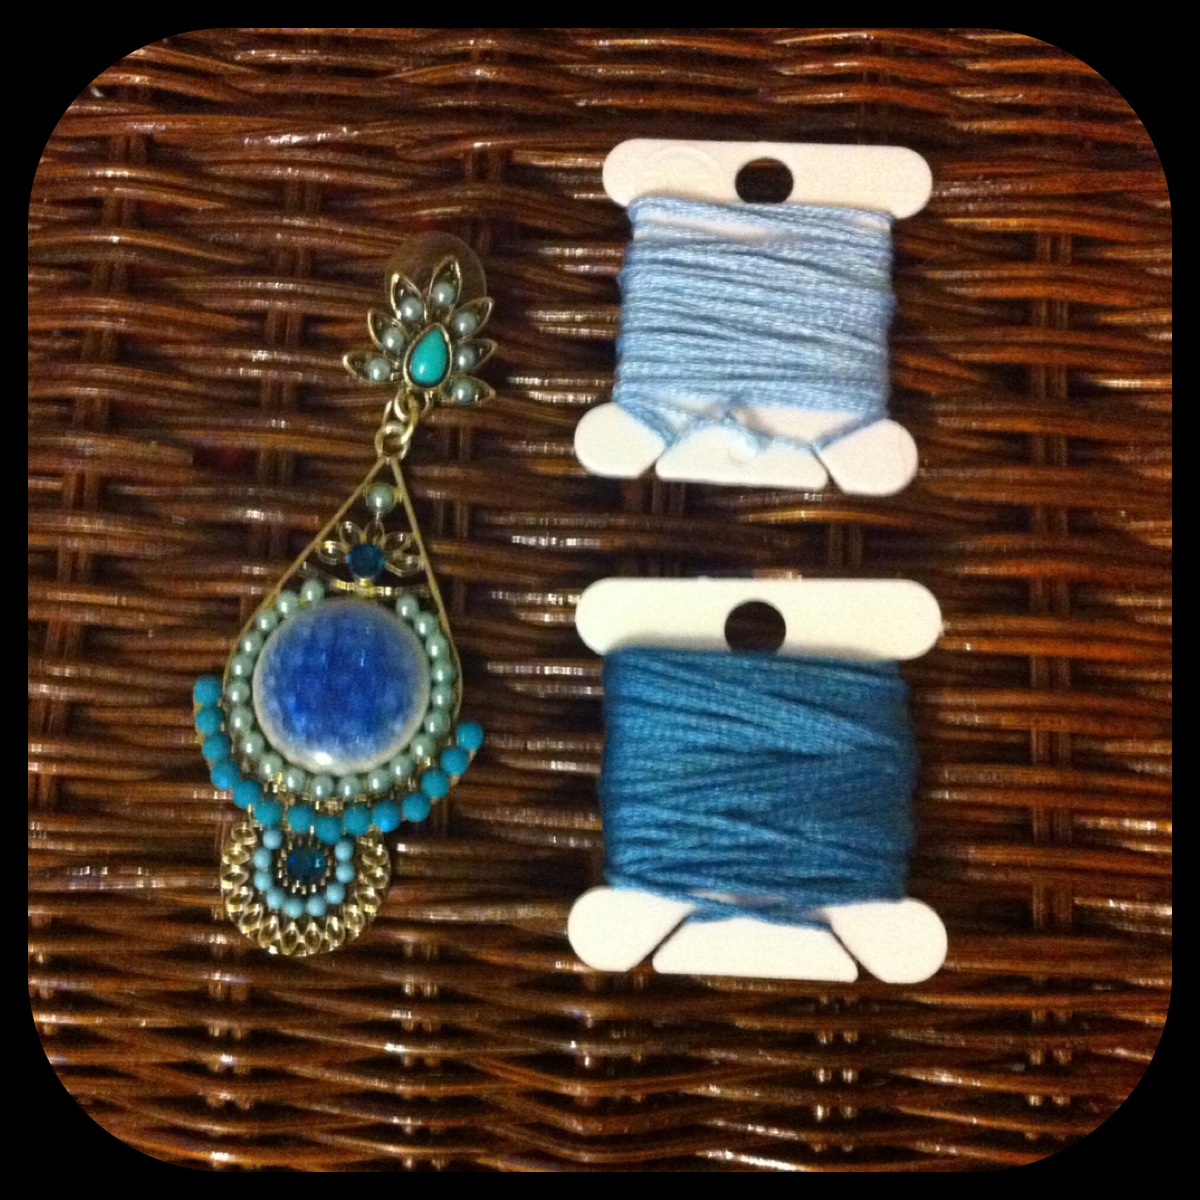
First, the tassel earrings.
I used DMC embroidery floss to make my tassel, as I had a bunch of it and I like how it's a little pearly, like the earrings themselves. :-)
Next, I CAREFULLY opened the jump rings holding the pieces together. I used needle nose pliers that I found in my toolbox. I'm sure this part (and other parts) would have been much easier if I had had the proper jewelry-making tools. But I don't.

This was as precise as I could be with these big ol' pliers.
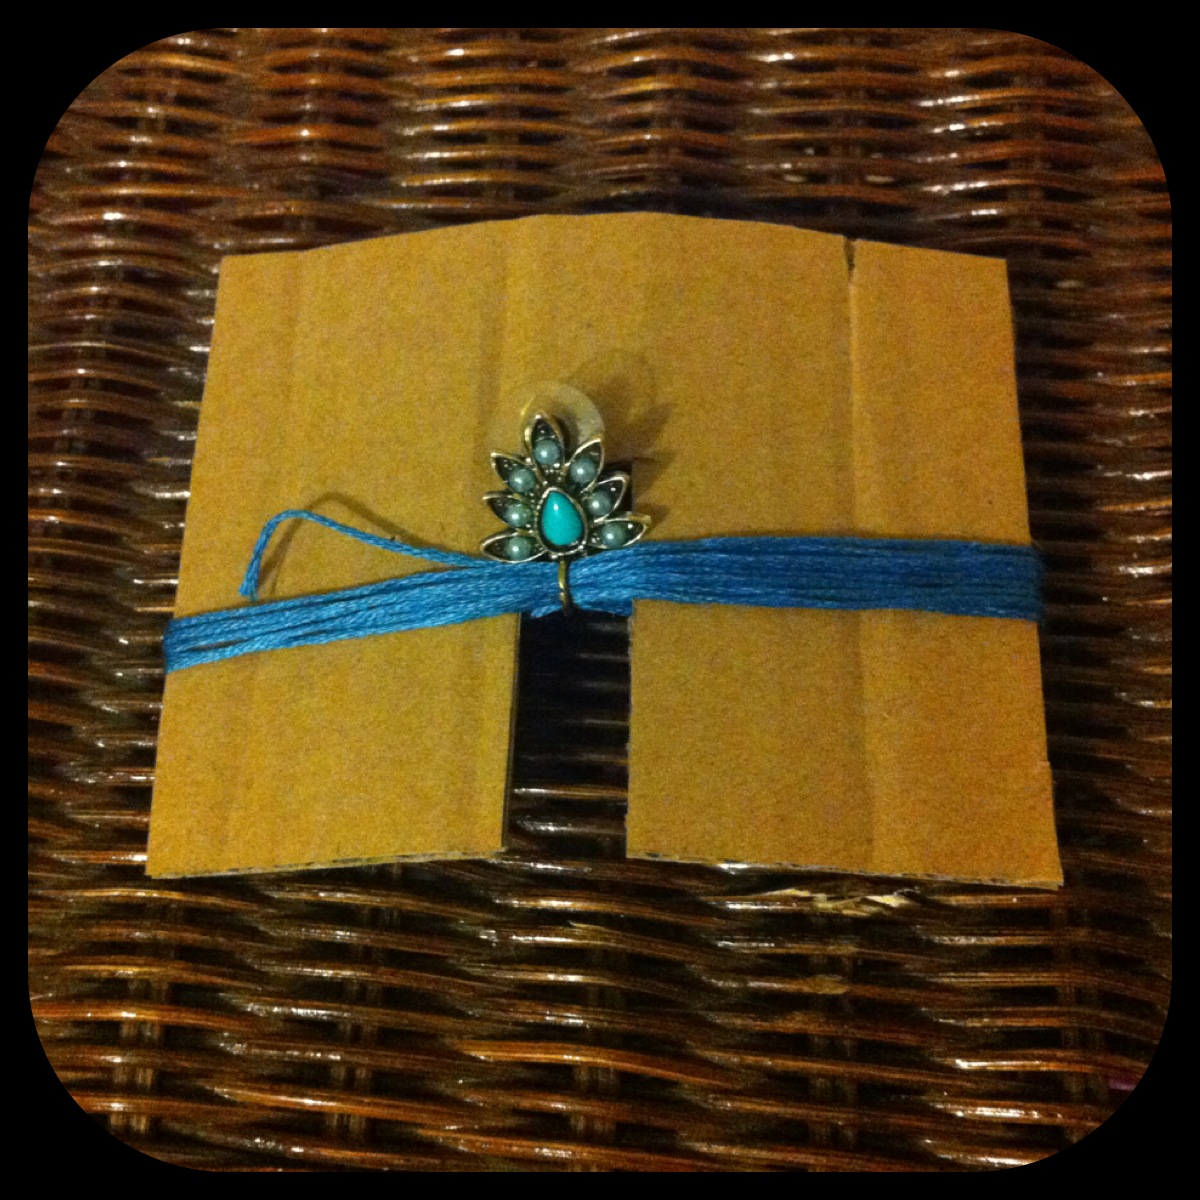
Then came the tassels. I haven't made tassels since I was like 8 years old making them out of my mom's scrap purple yarn. They're a lot harder to do than I remember. I'm sure back then I didn't care as much how they turned out.
I made my cardboard frame-thing, wrapped my floss around it ten times, and hooked the jump ring and the earring's top around the middle (where one would normally tie it). Closing the jump ring was a chore because all I had to use were those big honkin' pliers. Again, I'm sure it'd be much simpler if you have the right tools.
It was harder than it looks.
After sliding the thread off of the cardboard, I knotted it with a long piece of coordinating string (though I have seen tassels made with a different colour string wrapping around the top, and they are CUTE).
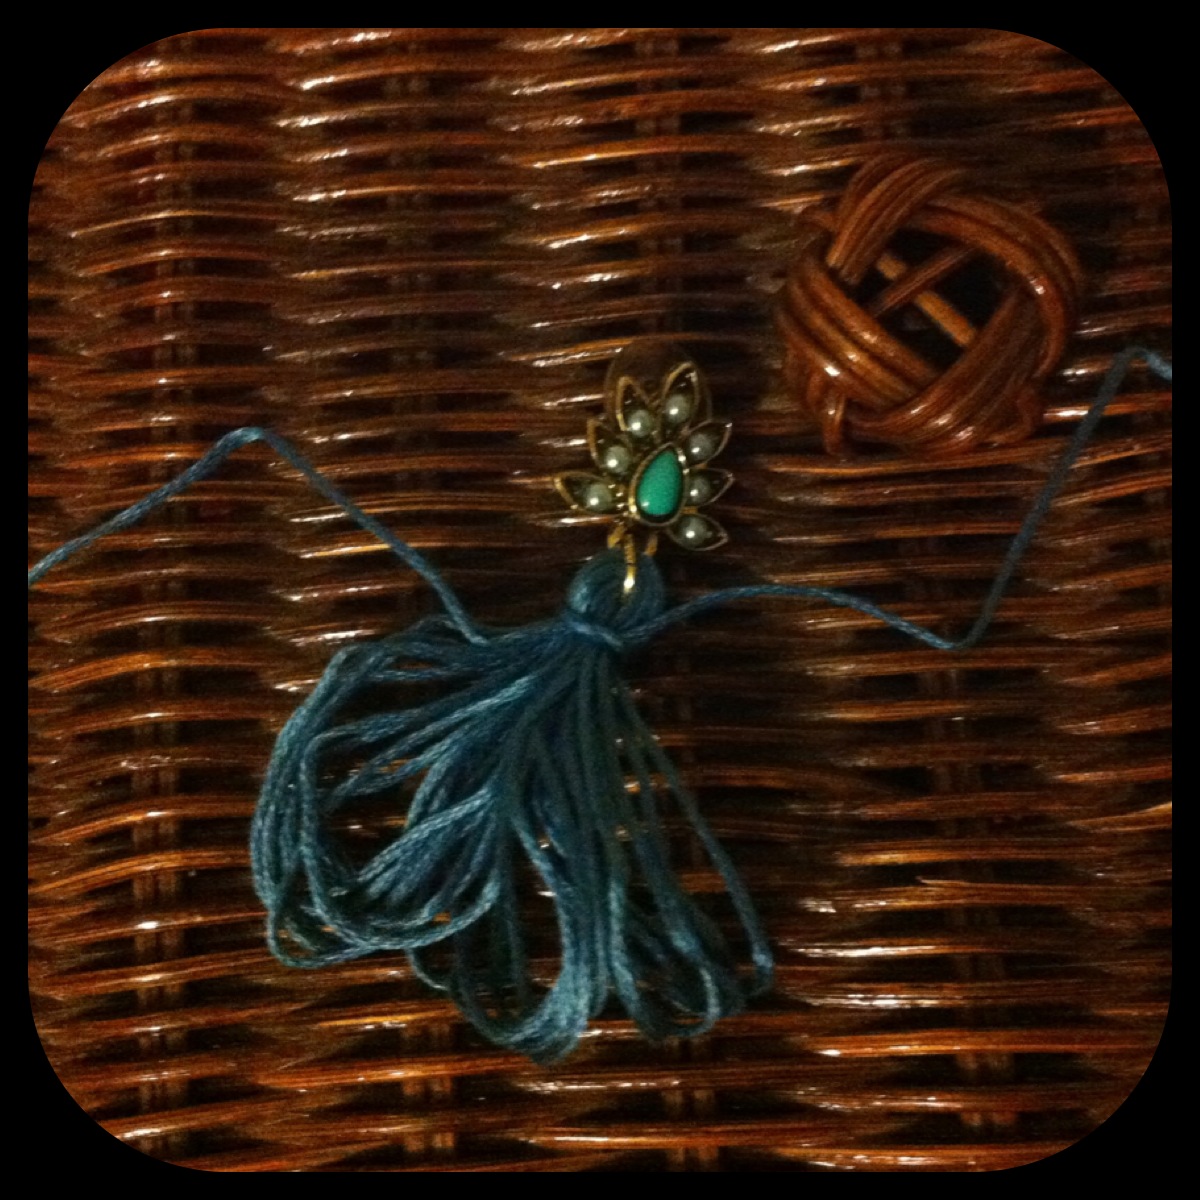
Again, harder than it looks.
Then came the wrapping part. This also came with a lot of loud cursing, as I couldn't seem to get it right. However, I was also too stubborn to look up a tutorial on how to easily make tassels, which I'm sure would have helped. So if you're going to do this, look up a tutorial first. This part is frustrating as all get out.
It's worth it, though!
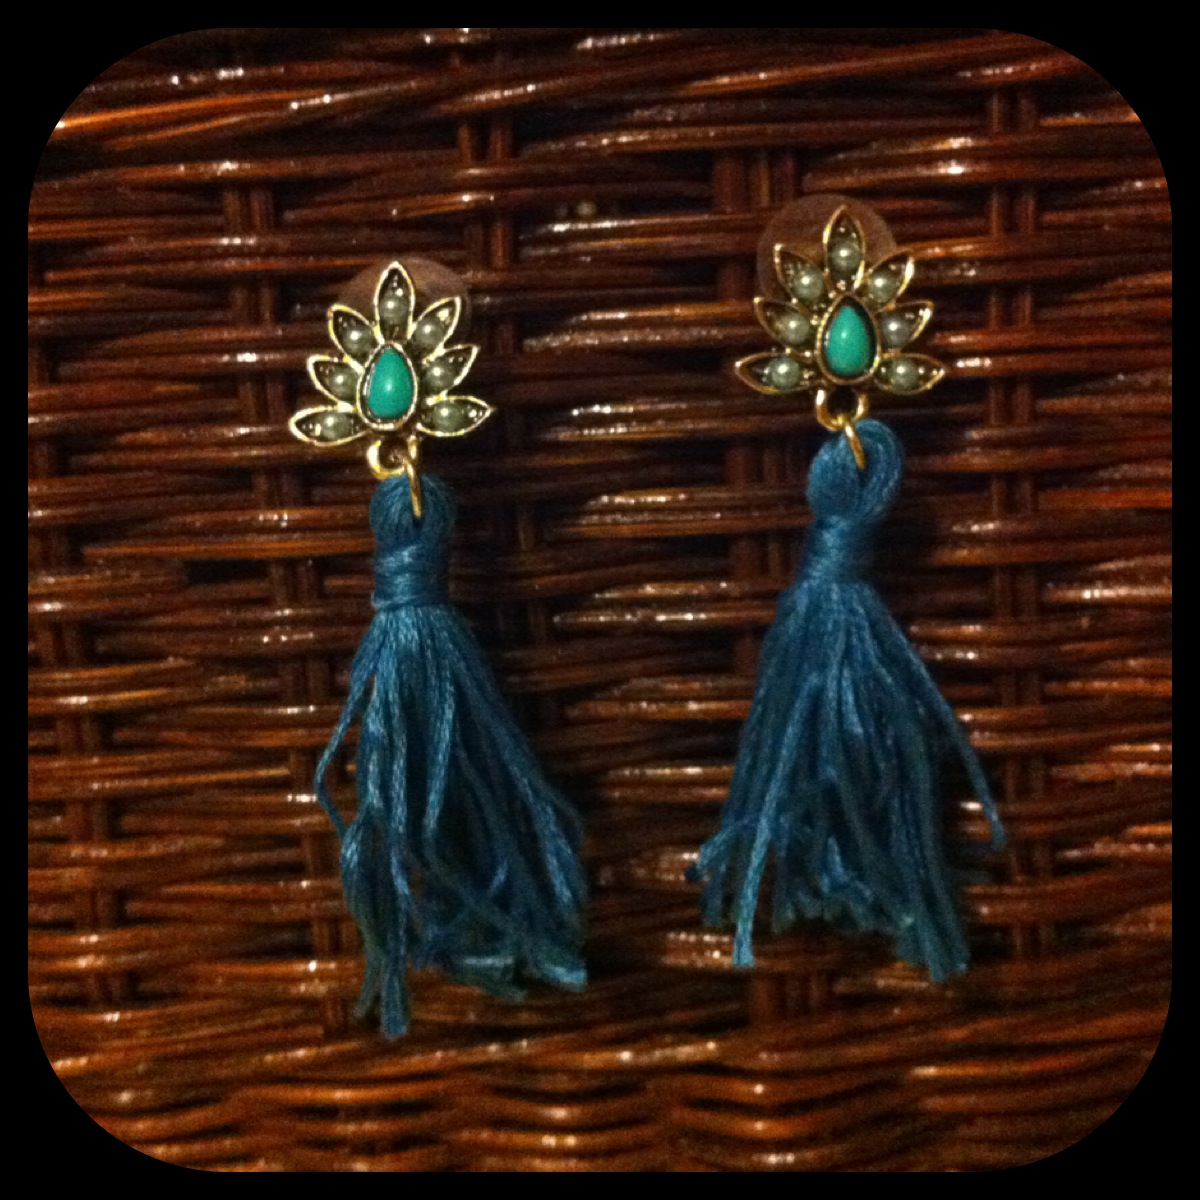
As you can see, they were a little uneven after I cut them, so I straightened the threads using a damp towel, then trimmed the ends to be a little more uniform (but not perfect).
Ta da! So pretty!

Now for the other pair.
I'm not as happy with this pair just yet. It didn't come out exactly how I'd hoped, but I think I may know how to fix it.
First, I grabbed a set of earrings I knew I'd never wear again.
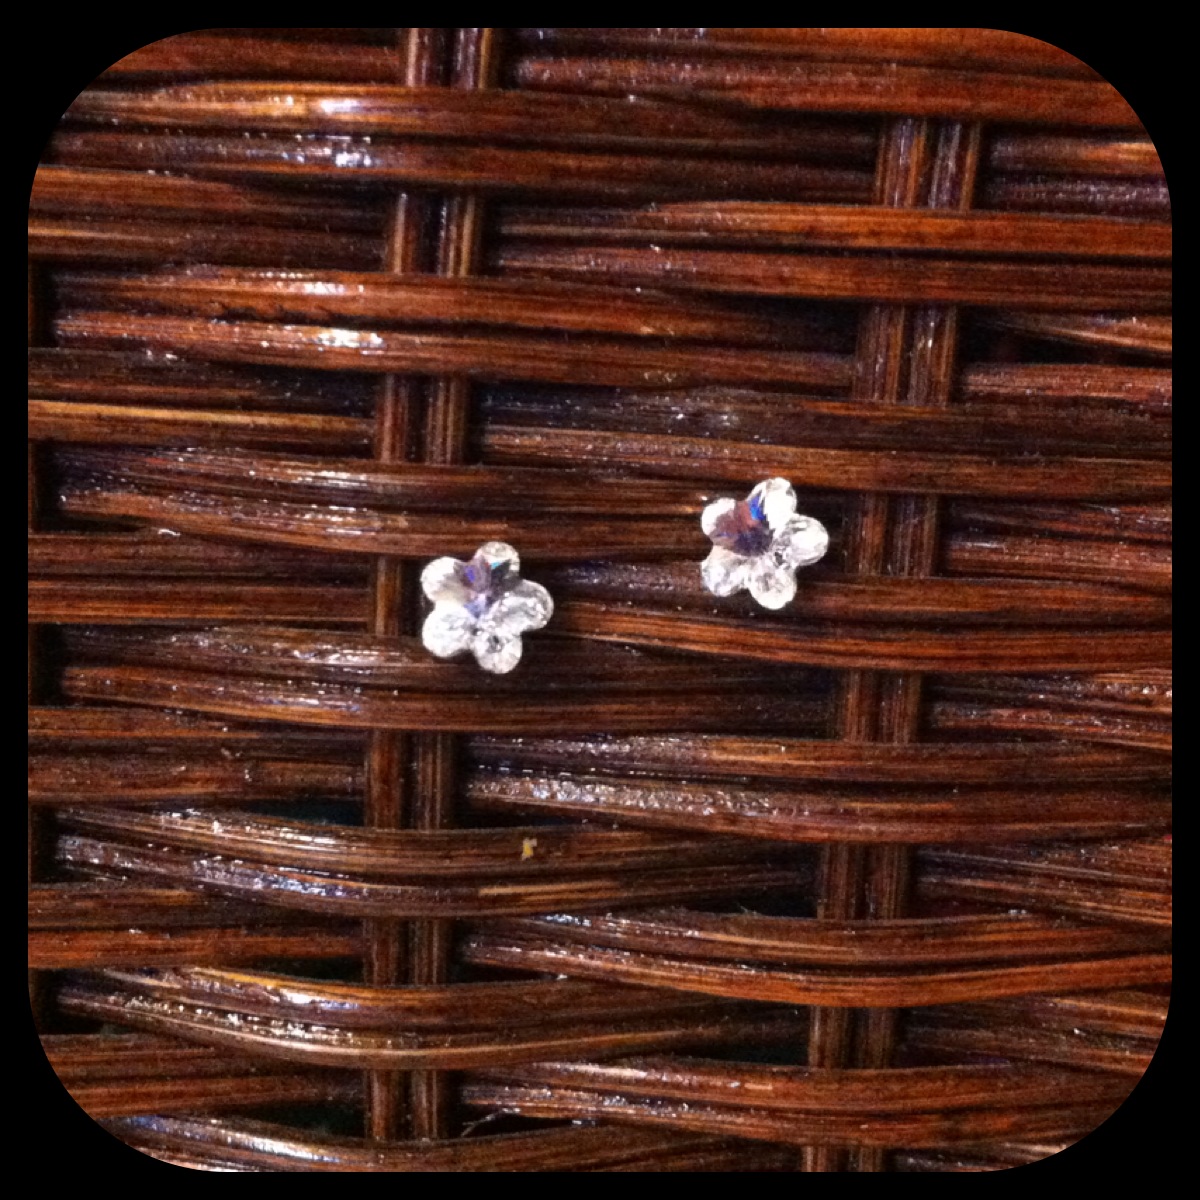
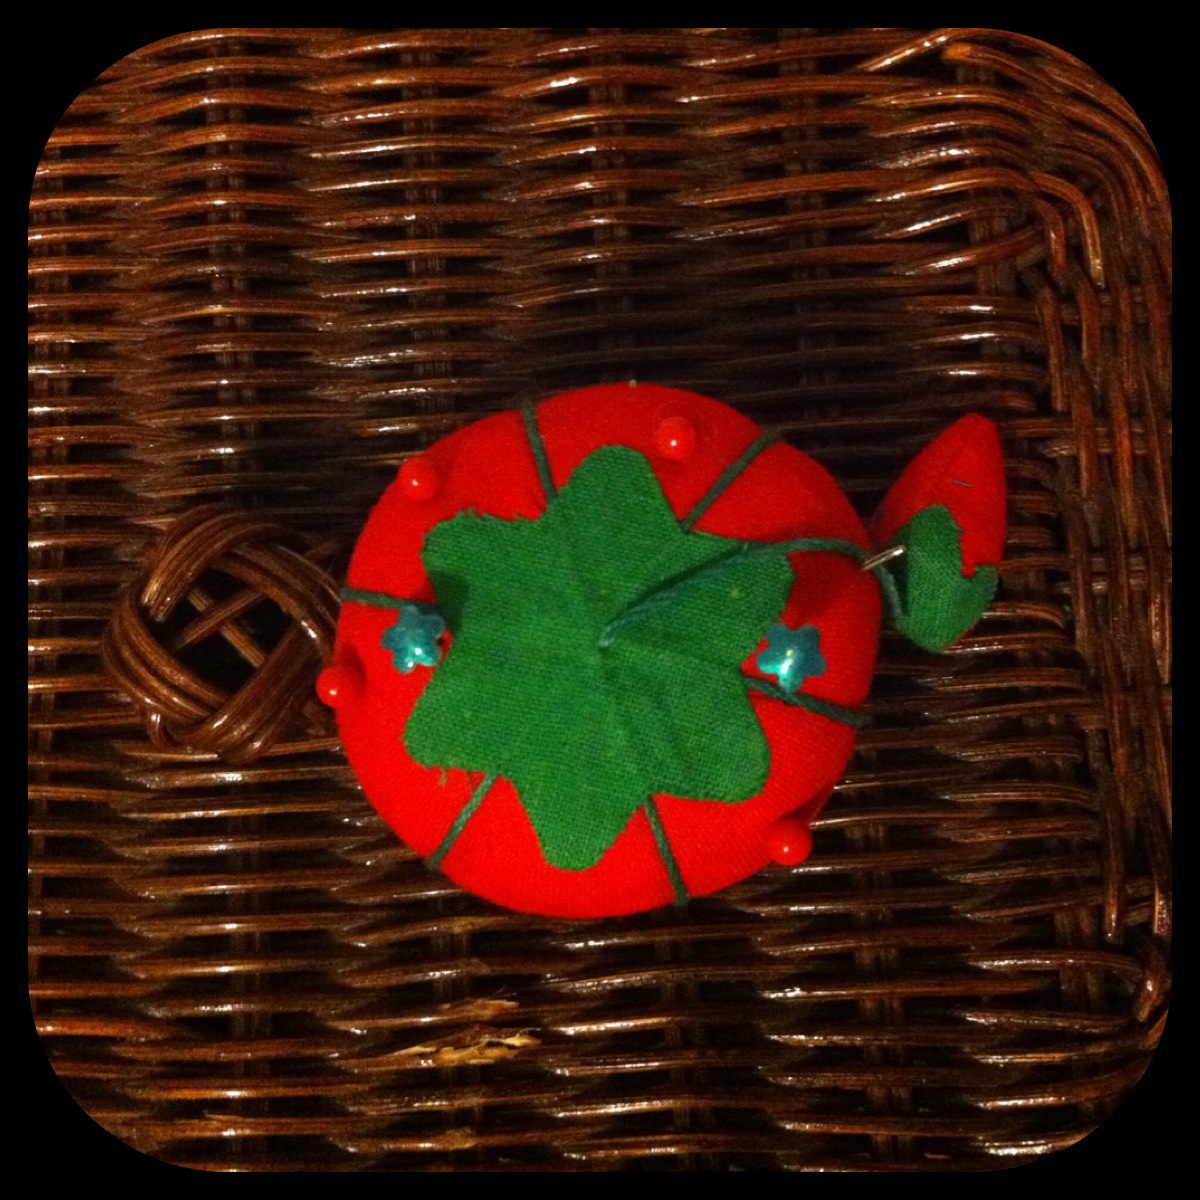
I pushed them into a pincushion and painted them to coordinate with the earrings with nail polish. It took two coats.
After they were dry, I simply put them through the holes that once connected the bottom half to the jump rings.
That's pretty much it. I don't like how they look against the earring bottom, though, so I think I'm just going to look for stud earrings that match the bottom half, then glue them together. Or I could just leave them unglued, and I'd always have the option of returning the earrings back to the way they were in the beginning. :-) (EDIT: Now that I think of it, maybe I'll just get a long, gold chain and make one of them into a necklace! Then I'll have an earring/pendant set!)
So that's how I did it. Super simple! I can't wait to wear them to school!!
Until next time!! Stay cool!
No comments:
Post a Comment