I moved today.
Well, I mean I moved my blog.
I used to have a Wordpress blog. Don't get me wrong - I liked it a lot. Wordpress is easy to use. But I figured it'd be a good idea to get to know how to use as many Google products as I can.
Employers like diversity in computer skills. :-)
So this is my first post using Blogger. Exciting! Eventually I'll also be able to customize this blog so that it looks amazing. Baby steps.
So much has happened since my last blog (which, I realize, I hadn't even updated since 2013).
I graduated from college with a BA in Classical Civilizations.
I got married three days ago to the man I've been dating for 5 years (and engaged to for 2).
I've begun volunteering at my local Science Museum (and I LOVE IT). I'm also trying to get a job there, since it's the organization that I most respect and admire.
A few friends and I started our own monthly knitting group, where we get together to craft and chat.
And - as always - I've been crocheting, knitting, sewing, and crafting my little hands off.
So I figured I'd share one of my most recent crafts! I cross stitched this awesome pattern onto canvas for my mom as a belated Mother's Day gift. She loves Godzilla, so I knew the second I saw this pattern on Pinterest that it would be perfect for her.
This is going to be one of my "tutorials" that is more of a "how I did it." I'm sure I'm not the first one to embroider canvas, so I don't want to take credit for a technique that I'm probably not the first to do.
I chose canvas because then I don't need to frame it or anything, since it's already sort of framed.

Supplies
Stretched canvas. I already had one laying around, waiting for the perfect project. I'm sure I got it at Michael's or JoAnn's or something.
Embroidery floss. Again, I had mine already. I don't mark my colours, so I don't know what exact ones I used, but I'm pretty sure they were DMC thread.
Sewing needle. Use the one with the thinnest eye that you can.
Pin. Preferably one with a large ball at the end, for your own comfort.
Cross stitch pattern (printed). Make sure that it's the right size for your canvas, and that the pattern doesn't go over the wood on the back of the canvas - you can't sew where the wood is.
Scotch tape.
Steps
**If you want to paint your canvas, do it first.**
1. Start by taping your pattern onto the canvas. The tape may not stick super well, but that's kind of a good thing.

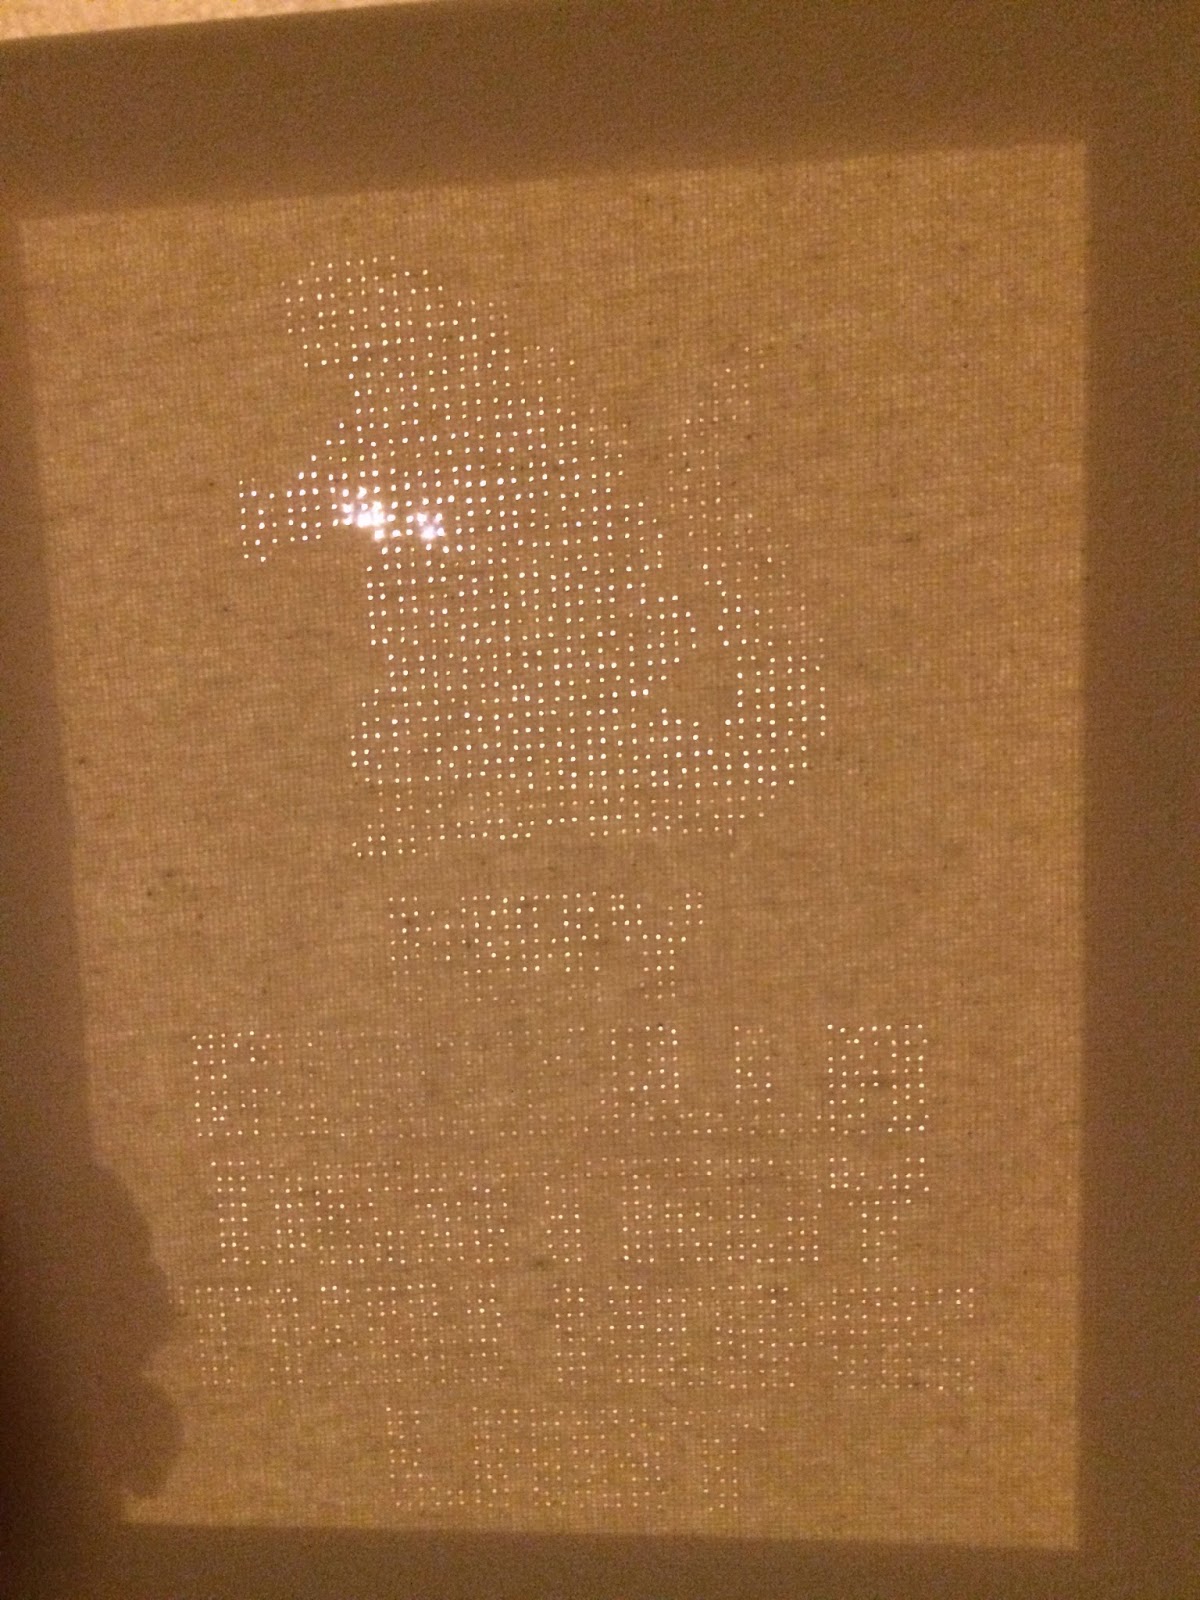
2. Everywhere you would normally be stitching, poke a hole with your pin.

Poke poke poke poke poke....
This part takes forever, and it tired my hands out. Be sure to take breaks if you need it!

Getting there.....
Unless you're a super-perfectionist, your grid probably won't be perfect (just like you can see on mine in the middle in the bottom row. Whoops). Don't fret too much about that - you can't really tell once you stitch it. Plus, I always think that imperfections add a kind of charm to handmade items.
3. Once you're all done poking, remove the paper pattern and either take the tape off of it or tape it to a scrap piece of paper. This is your key.
(I didn't paint the canvas - it's just shadowed.)
All the poking is done! Hooray!
4. Start stitching!
Do be kind of careful, since if you accidentally make a hole in the canvas, it doesn't fix itself as it would in normal fabric.

Again, you can see that the lines that my stitches are on are a bit off, but....

....once you get further, you can't even tell!
I split my embroidery floss into threes instead of twos for a bit thicker colour. I considered doing all six threads, but since this canvas isn't forgiving, I didn't want the holes to get too large.
Stitch until you're all done!!

It looks so great! So exciting! My mom loved it (and everyone I've shown is jealous)!
If you embroider something onto canvas using this tutorial, I'd love to see it!!
Until next time!
No comments:
Post a Comment